2-2 KYB 34, 35, 36, 38mm Forks 1972-78Kawasaki, Suzuki, YamahaDirt & Street |
||
|
IDENTIFY YOUR DAMPING RODS Variations of this type: 2.2.1 Closed-Top 2.2.3 Open-Top, All Aluminum Damping Rod
|
||
2.2.1 Closed-Top
|
||
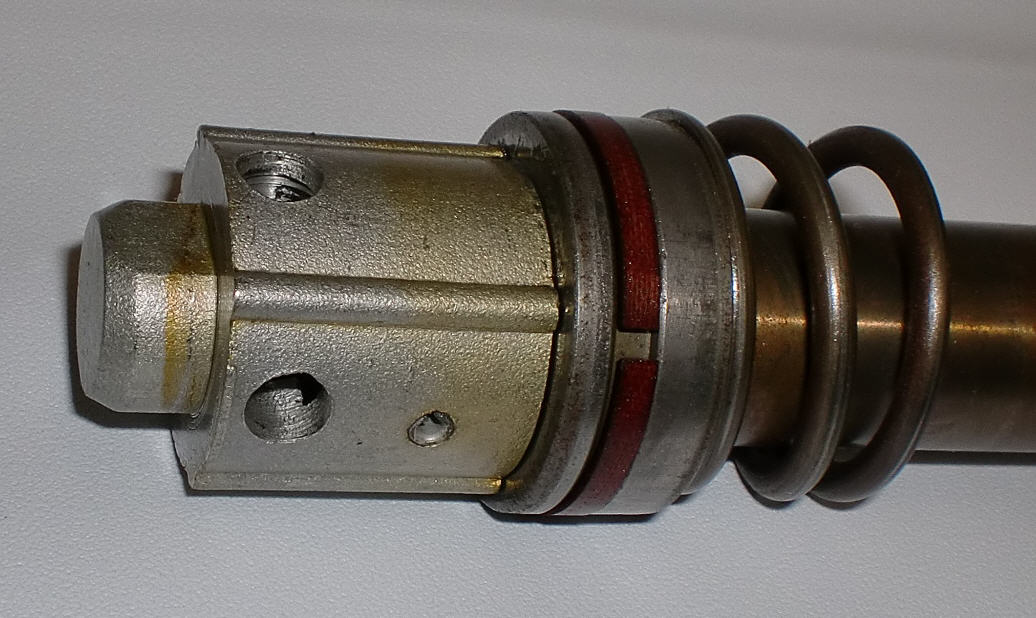
Early Dirt Version
Street Version
1977-78 Dirt Version |
CLOSED-TOP
|
|
 |
MACHINE THE HEAD
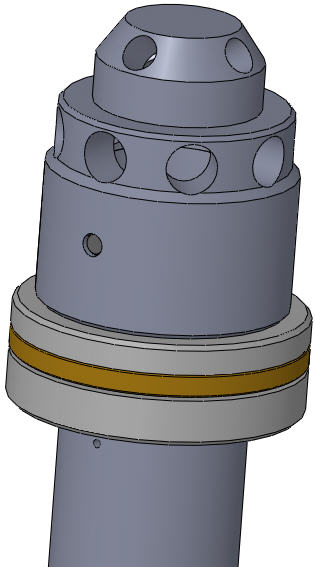
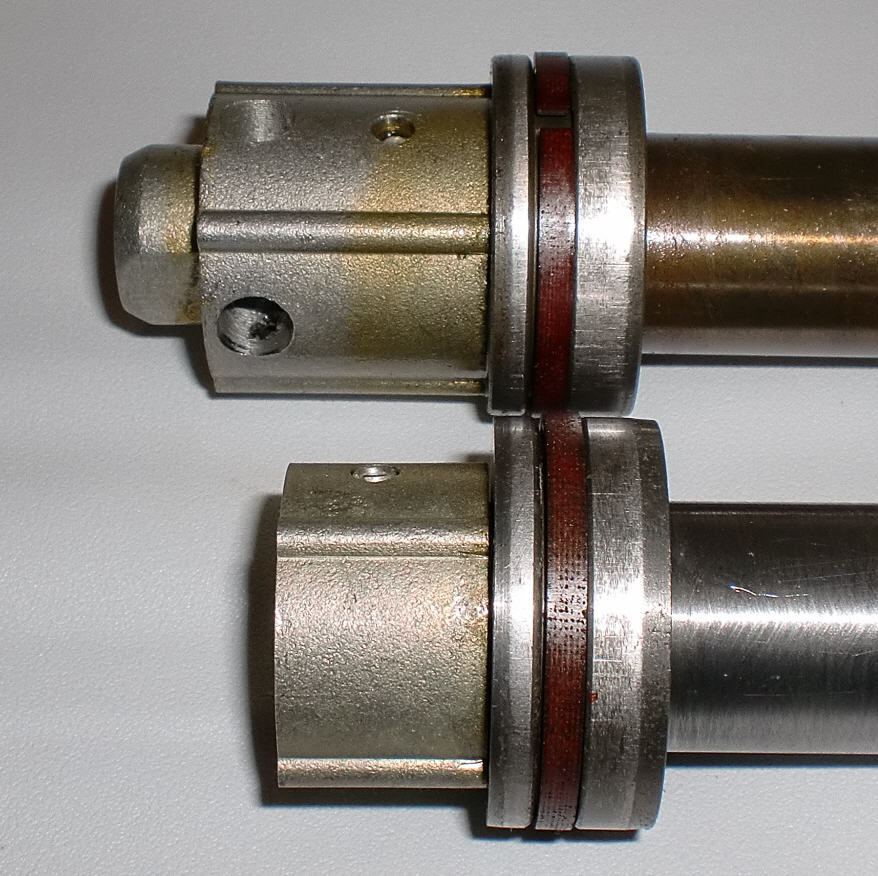
On the style with the radial outlet holes the damping rod head must be machined off flat just below the outlet holes. Remove only enough material to clean up the holes to make a flat surface. This will leave a lip of the aluminum head covering the end of the steel damping rod. This modificaton is best done on a lathe but can be done with a hack saw and a file if you are REALLY careful (don't blame me if you mess it up). Do not remove the stock roll pin.
|
|
 |
ONE-WAY BOTTOMING CONE VARIATION
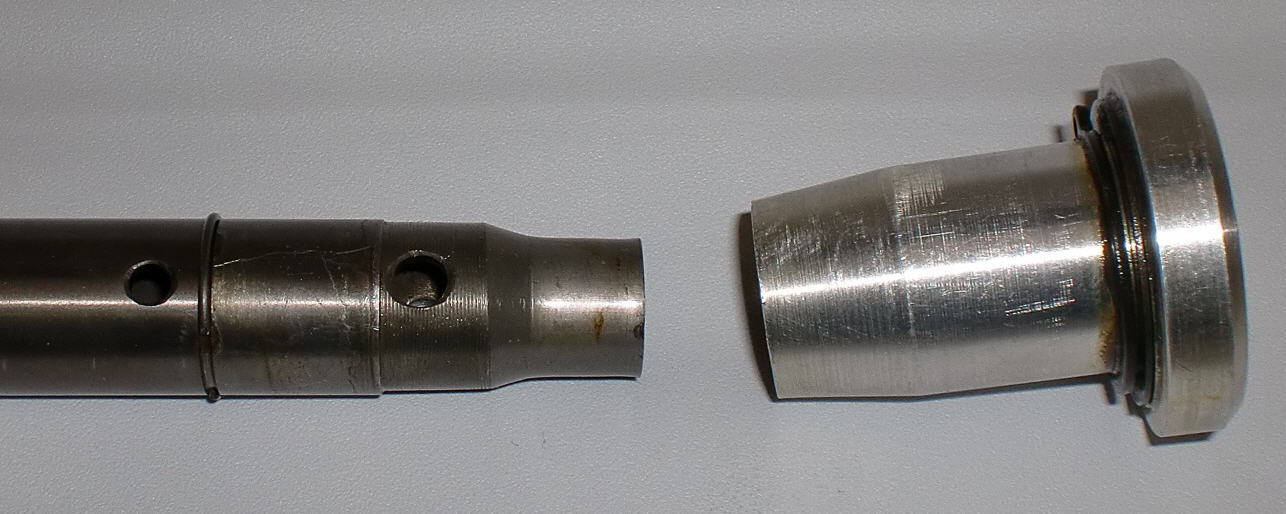
On some models there is a one-way bottom-out system. This works normally on compression and releases easily on rebound. There is a round wire circlip on the damping rod just below the top set of holes. This retains the bottom-out cone. There are many versions of these forks. Most don't have this one-way bottom-out. |
|
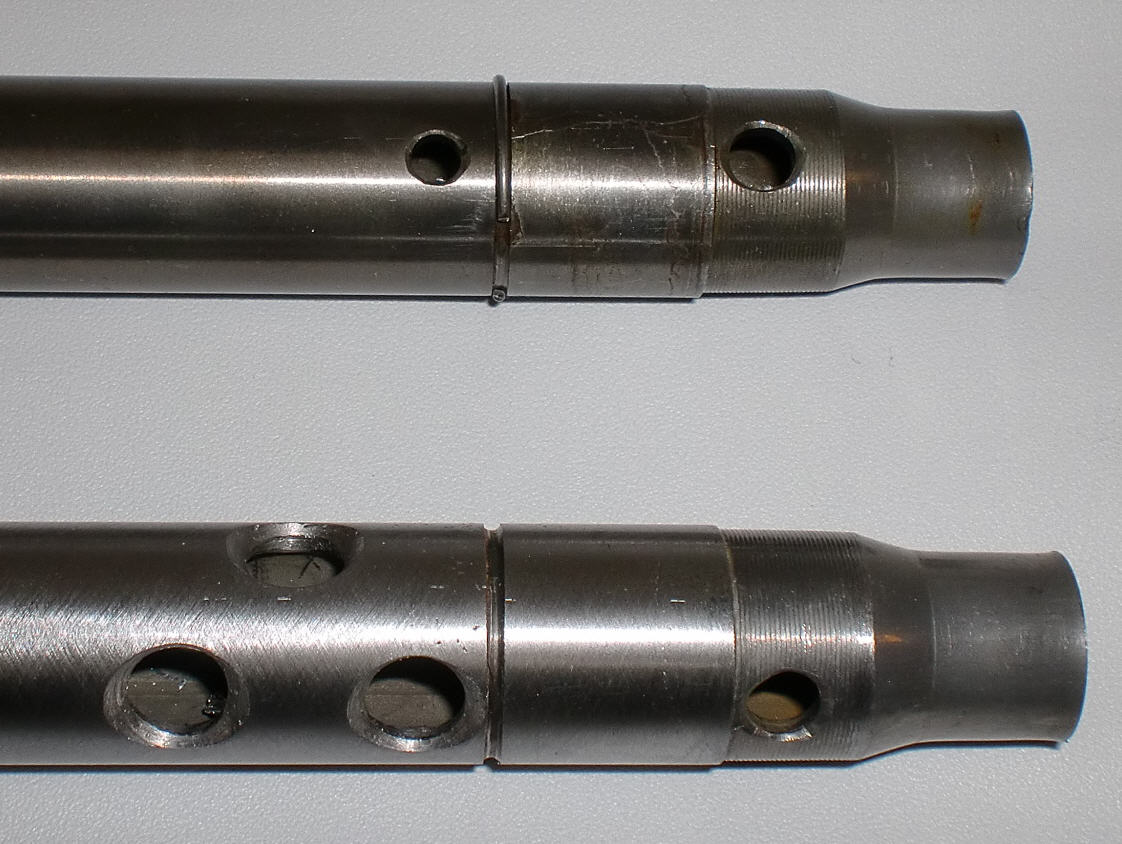
The stock damping rod is above, modified below. |
ENLARGE THE COMPRESSION HOLES
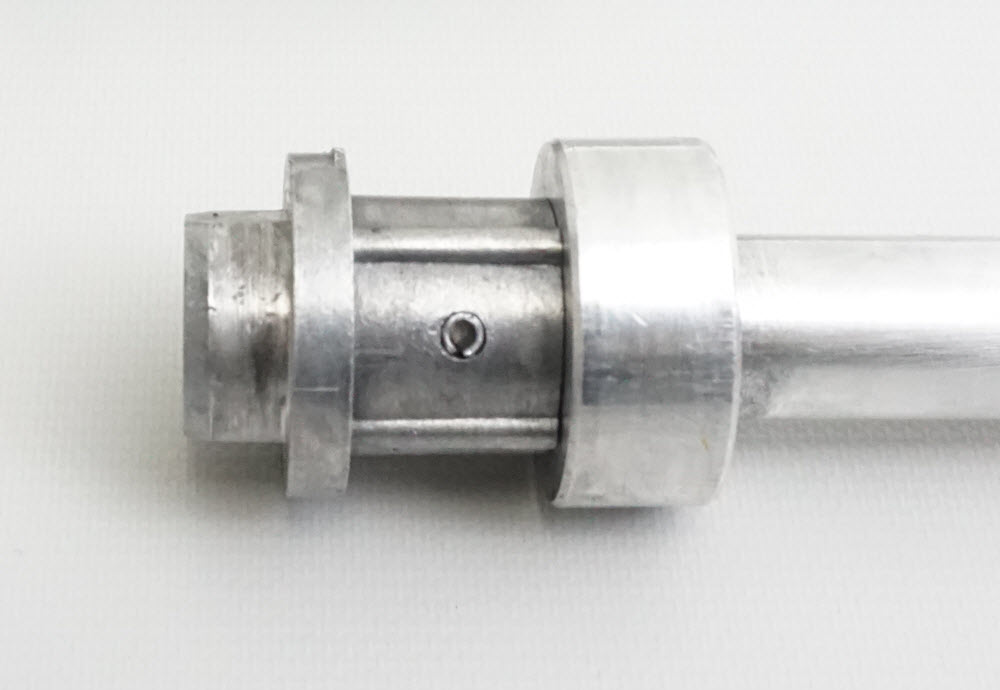
On this one with the one-way bottoming cone the holes below the clip (to the right) are not compression holes. They feed the bottoming cone on release. The compression holes are above the clip groove (left in this picture). No matter which style you have enlarge the original compression holes depending upon size of damping rod:
Add two more sets of holes above (left in pic) at 90 degrees to the last set so you end up with 6 holes (3 sets of 2 holes). Deburr inside and out. Only models with a one-way bottoming cone have holes under the cone. Leave these holes below the clip stock. |
|
 |
EMULATOR ADAPTER
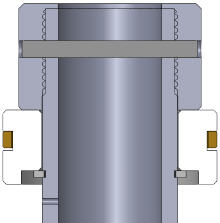
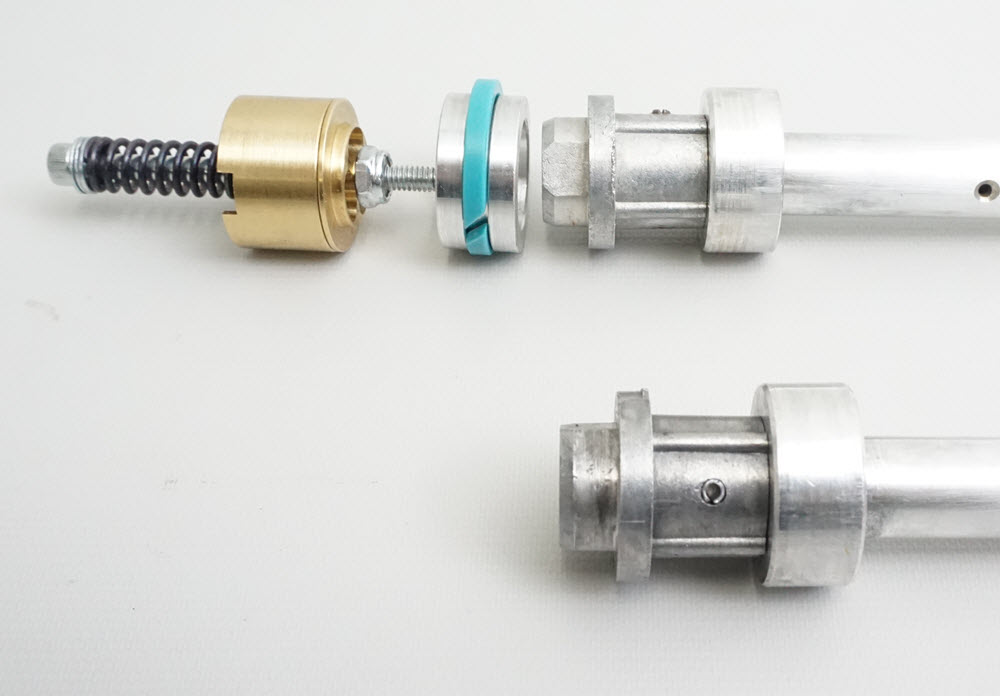
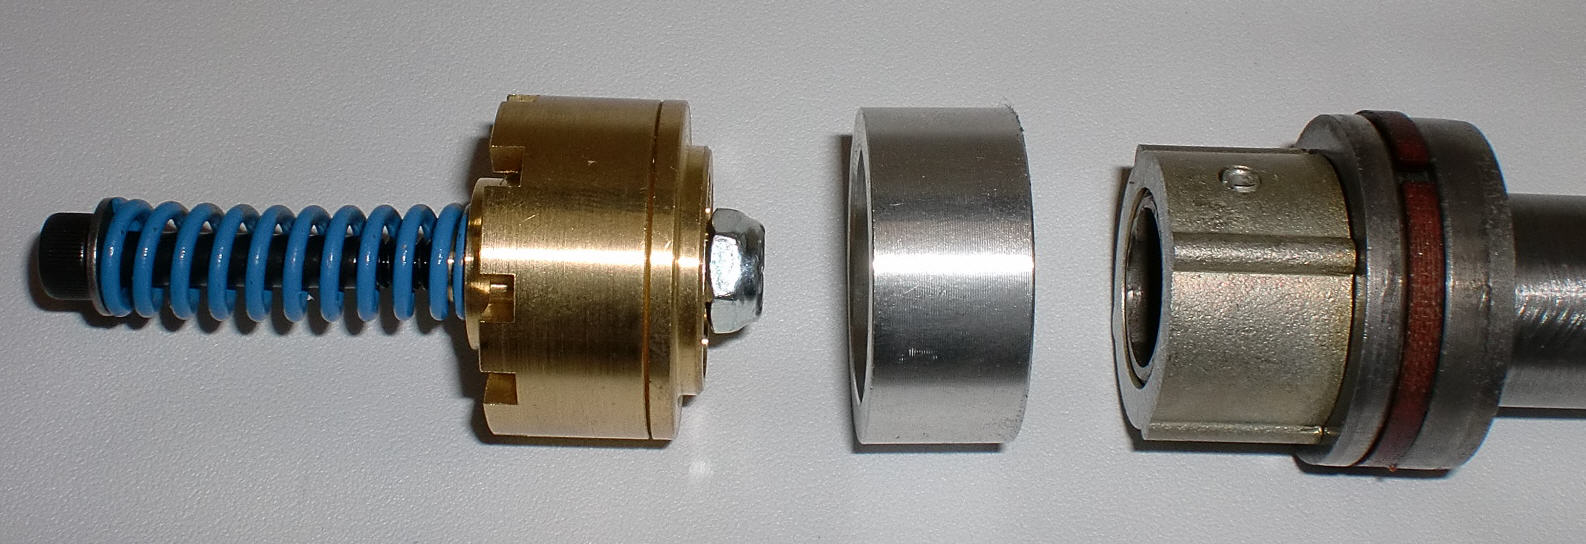
The adapter goes between the damping rod and the Emulator. This one does not have a piston ring however yours might. Some Adapters are recessed on one side. If your Adapter is recessed that side goes up, towards the Emulator. You will see it only fits well one way. The main spring holds it all together. |
|

Complete assembly. See Standard Emulator Instructions for the rest of the assembly including preload and oil level.
|
||
2.2.2 Closed-TopAir-AssistDirt OnlyRequires Machining |
||
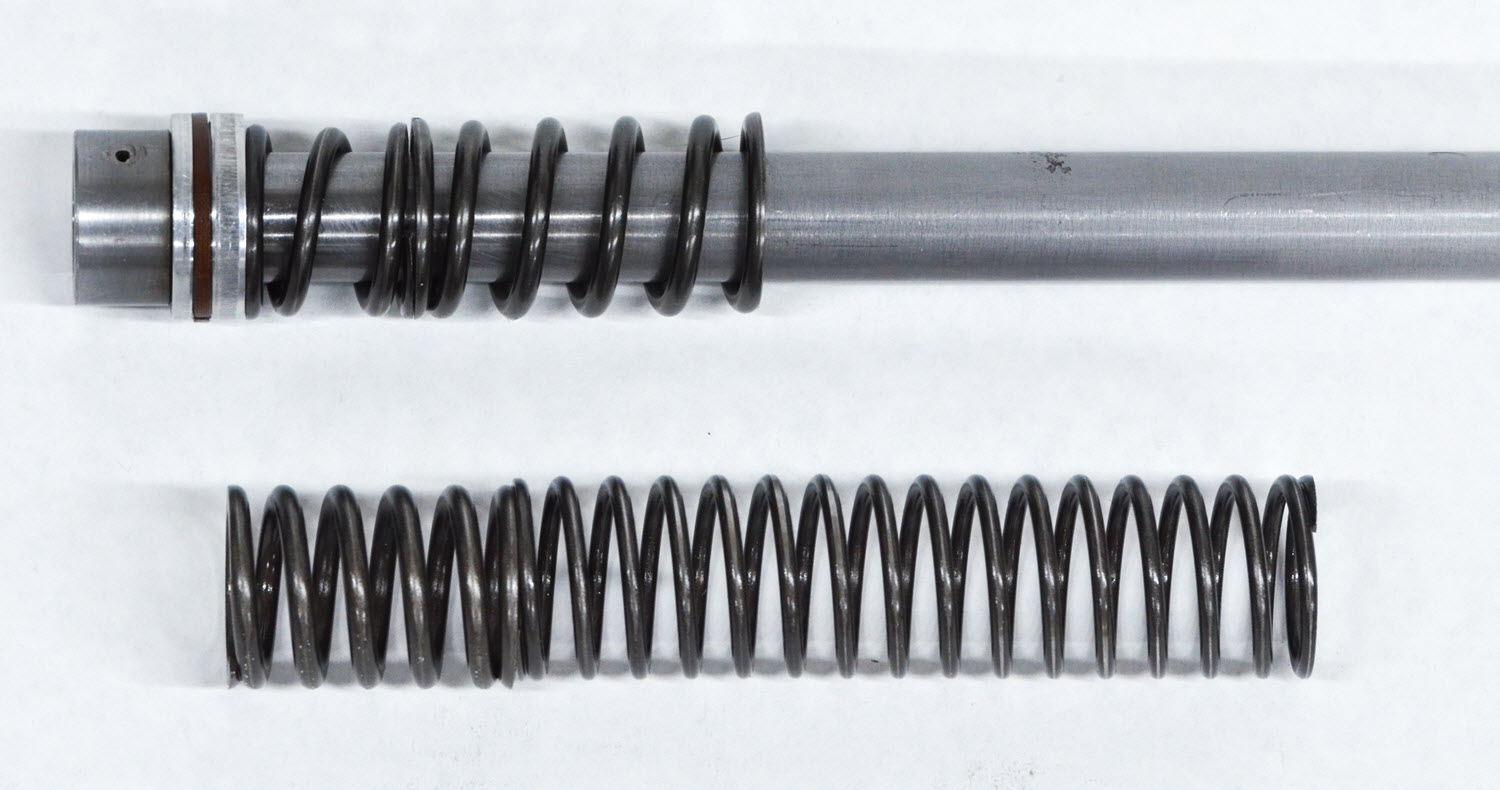 |
AIR-ASSIST The damping rod modification is the same as 2.2.1 above. This damping rod has already been modified an has the Top-Out Spring Kit installed. Mod image top, stock top-out springs bottom. This fork was designed to run about 14psi of air. It used a long, soft top-out spring called a "Negative Spring." The use of air made these forks harsh. The original long, soft Top-out Springs are on the bottom in this picture. For 38mm forks RT has a Top-Out Spring Kit available (FRST K3801). These are shown on the damping rod. They increase travel by 7mm. On 36mm forks use the original Top-out springs and set the Relaxed Preload to 22mm. On installation the fork will grow and decrease the Actual Preload to 5mm. |
|
 |
EMULATOR ADAPTER
The adapter goes between the damping rod and the Emulator. Your adapter may or may not have a piston ring. Some Adapters are recessed on one side. If your Adapter is recessed that side goes up, towards the Emulator. You will see it only fits well one way. |
|
|
Complete assembly with new Top-out Springs. See Standard Emulator Instructions for the rest of the assembly including preload and oil level.
|
||
2.2.3 Open-TopDoes Not Require Machining |
||
| OPEN-TOP, ALL ALUMINUM This is another style KYB from the early to mid 1970s.
The Compression Feed holes must be enlarged and added to as outlined in Standard Emulator Instructions. The Emulator and Adapter assembly are shown below. See Standard Emulator Instructions for the rest of the assembly including preload and oil level. |
||
2.2.4 Open-Top Brazed-Head, All Steel, Terry Kit
|
||
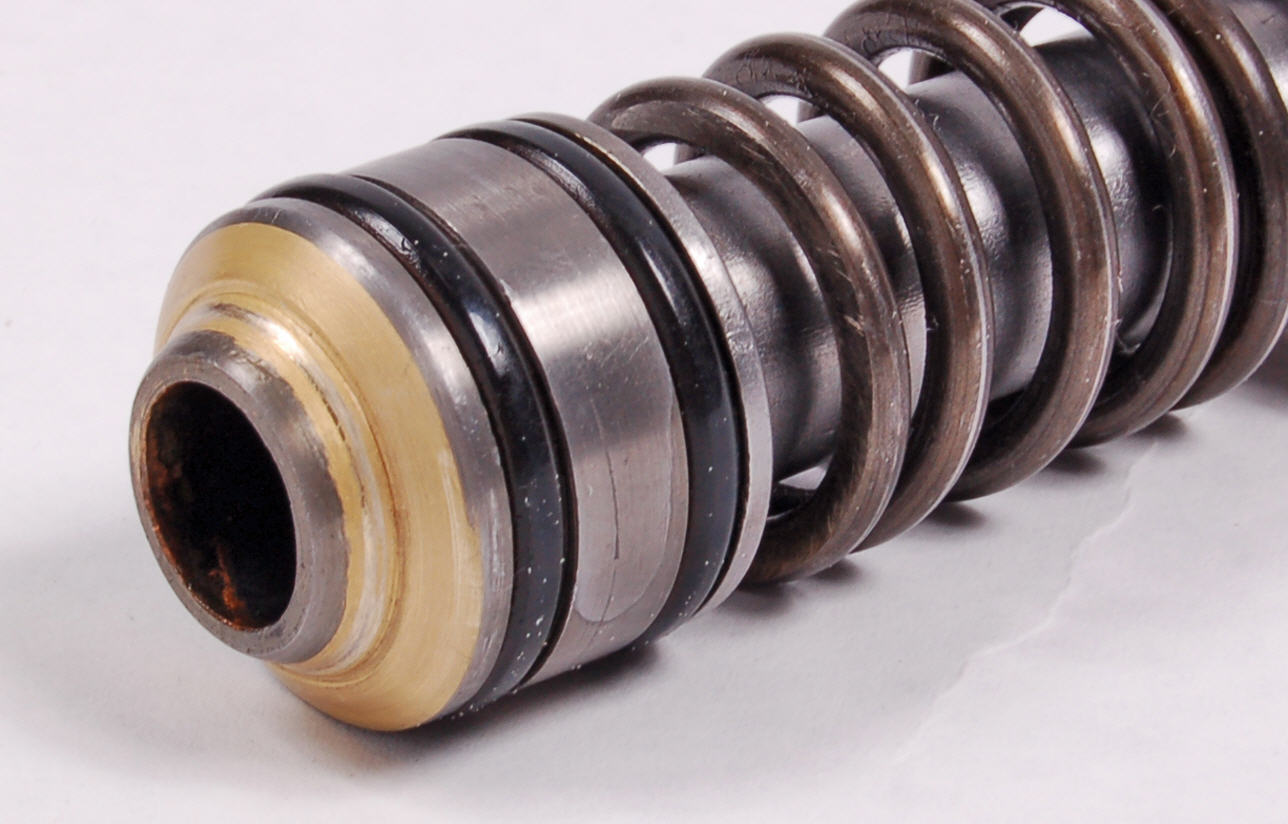 |
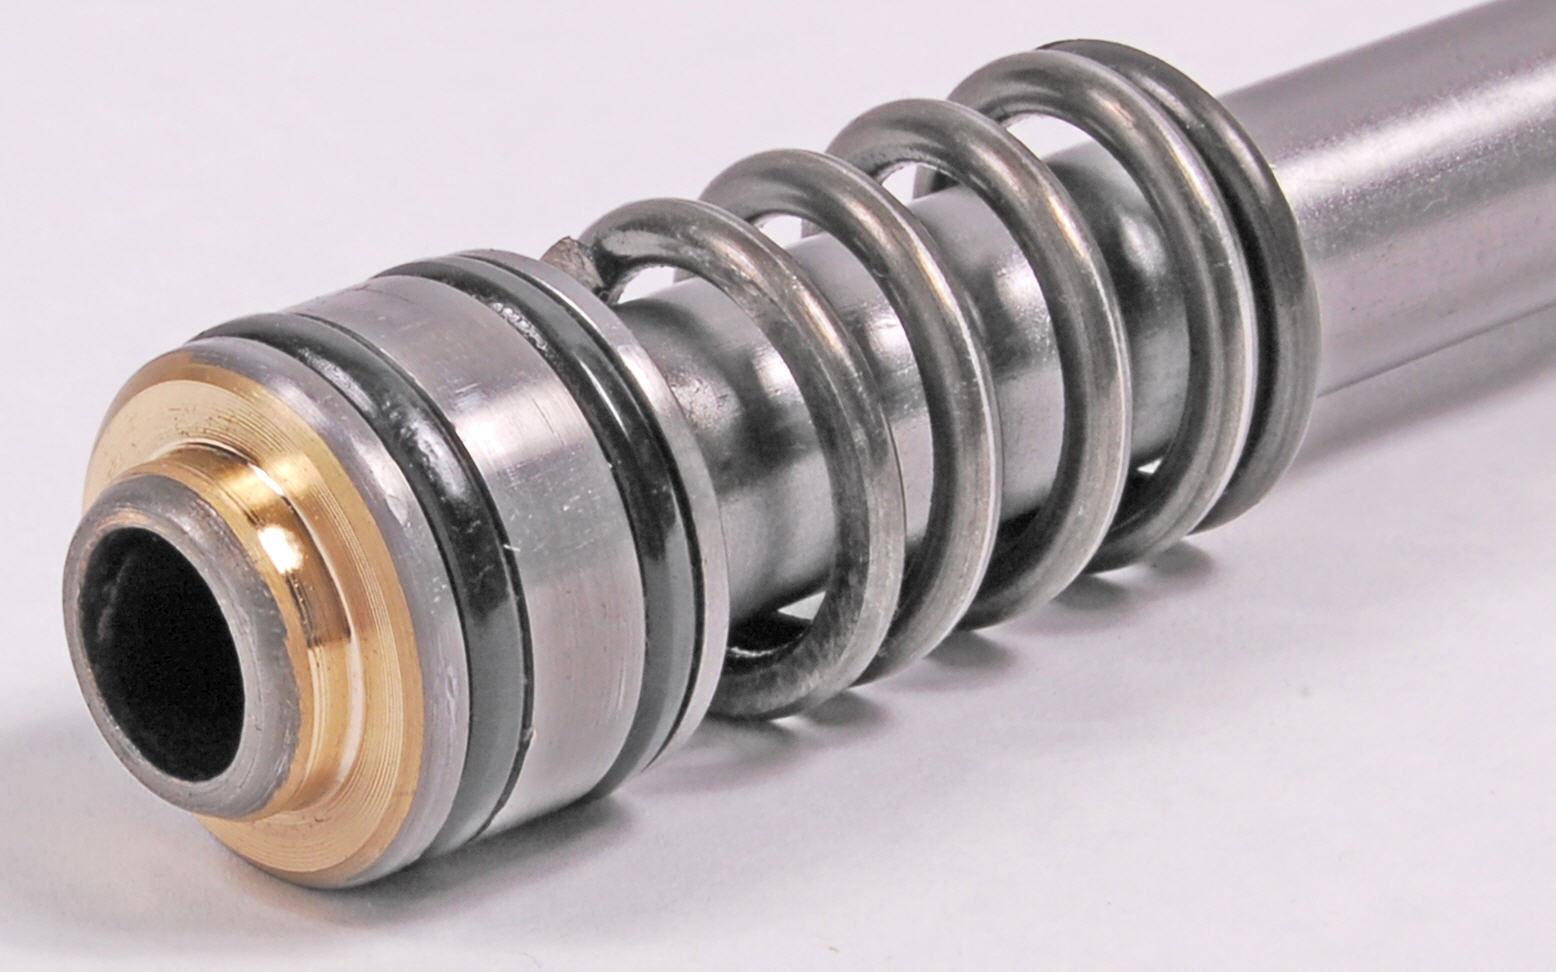
OPEN-TOP, BRAZED HEAD, ALL STEEL The Damping Rod Head is brazed on and is tapered. This does not allow the Adapter to sit flat. This requires careful machining. The Piston Rings are o-rings. These are commonly worn out. |
|
 |
MACHINE THE HEAD
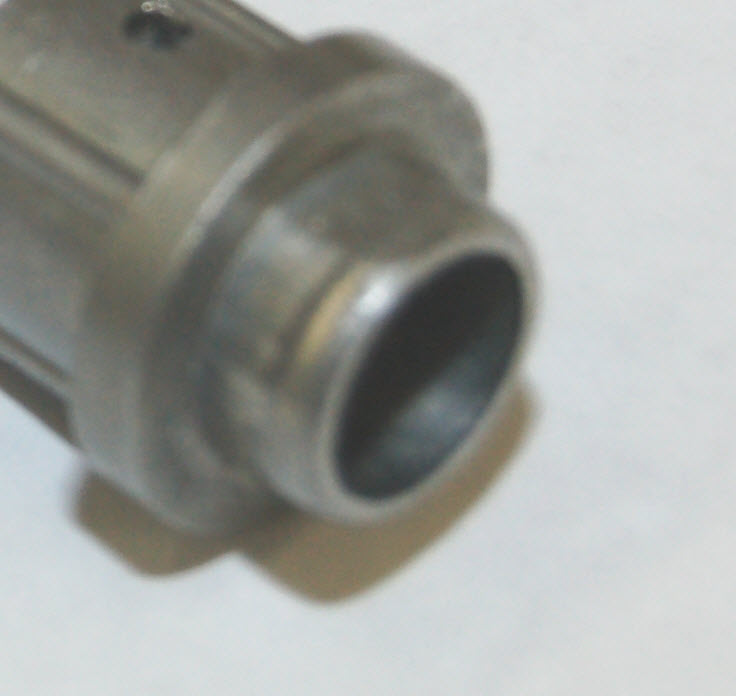
The head of the Damping Rod must be carefully machined to 16.5mm diameter to provide a SMALL step for the Adapter. Only machine a 1mm long step as this is plenty for the Adapter to seal. (This one is a bit too aggressive.) YOU MUST NOT MACHINE THROUGH THE BRASS AS THIS IS WHAT HOLDS THE FORK TOGETHER! IF YOU ARE NOT QUALIFIED TO DO THIS SEND YOUR DAMPING RODS TO RACE TECH. |
|
 |
ENLARGE THE COMPRESSION HOLES
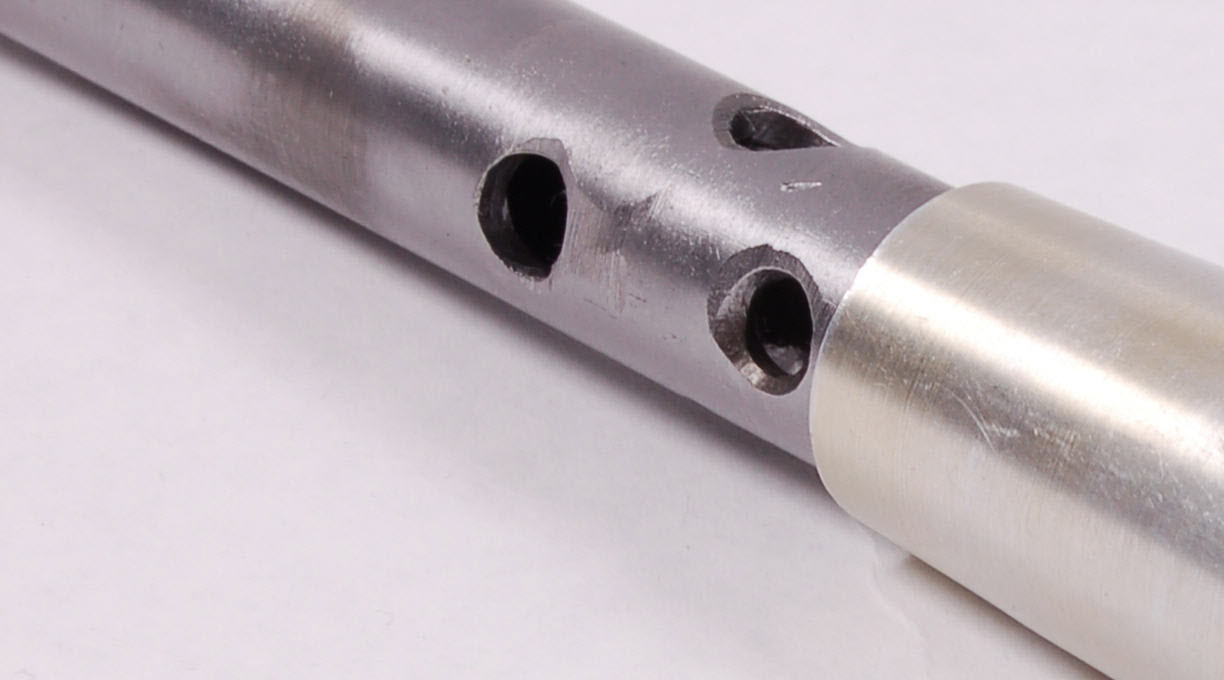
The compression holes must be enlarged. Drill the original holes to 6mm (1/4") and add two more sets above at 90 degrees to the last set. Carefully deburr. |
|
 |
EMULATOR ADAPTER
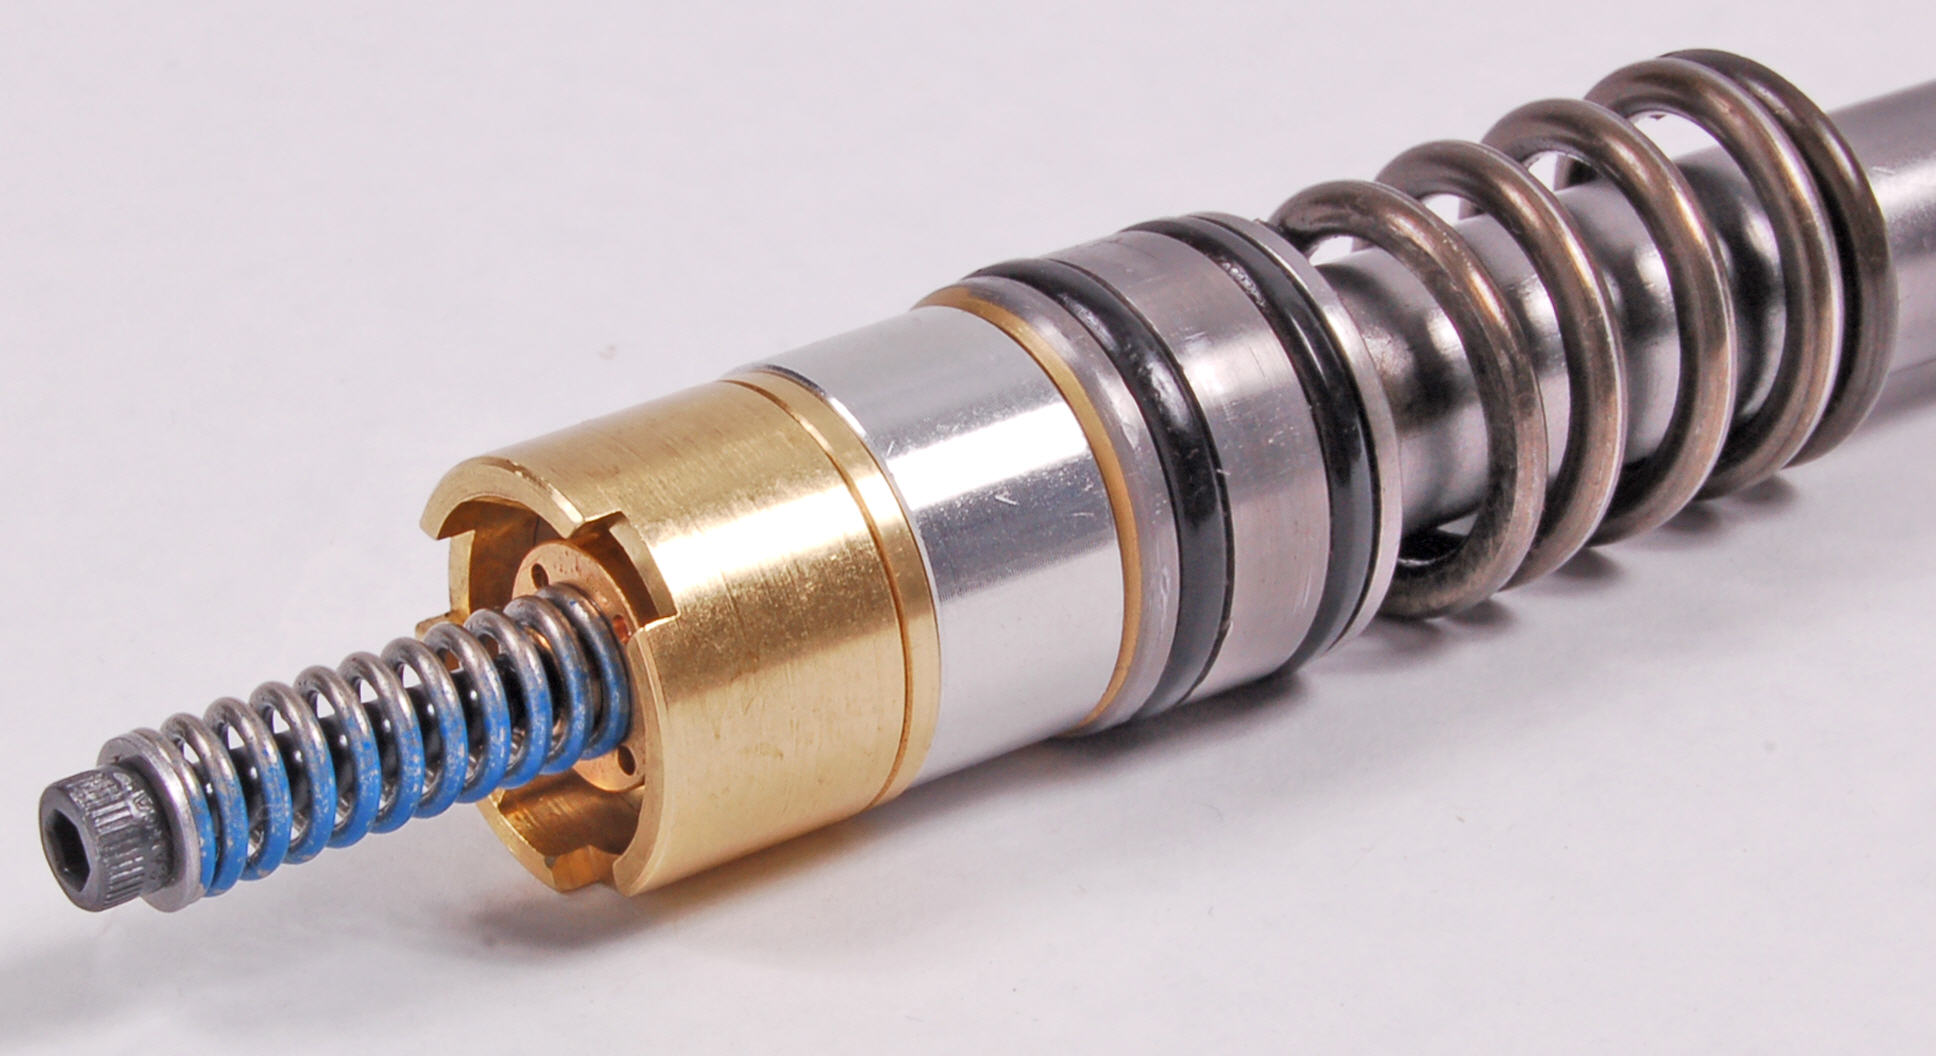
The adapter goes between the damping rod and the Emulator. The main spring holds it all together. See Standard Emulator Instructions for the rest of the assembly including preload and oil level.
|
|


