WP 4CS Forks
|
|
|
|
|
|
|
|
|
|
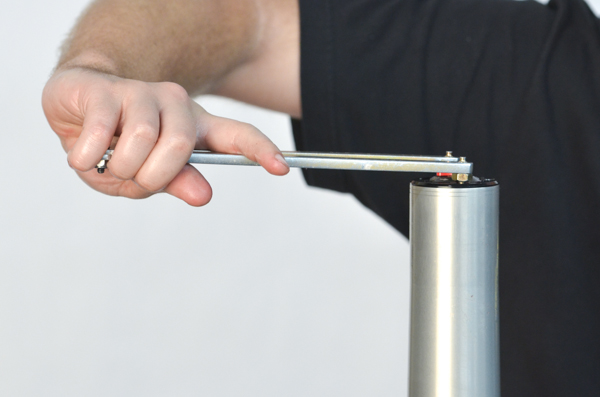
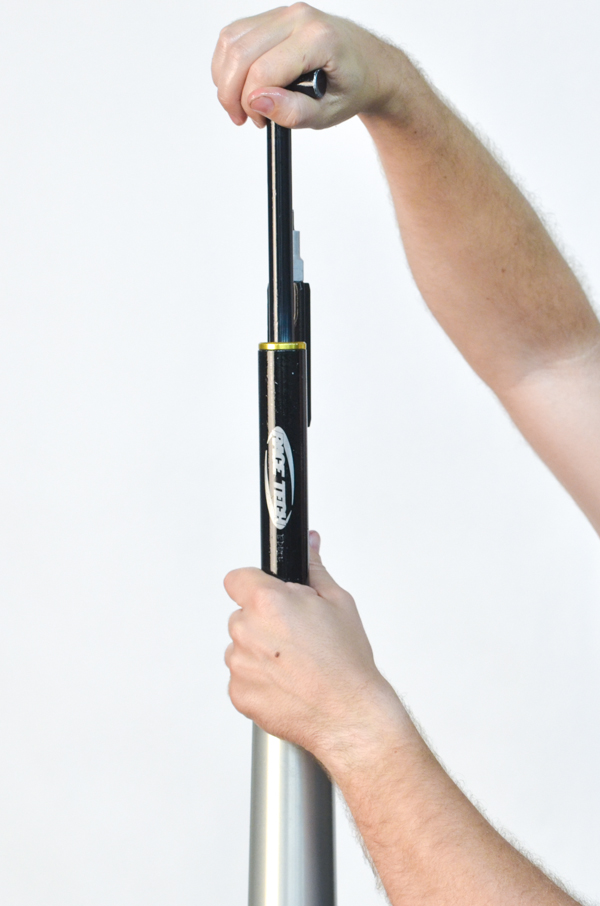
D3- Insert a 19mm open-end wrench between the spring coils to remove the cap from the damping rod.
|
|
|
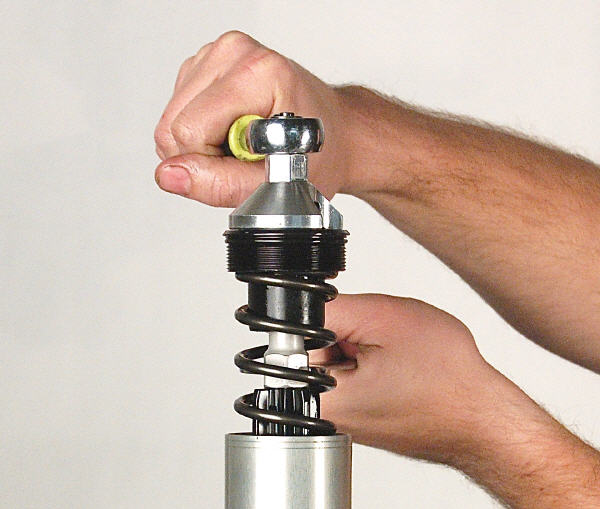
D4- Remove the cap.
|
|
|
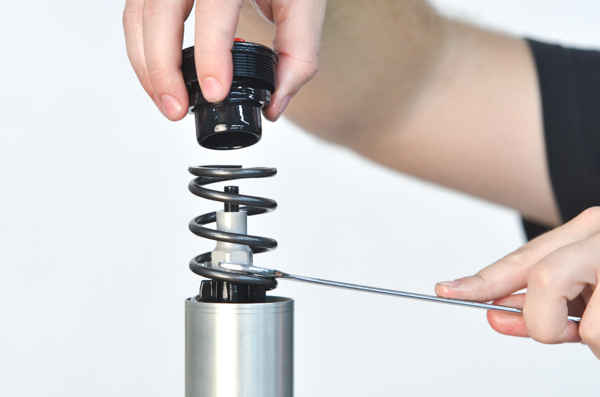
D5- Remove the spring from the fork tube.
|
|
|
D6- Pour out the oil and dispose of properly.
|
|
|
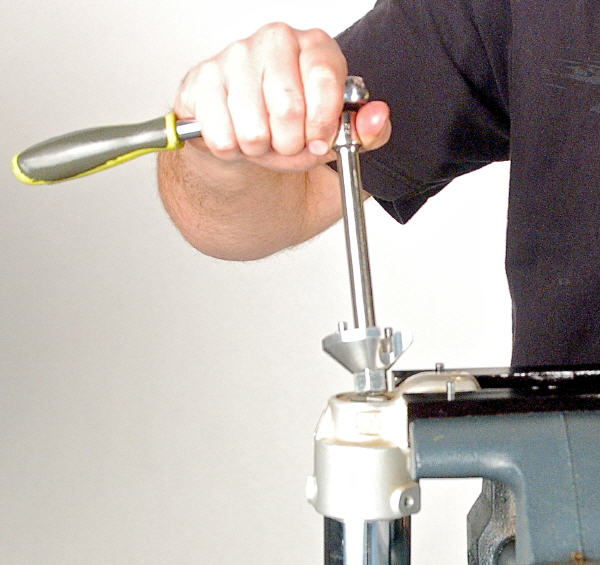
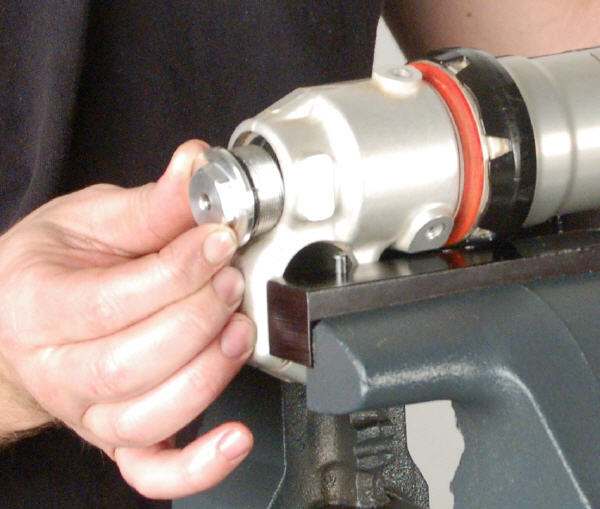
D7- Clamp the fork bottom in a vise. Loosen the compression valve assembly using a 22mm Allen.
This is the same Fork Cap/Comp Assembly Tool (TFCW PS3648) flipped over.
DO NOT USE AN IMPACT WRENCH! LOOSEN BY HAND.
|
|
|
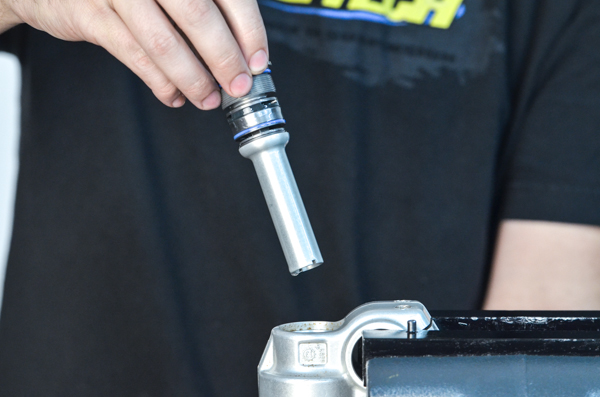
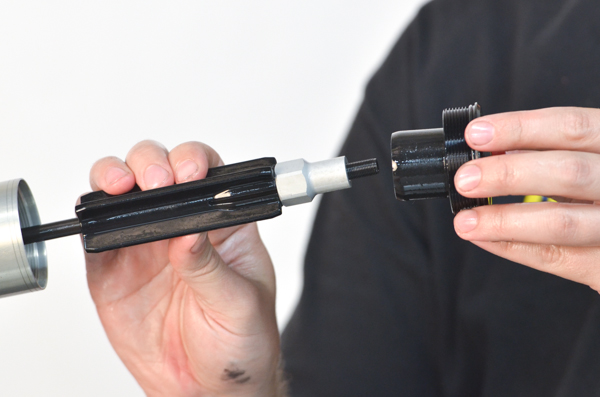
D8- Remove the compression valve assembly from the bottom of the fork..
|
|
|
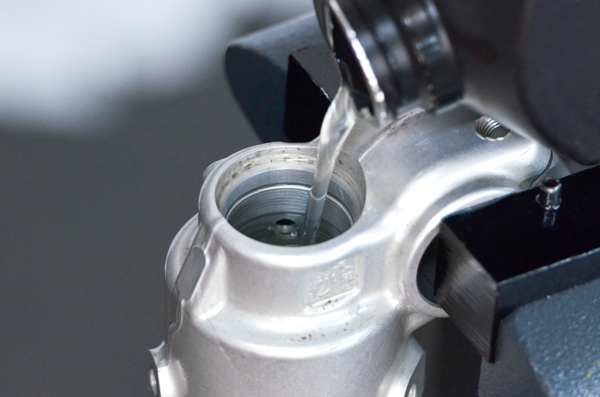
D9- Pour out the oil and dispose of properly.
|
|
|
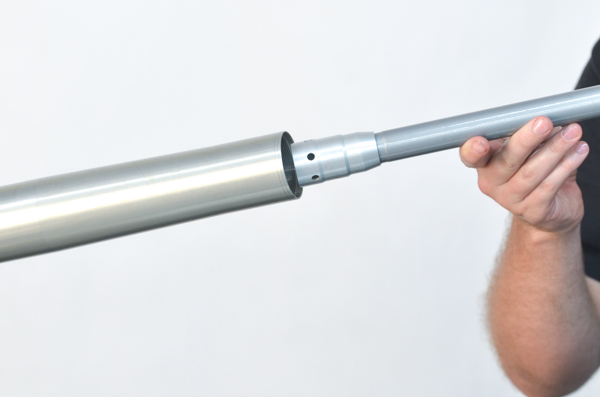
D10- Pull the cartridge...
|
|
|
D11- from the fork tubes.
|
|
|
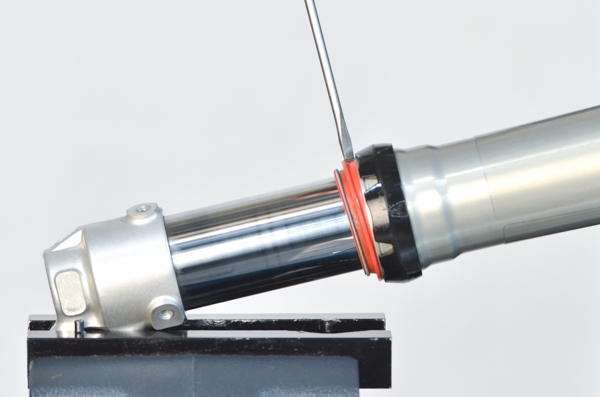
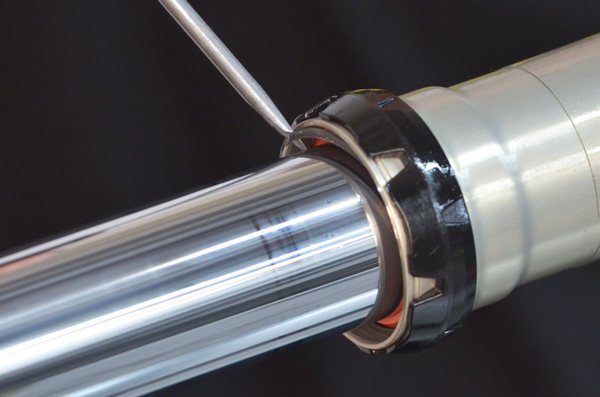
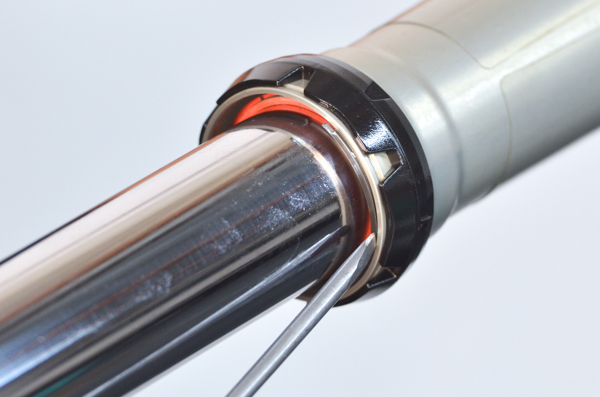
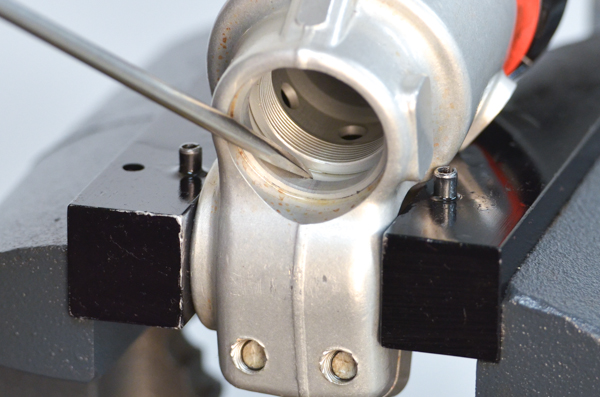
D12- Gently remove the dust seal with a thin flat head screwdriver.
|
|
|
D13- Remove the seal retainer clip with a clip tool (TSCP 01).
|
|
|
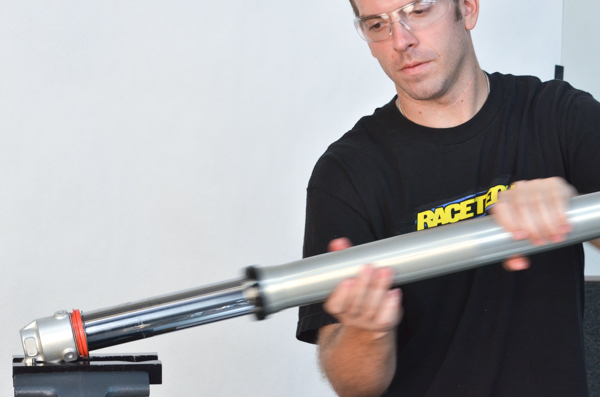
D14- Slide hammer the fork seal and bushings out forcefully.
|
|
|
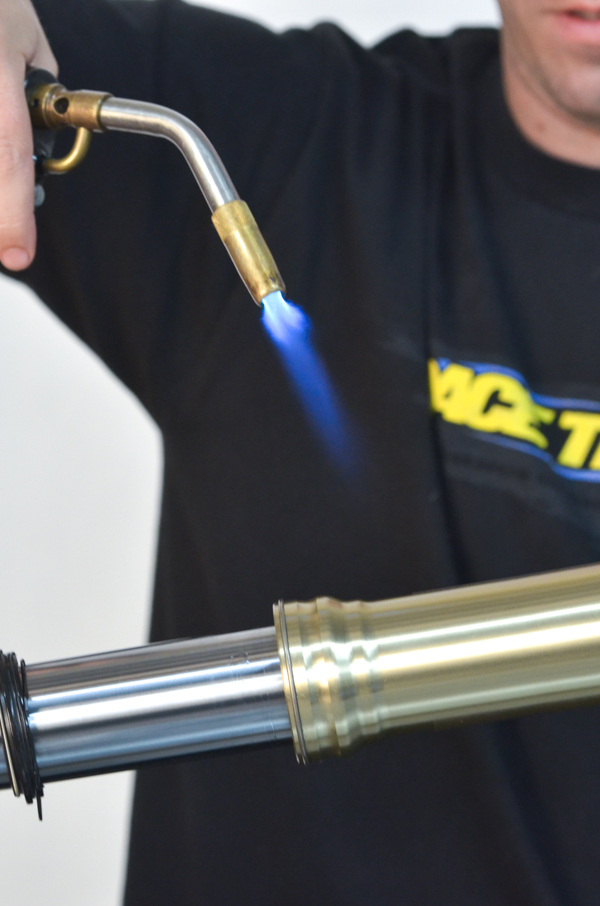
D15- Tip: You may need to heat the seal/bushing area if the tubes don't come apart easily during slide hammering. Try slide hammering after heating the specified area. Use gloves.
|
|
|
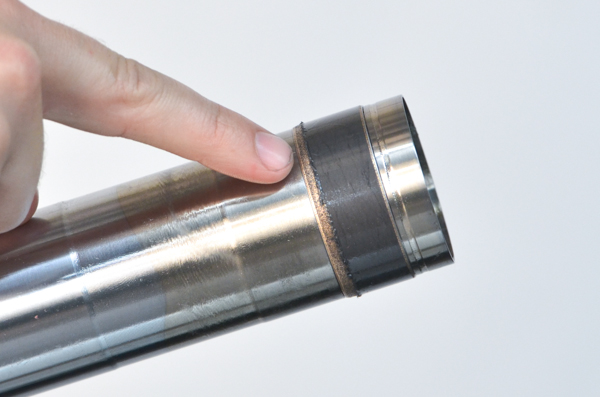
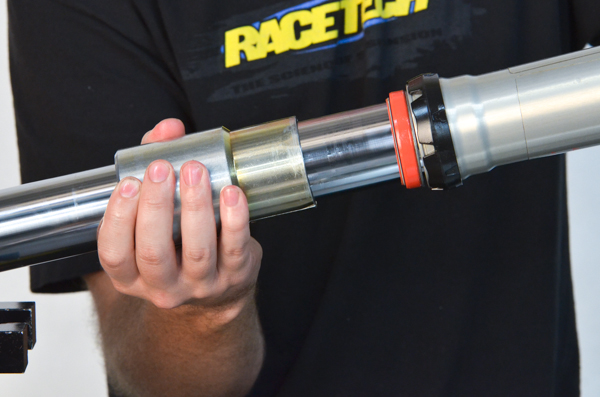
D16- Some forks may suffer damage to the Teflon bushings during disassembly (as shown). Its good to have replacement bushings on hand, just in case.
|
|
|
D17- Tip - Another way to remove the seal with a minimal chance of damage to the bushing is to completely fill the fork with used oil, invert it, remove the wiper and clip, and put it into hydraulic press to force the seal out.
This seems like it could be a big mess but if the fork is completely full and there is no compressible air space, the seal pushes out and a small amount dribbles over the edge.
Once the seal is out it is much easier to get the bushing out.
|
|
|
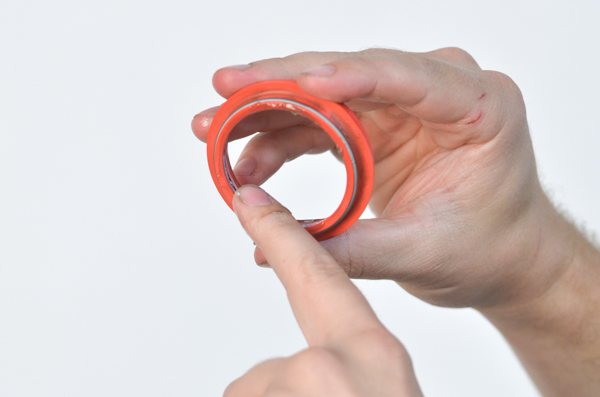
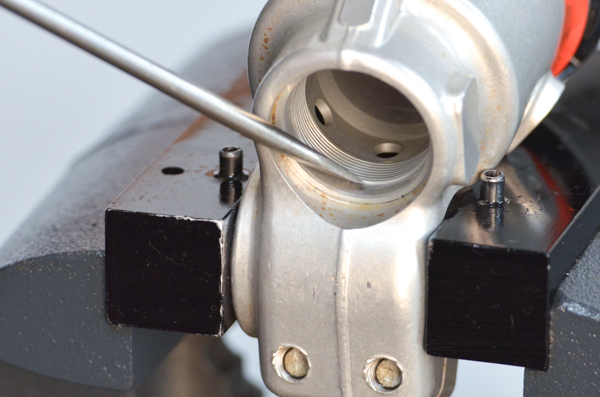
D18- Remove the inner fork bushing by opening up the bushing using your fingernails inserted into the gap. If the bushing is too stiff, gently use a screwdriver.
|
|
|
D19- If you're not replacing seals, use blue masking tape (or equivalent) to cover the sharp edge of the bushing groove during removal.
|
|
|
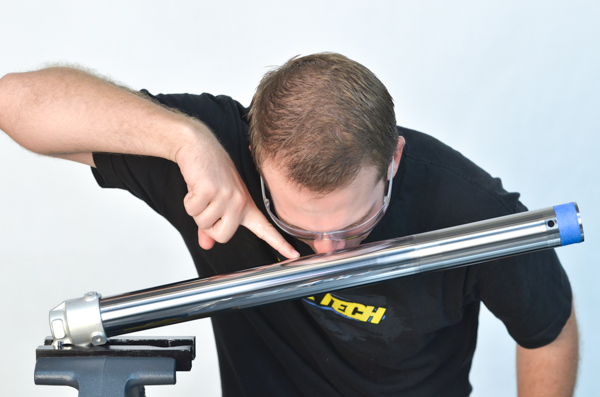
D20- Inspect the fork tube for pits, dings, and straightness.
Come on AJ, take a closer look!
|
|
|
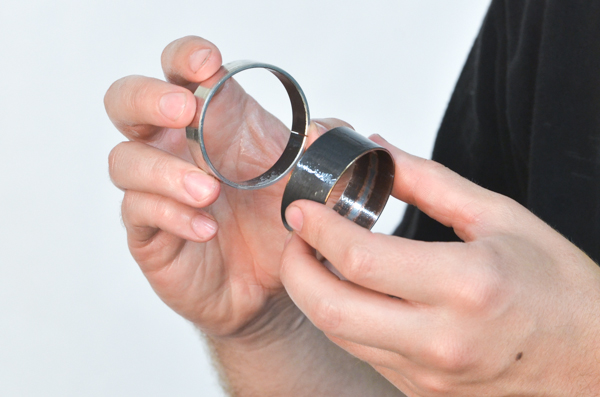
D21- Inspect the bushings for damage, including worn Teflon or embedded material.
If there is embedded material make sure you figure out where it came from so it doesn't happen again!
|
|
|
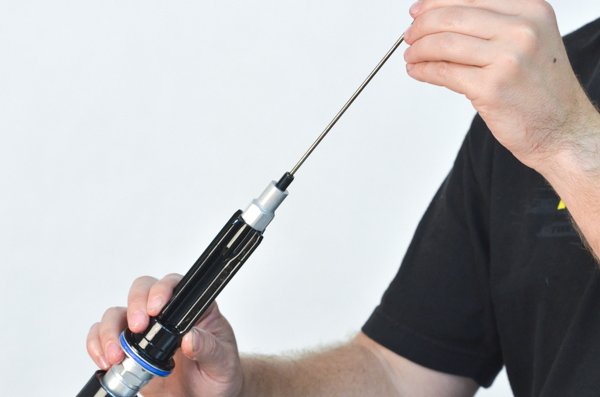
D22- Remove the adjuster rod from the center of the damping rods.
|
|
|
D23- Unscrew the jam nut and spring guide...
|
|
|
D24- and remove it from the rebound rod.
|
|
|
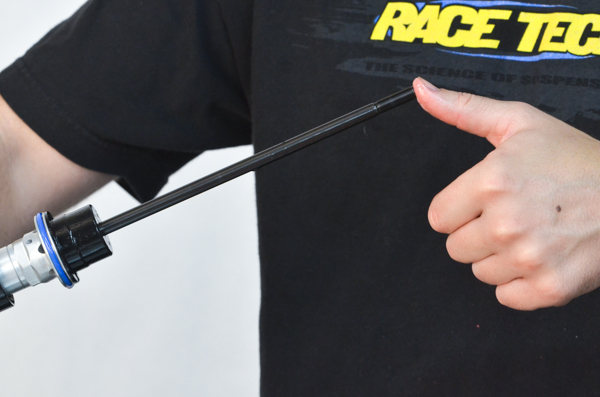
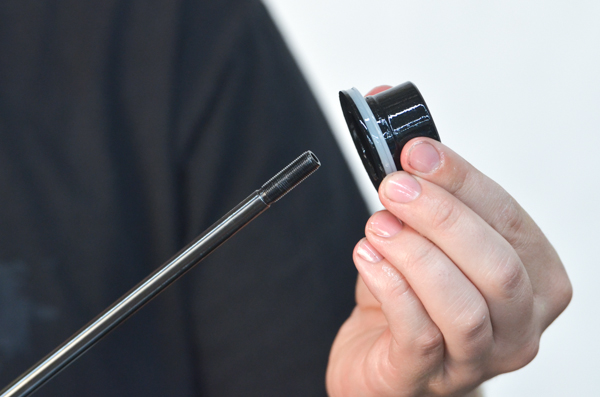
D25- To protect the seal pack the thread with heavy grease and push the damping rod out through the seal.
Note - Seals are available at RT.
|
|
|
D26- When disassembling the forks, be sure to keep the Rebound and Compression sides separate. They are valved identically except for the direction of the Check Valve in the Bottom-out Needle.
Tip - RRR: Red, Right, Rebound go together.
|
|
|
|
|
|
A2- Install the spring seat onto the top of the cartridge.
|
|
|
A3- Install the spring guide and jam nut assembly.
|
|
|
A4- Install the adjuster rod.
|
|
|
A5- Place a thick plastic bag on the end of the fork tube. This will protect the seal from the sharp edges of the inner bushing groove.
|
|
|
A6- Grease the sealing surface of the wiper with Ultra Slick Grease.
|
|
|
A7- Slide the wiper over the plastic bag (installation tool). Pull the bag taught to help the wiper have a smooth ride over the edge.
|
|
|
A8- Install the seal clip onto the tube.
|
|
|
A9- Grease the ID of the seal.
|
|
|
A10- Slide the seal over the plastic bag. Once again, keep it taught for easy installation.
|
|
|
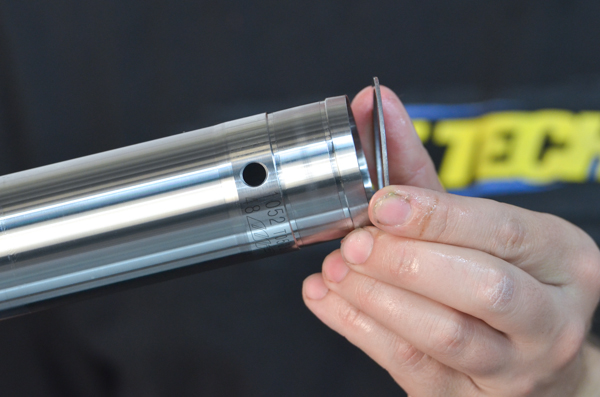
A11- Install the seal washer.
|
|
|
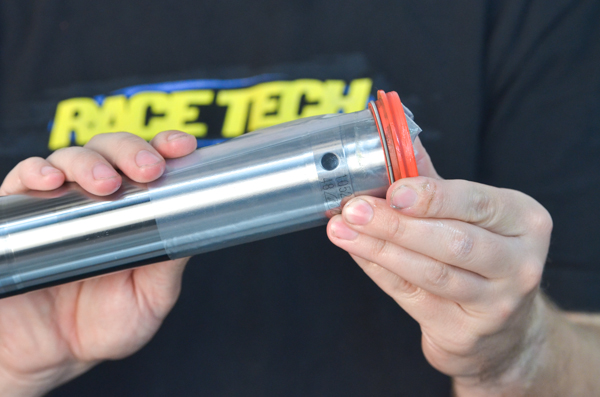
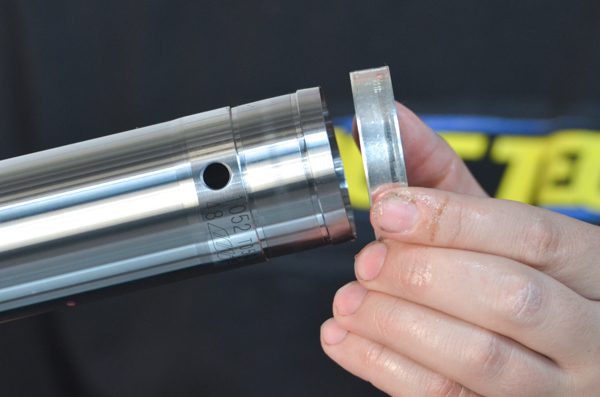
A12- Install the outer bushing.
|
|
|
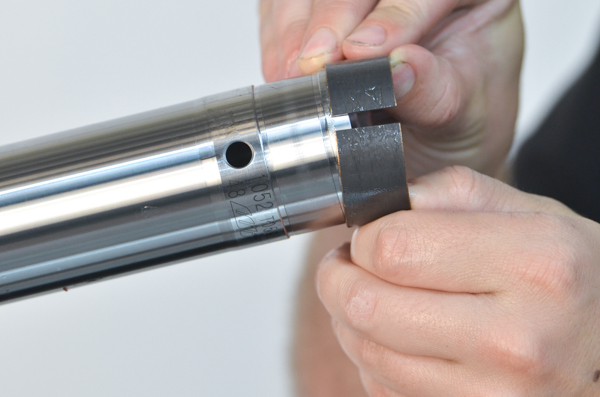
A13- Install the inner bushing into its groove.
|
|
|
A14- Using a seal driver and fork tube, slide the fork tube into the firmly held seal driver and drive in the outer bushing with the washer.
|
|
|
A15- Install the oil seal with the seal driver.
|
|
|
A16- Install the clip. Make sure it is seated in the groove.
|
|
|
A17- Install the dust seal.
|
|
|
A18- Install the cartridge into the fork tube.
|
|
|
A19- Make sure the cartridge is fully bottomed out.
|
|
|
A20- If there is space between the cartridge and the fork bottom (shown in the photo) the cartridge is not full installed.
|
|
|
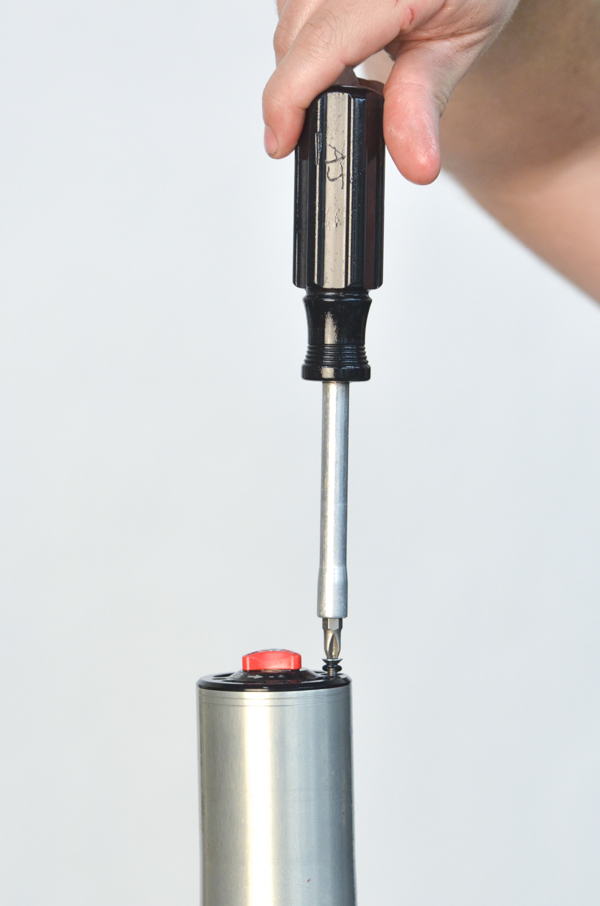
A21- Install the adjusting rod then temporarily install the cap onto the rebound rod.
|
|
|
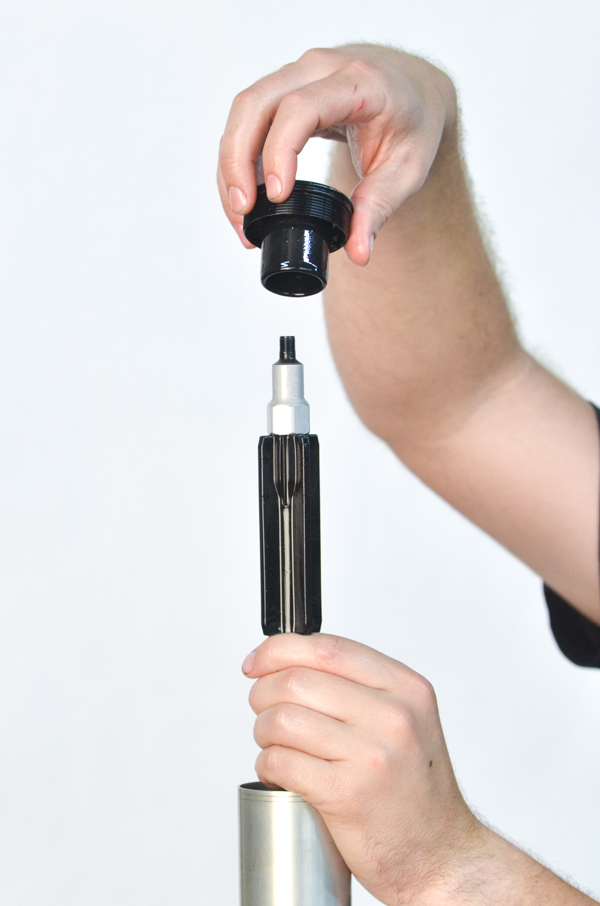
A22- Install the fork cap into the outer fork tube.
|
|
|
A23- Loosely tighten the fork cap.
|
|
|
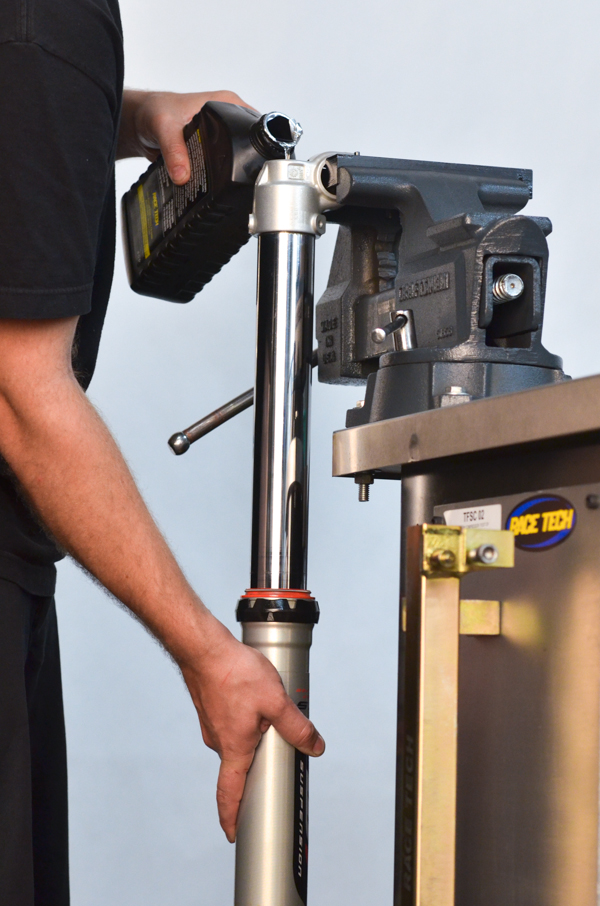
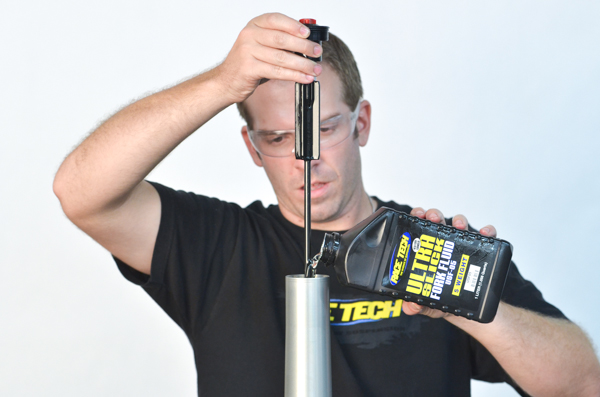
A24- Put the fork upside-down in a vice. Pour oil into the cartridge until it is full. Bleed the cartridge by gently pumping the damping rod.
|
|
|
A25- Once the oil level gets above the large holes in the end of the cartridge it will start to fill the chamber on the outside of the cartridge.
|
|
|
A26- Slightly compress and extend the outer fork tube while pouring in oil until the bubbles have stopped.
|
|
|
A27- Install the compression base assembly. Oil will overflow.
|
|
|
A28- Tighten the compression base assembly.
DO NOT USE AN IMPACT WRENCH! TIGHTEN BY HAND.
|
|
|
A29- Continue to bleed the cartridge using the following method:
Remove the bleed screw in the fork cap.
|
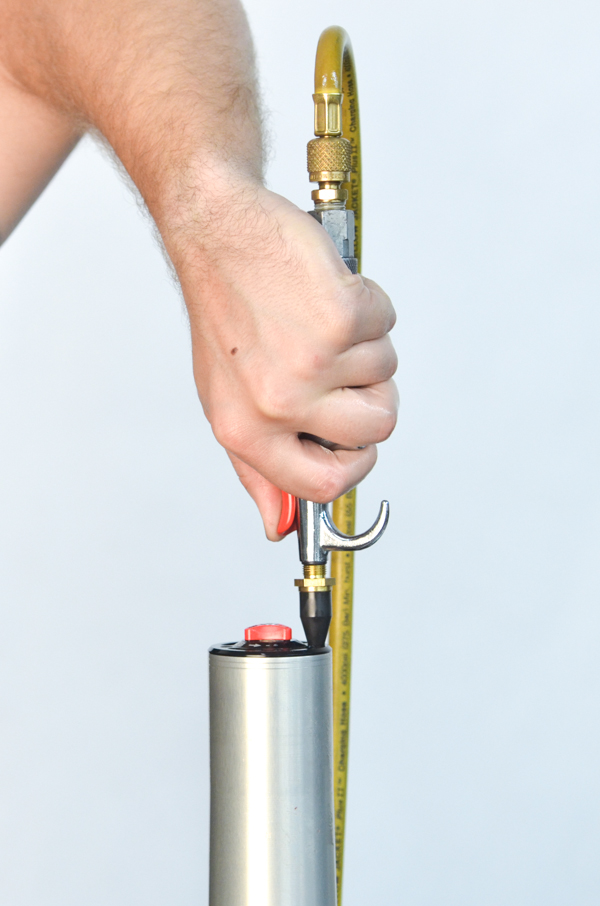 |
A30- Slightly pressurize the fork...
|
|
A31- and slowly release pressure. Repeat this 4 times. It will extend the fork enough so the notch in the end of the damping rod will get into the seal. This will bleed the remaining air out of the lower chamber.
|
|
|
|
A32- Reinstall the bleeder screw.
|
|
|
A33- Loosen and remove the fork cap from the end of the damping rod.
|
|
|
A34- Pour oil into the top chamber of the fork. Initially you will be putting in too much oil then sucking out the excess with an oil level tool.
|
|
|
A35- Set the tool (TFOL 02) to the correct oil level.
|
|
|
A36- You will need to extend the outer fork tube all the way before setting the oil level. This is because there is a space between the inner and outer fork tube. To set the oil level correctly you must evacuate this area. Extending the fork tube all the way does this.
With the Outer Fork Tube bottomed and the Damping Rod fully extended, suck out the excess oil.
|
|
|
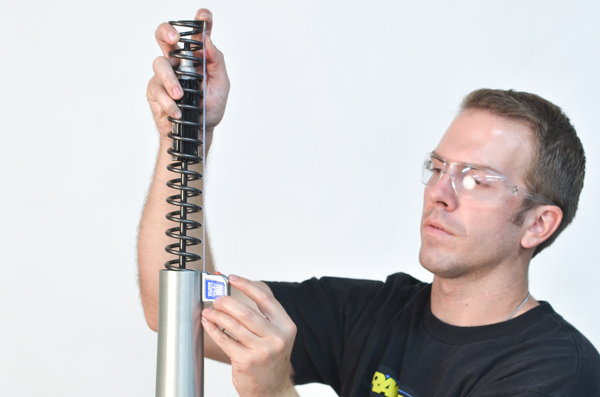
A37- Adjust the Fork Spring Preload. Install the fork spring.
|
|
|
A38- Bottom the Outer Fork Tube fully.
Measure from the top of the Spring to the top of the Outer Fork Tube.
This is the Relaxed Length Reference.
|
|
|
|
|
|
A40- With the adjuster backed out all the way install the cap fully onto the rod.
Measure from the top of the Outer Fork Tube to the bottom edge of the Fork Cap. Add 7mm for the recess depth. This is the Set Length Reference. The Relaxed Length Reference minus the Set Length Reference is the Preload.
Make sure there is positive preload. In other words the Relaxed Length Reference is greater than the Set Length Reference.
Adjust the preload by adding or subtracting preload washers in the recess on the cap. This should be 3-5mm.
|
|
|
A41- Preload washers can be installed into the recess in the cap to add preload.
|
|
|
A43-Tighten the jam nut to the fork cap on the damping rod.
|
|
|
A44- Tighten the fork cap.
|
|
|
A45- Set the compression and rebound adjusters to the recommended settings.
Have fun!
|


