FORK COIL SPRING CONVERSION INSTALLATION
|
|
|
|
Supplies
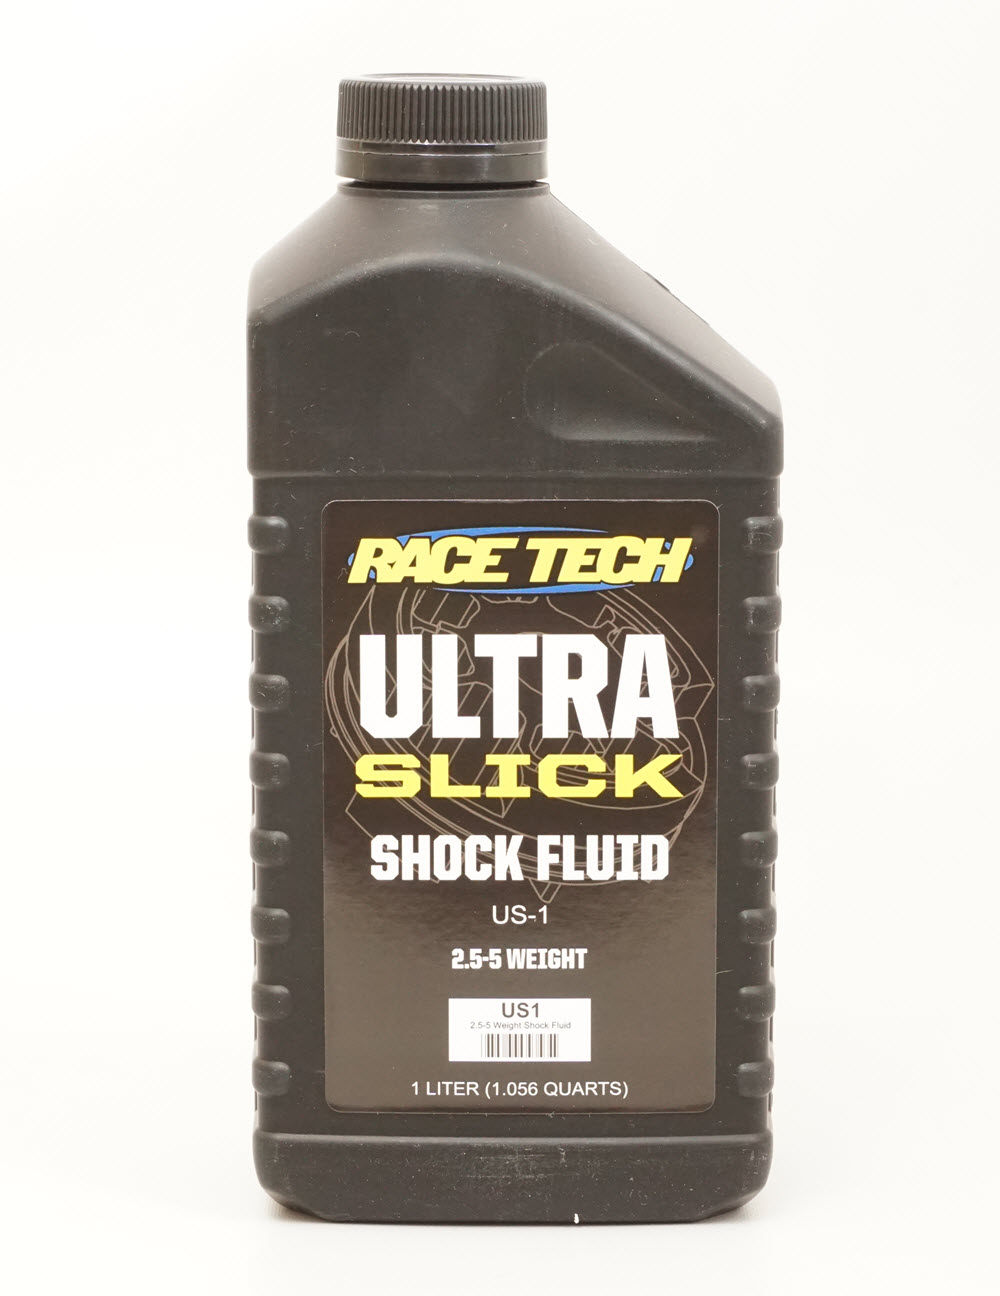
USF-05 Fork Oil - extremely slippery
Contact Cleaner - or other good, clean solvent
Fork Springs (check the Product Search for rate recommendations)
|
|
|
Tools Required
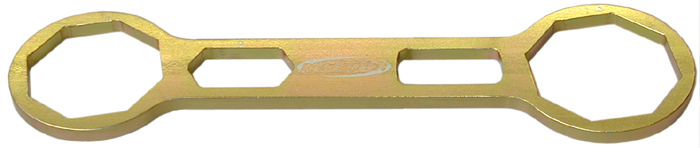
- TFCW 4650 - Fork Cap Wrench
- TMVJ 065 Vise Jaws mounted on a Vise - suggested
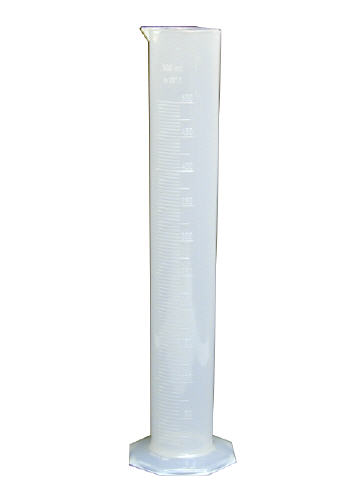
- TFGC 500 - Graduated Cylider
- Propane Torch - for disassembly of the Rebound Cartridge
|
|
|
|
|
|
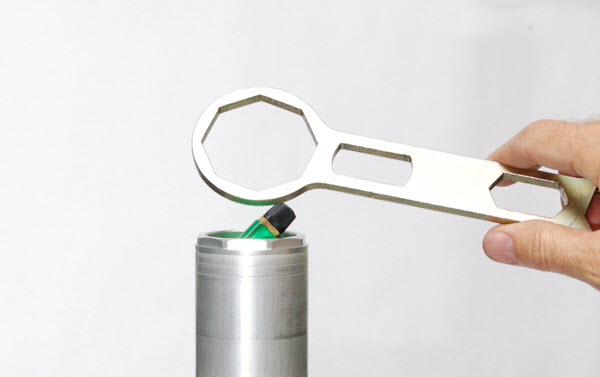
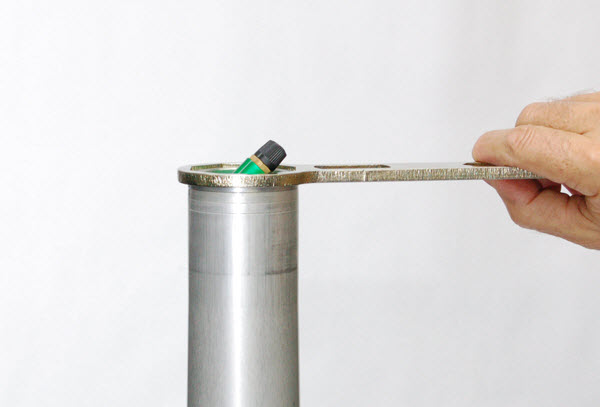
SP2- Depressurize the fork and remove the Cap.
Use the TFCW Fork Cap Wrench.
Pour out the old oil and dispose of it properly.
|
|
|
SP3- Use a 14mm Allen Socket to remove the Bottom Bolt. Do not use an impact!
|
|
|
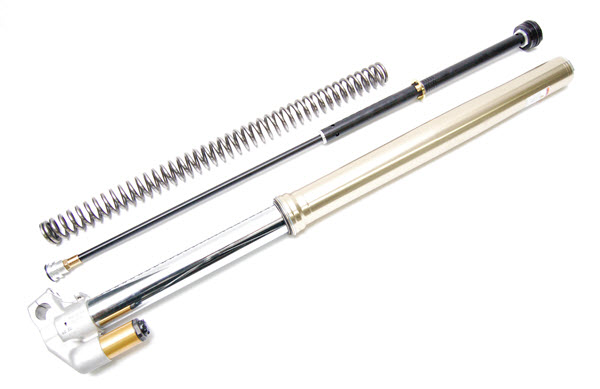
SP4- Slide out the stock Cartridge from the top.
Clean everything or, at minimum, drain the oil.
Note - If you are switching to Ultra Slick Oil the more old oil you remove, the less contaminated the new oil will be and the slipperier it will be.
|
SPRING LEG ASSEMBLY - CONVERT THE COMPRESSION ADJUSTER LEG |
|
|
|
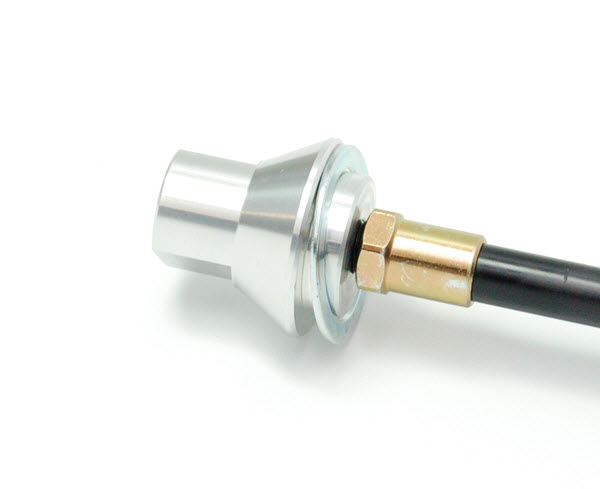
SP5- SETTING FORK SPRING PRELOAD
Setup the Fork Spring Preload on the FSCS Spring Cartridge to 3-5mm.
Use a Steel Washer (shown) between the Fork Spring and the bottom Base Adapter. Do not put the Spring directly on the Base Adapter or it will chip pieces of aluminum into the oil and damage the forks.
|
|
|
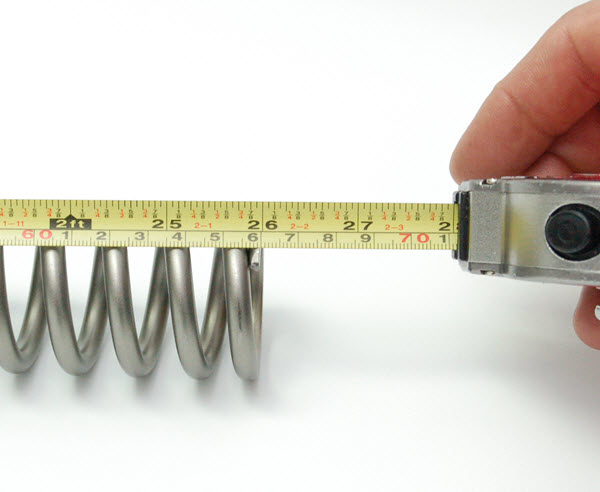
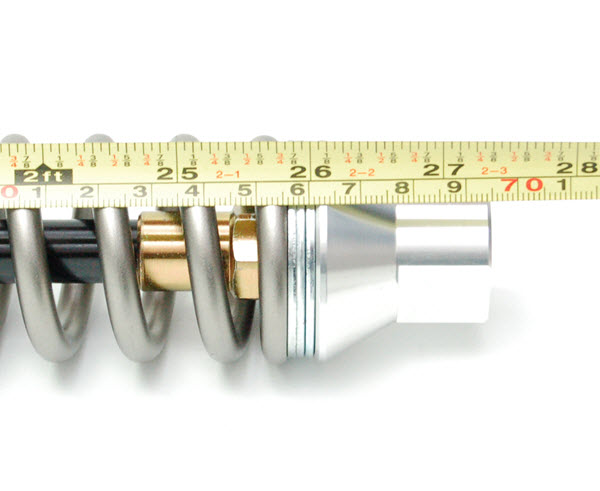
SP6- Measure the Free Length of the Spring. In this case it is 660mm.
|
|
|
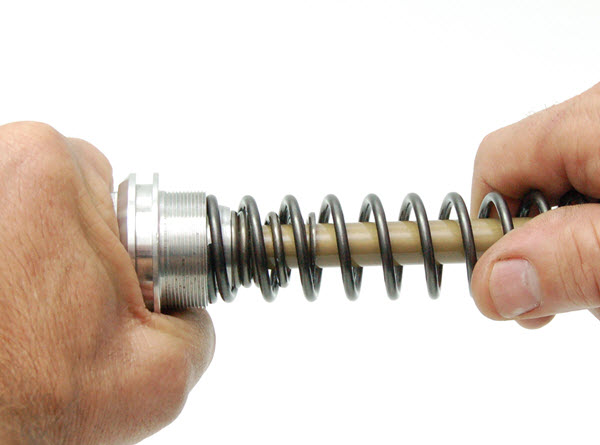
SP7- Install the Spring onto the FSCS Cartridge. Make sure the Jam Nut is fully installed. Make sure one Spring Washer is between the Spring and the Adapter.
|
|
|
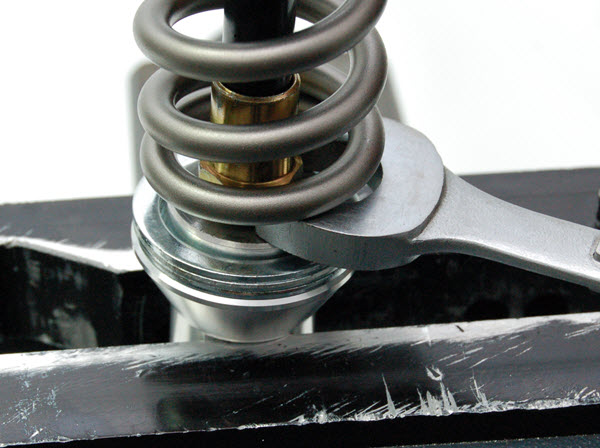
SP8- Tighten the Preload Adjusting Nut to add Preload.
|
|
|
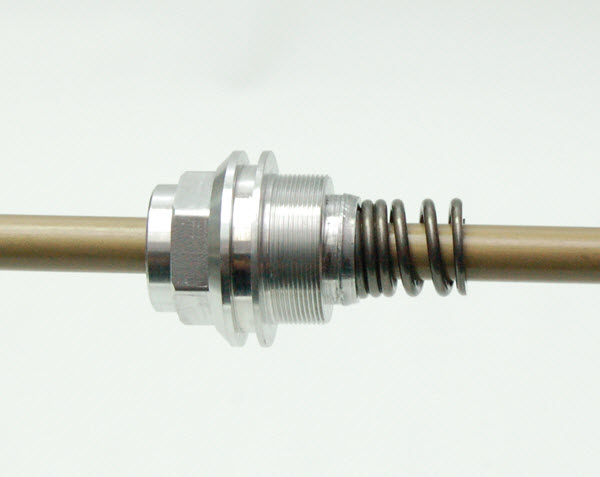
SP9- Measure Installed Spring Length. In this case it is 656mm.
The difference between the Free Length and the Installed Length is the Preload.
660 Free Length
-656 Installed Length
4 mm Preload
Tighten the Preload Adjusting Nut to achieve 3 to 5mm of Preload.
Once you have achieved the desired Preload be sure to tighten the Preload Adjuster Jam Nut.
|
|
|
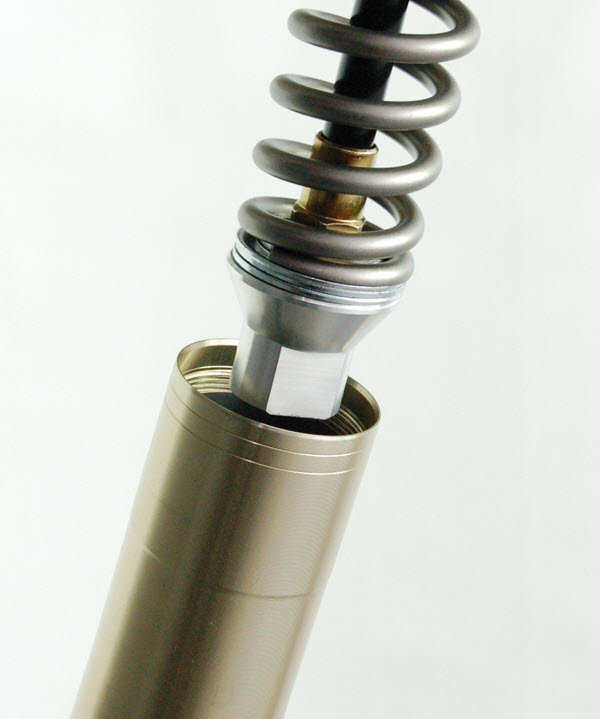
SP10- Install the complete Spring Conversion Cartridge into the fork tubes.
|
|
|
SP11- Use the stock Bottom Bolt in the Spring Only Leg and tighten it.
|
|
|
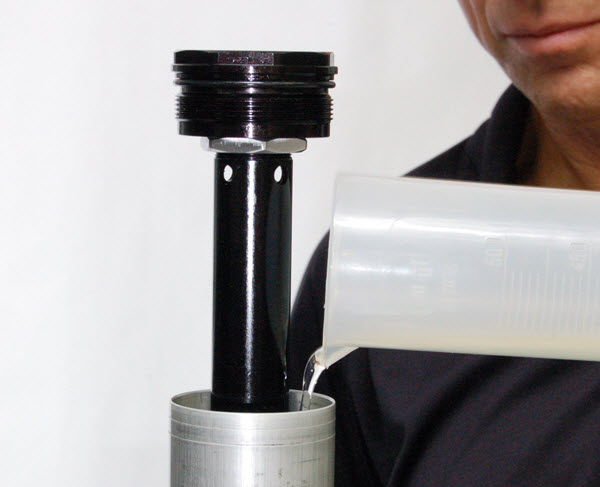
SP12- Use the Graduated Cylinder and install the proper amount of Fork Fluid. No bleeding necessary.
USF-05 Fork Oil is preferred as it is impressively slippery (if I do say so myself).
Use USF- 05:
550cc for motocross
580cc for SX
530cc for off road
in this leg only.
|
|
|
SP13- Tighten the Fork Cap.
|
MODIFYING THE "DAMPING LEG"The Compression Body has a LSV (Low-Speed Valve) already built in. In stock form, however, it does not have a Compression Adjuster. You will be adding a Compression Adjuster on the bottom.
The Stock Compression Body has a tiny bleed hole in it. It must be drilled out to make the new Compression Adjuster effective.
The stock Balance Spring will be removed. It is not required for the coil spring setup.
|
|
|
|
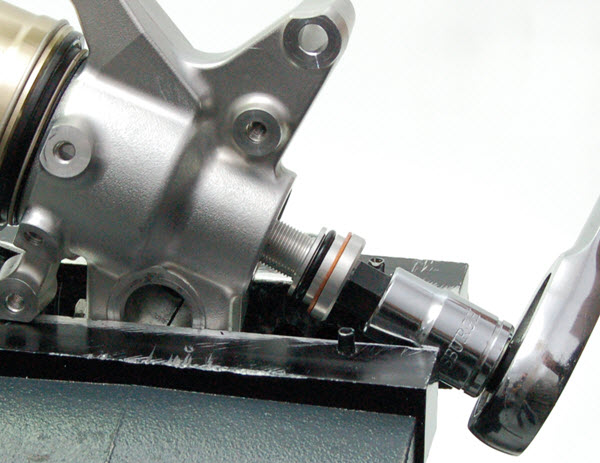
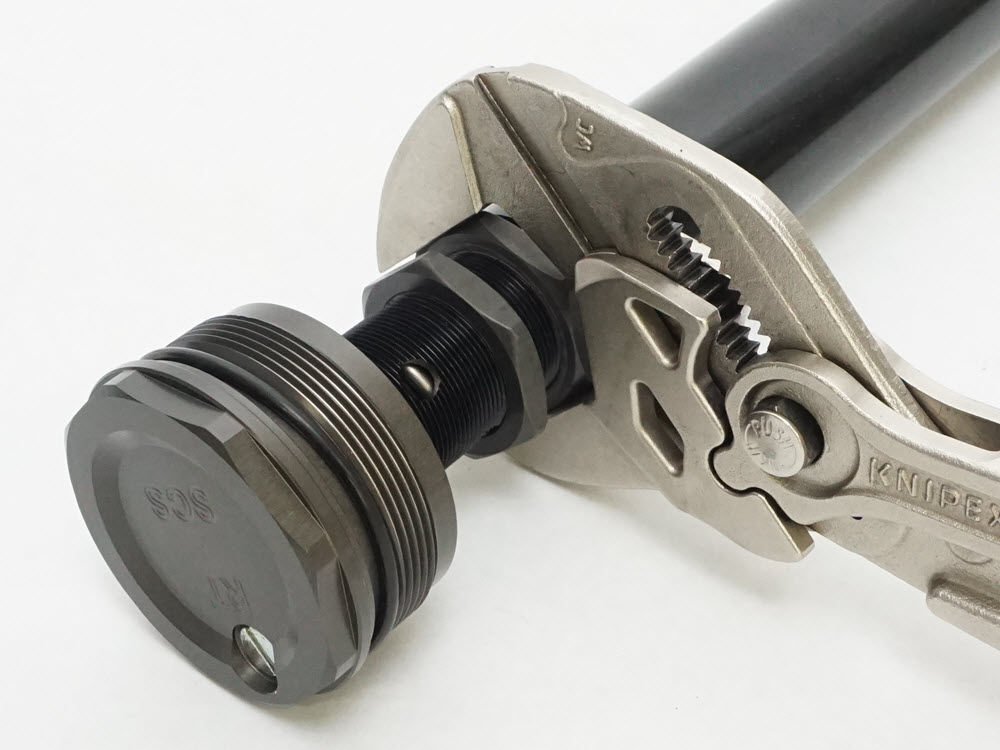
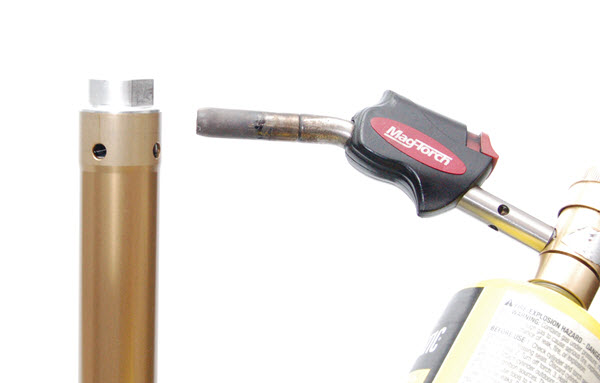
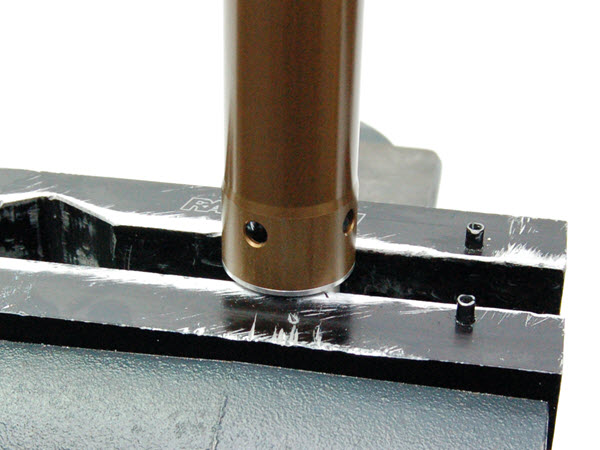
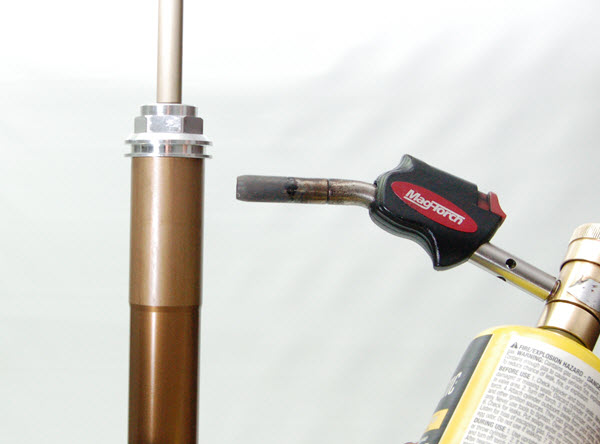
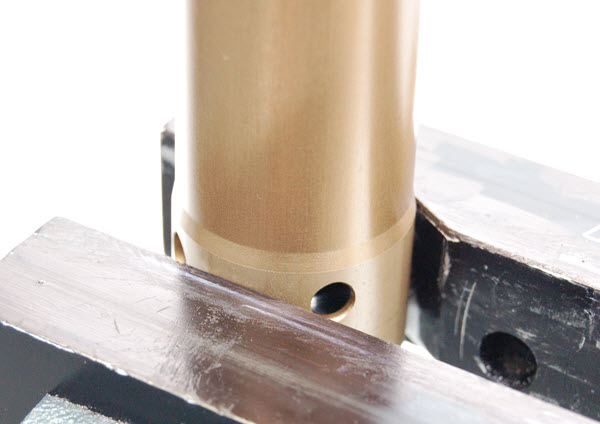
D1- Remove the Compression Base at the bottom. This cartridge can be a bit difficult to disassemble. We've found it's best to use a little heat. Use a Propane Torch. Do not heat more than 350 degrees F.
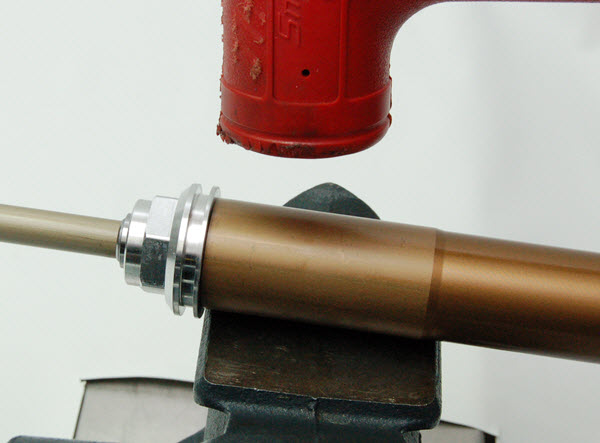
Heat the Cartridge Tube at the bottom where the Compression Body screws into it. It is often helpful to "shock" the thread by laying the Cartridge Tube on its side on the anvil of a vise and hitting it around its curcumference with a plastic mallet.
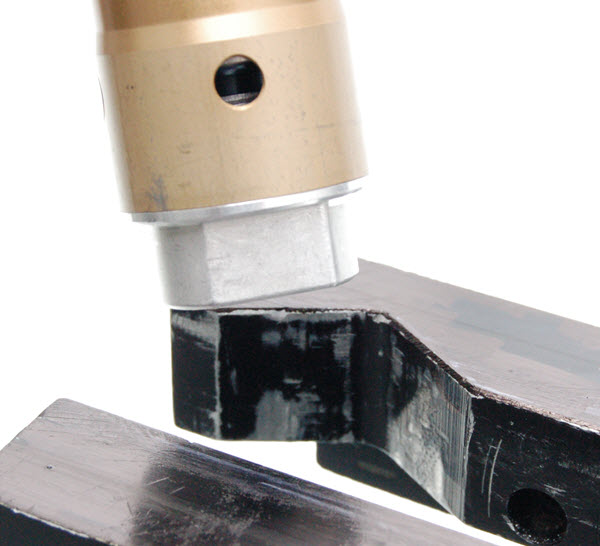
Clamp the flats of the Compression Base in a vise and unscrew the Compression Base. (Be careful not to burn yourself.)
Clean off the thread lock from the thread and reinstall the Compression Base Assembly back into the Cartridge Tube.
|
|
|
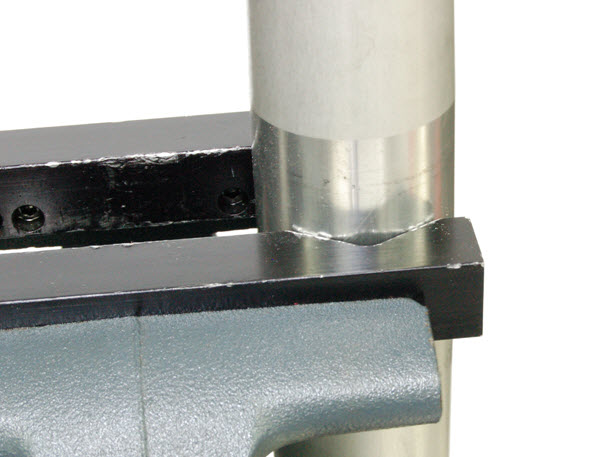
D2- Remove the Seal Head and Rebound Rod Assembly from the Cartridge Tube. Remove the plastic Seal Head Piston Ring so it won't get melted. Use heat and shock the thread if necessary.
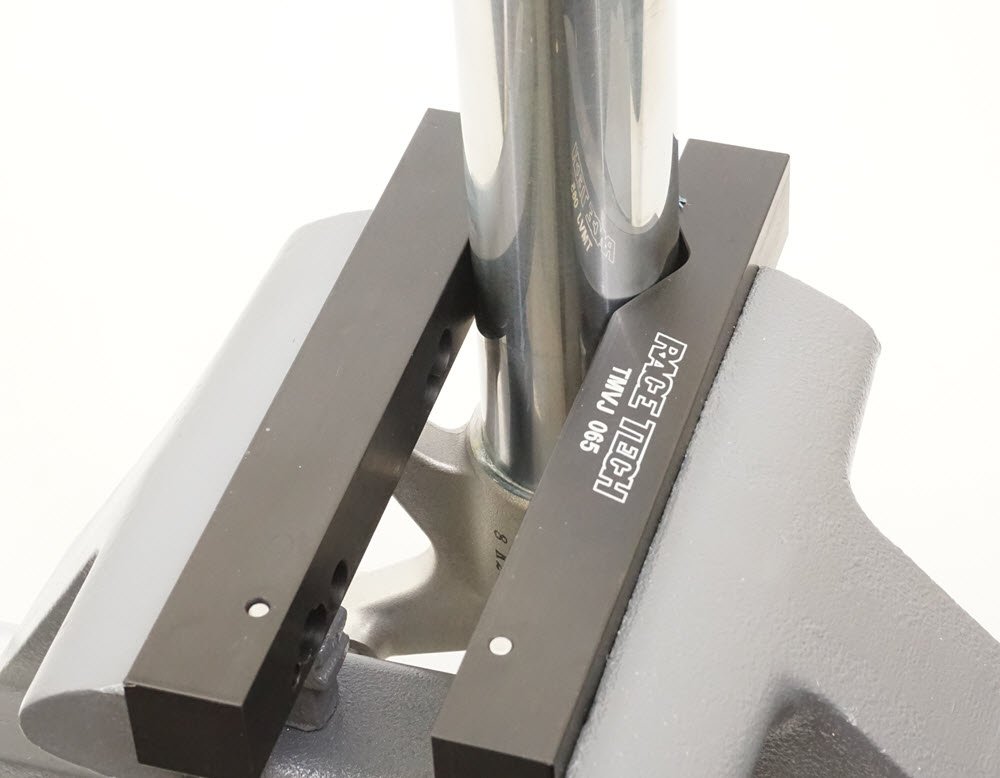
Clamp the Cartridge in the "V" of the TMVJ 065 Vise Jaws at the very bottom of the cartridge. This is where the thread from the Compression Base can support the tube so it won't be crushed.
|
|
|
D3- Disassemble the Compression Base. File off the peening from the end of the Valving Shaft and remove the nut. Remove the Valving Stack from the shaft. Chamfer the end of the shaft with a fine flat file. Clean everything.
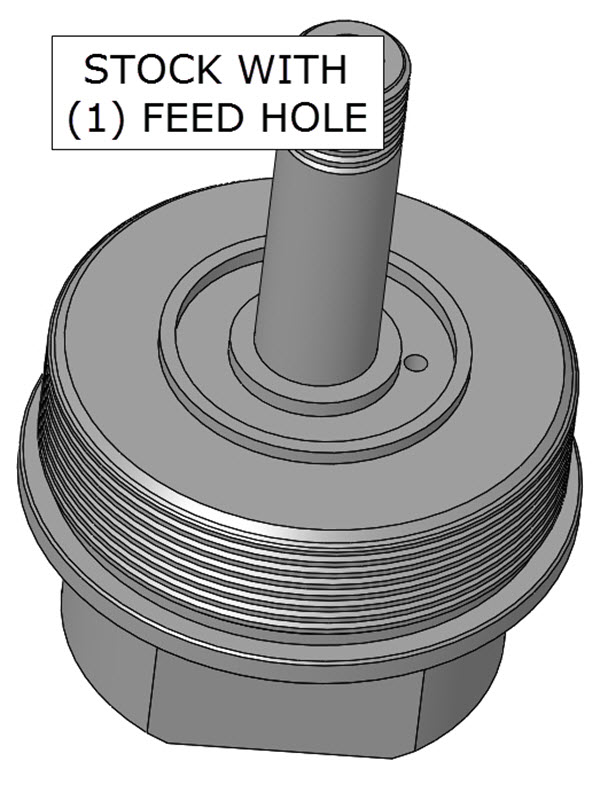
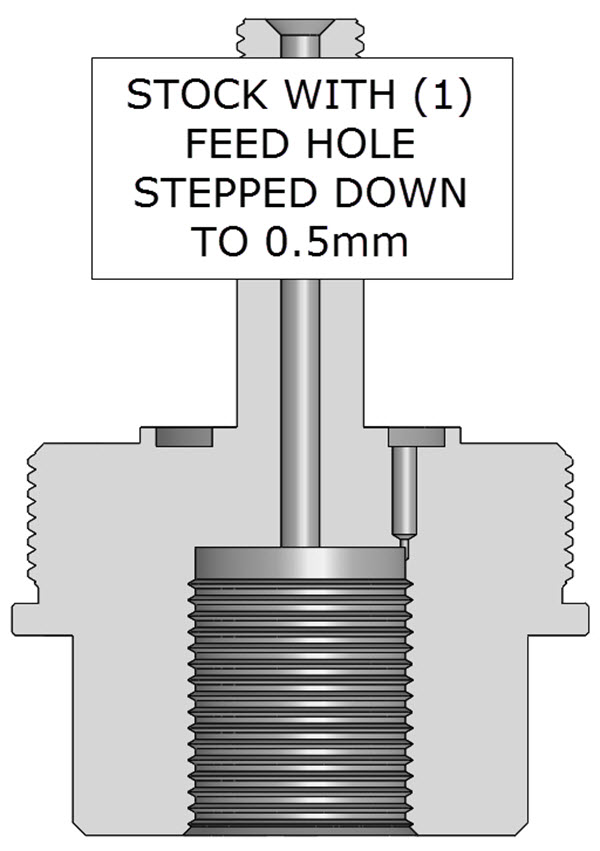
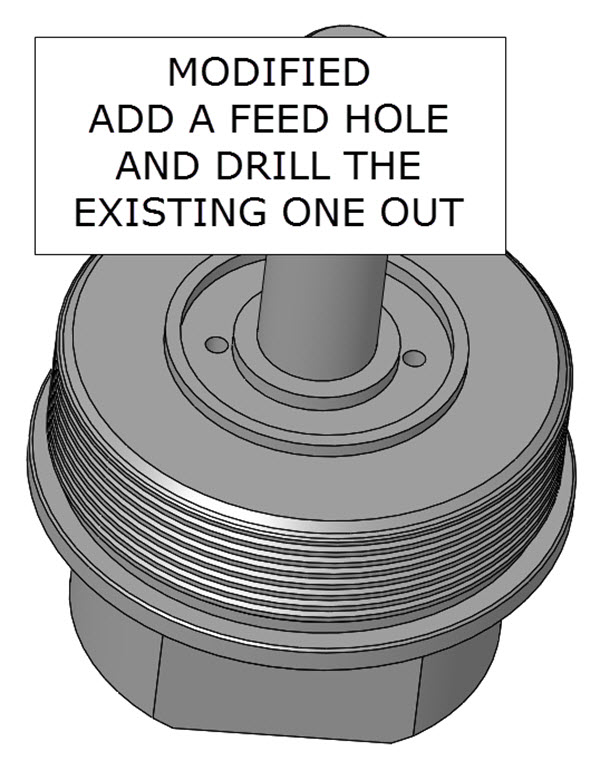
MODIFY THE COMPRESSION BASE FEED HOLES
Stock there is a 1.5mm pilot hole drilled axially in the adjuster (shown). Near the bottom this hole necks down to 0.5mm. Drill out this hole to 1.5mm (1/16"). Drill another feed hole on the other side. Clean everything.
|
|
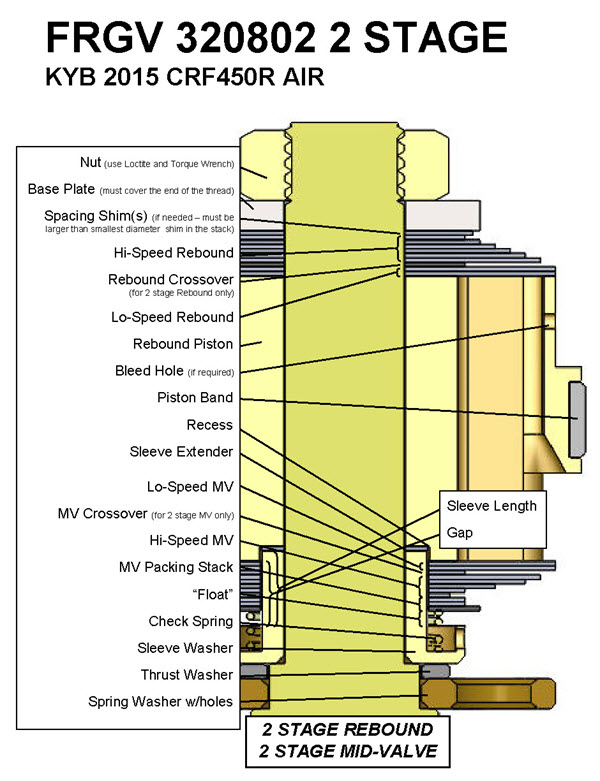
D4- Disassemble the Cartridge Rod Assembly. File off the peening on the Rebound Shaft, remove the nut, and remove the Rebound Valving Assembly.
|
|
|
|
D5- Remove the long Balance Spring but retain the stock Top- Out Spring.
|
INSTALL COMPRESSION AND REBOUND GOLD VALVESCall Tech Support for Gold Valve Valving Specs. Keep in mind that this one leg is now creating all the damping instead of half.
|
|
|
|
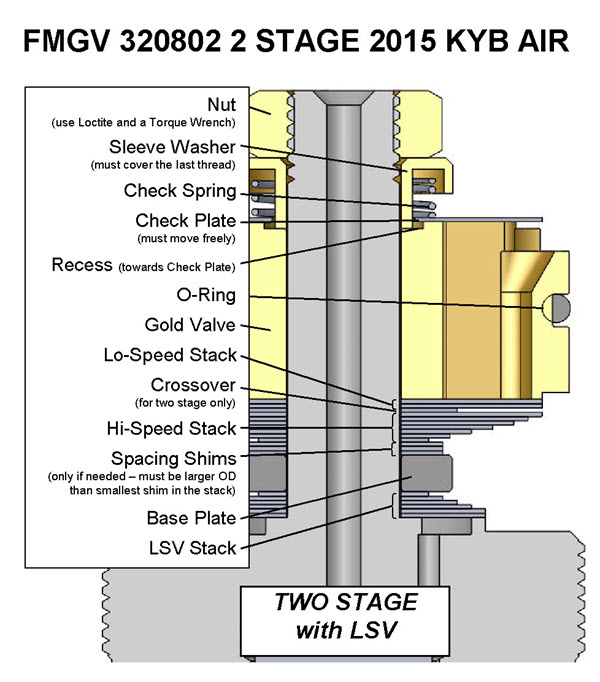
COMPRESSION VALVING
D6- This is a Post Type Compression Assembly.
It has a LSV Valve (Low Speed Valve) below the compression stack.
You will replace the stock Wave Washer and Cupped Washer with the ones supplied in the kit.
|
|
|
|
|
D8- Reassemble the Damping Cartridge. Use Loctite.
|
|
|
|
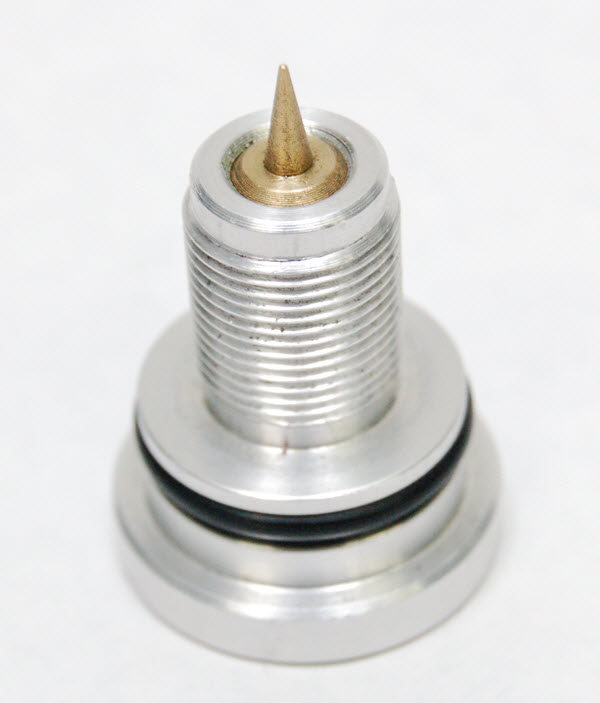
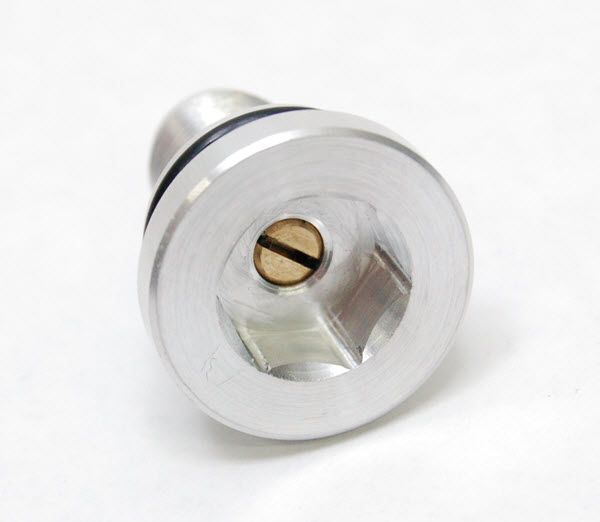
D9- Remove the copper washer from the stock Base Bolt and install it on the new Adjustable Base Bolt. Back out the Compression Adjuster Screw counterclockwise all the way before installation.
|
|
|
D10-Install the Damping Cartridge into the Fork Tubes and tighten the bottom Compression Adjuster Bolt.
|
|
D11- Add USF-05 Fork Oil. Use the recommended volume from your DVS Setup Sheet. Set the Adjuster Clickers.
|
|
|
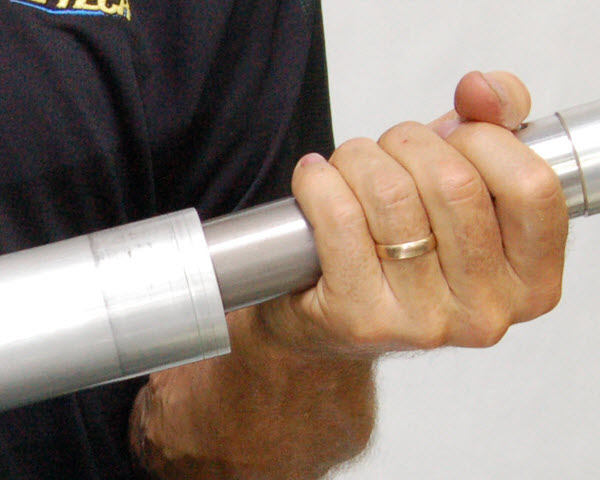
Improper fork installation is, perhaps, the most common error that is made. This has a huge effect on harshness!
Have fun!
|
|


