FORK COIL SPRING CONVERSION INSTALLATION
|
|
|
|
Supplies
USF-05 Fork Oil - extremely slippery
Contact Cleaner - or other good, clean solvent
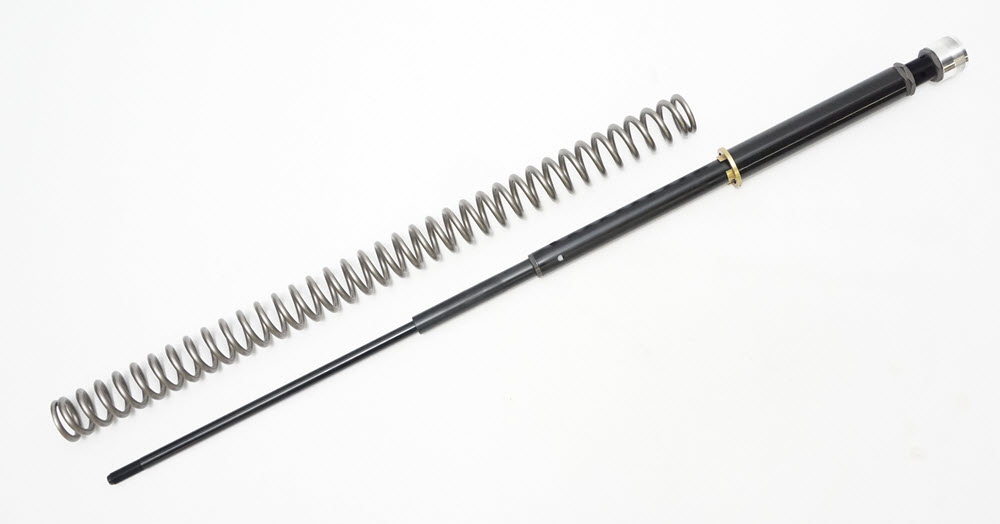
Fork Springs (check the Product Search for rate recommendations)
|
|
|
Tools Required
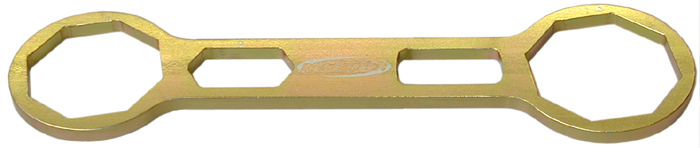
- TFCW 4650 - Fork Cap Wrench for the new cap (sorry)
- TFCW 50H - Fork Cap Wrench for the stock cap
- TMVJ 065 Vise Jaws mounted on a Vise - suggested
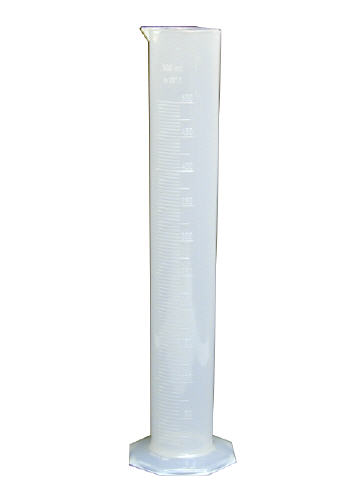
- TFGC 500 - Graduated Cylider
|
|
|
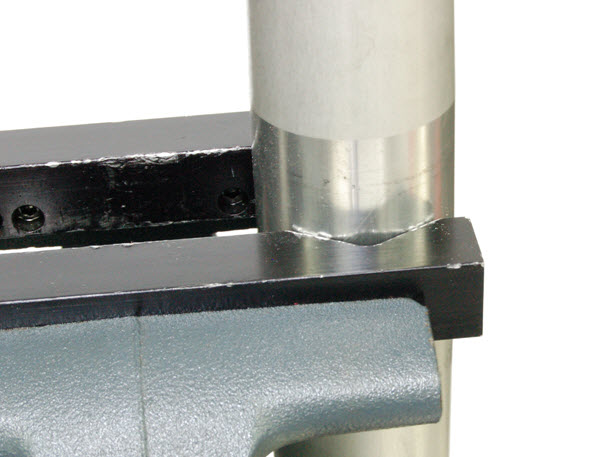
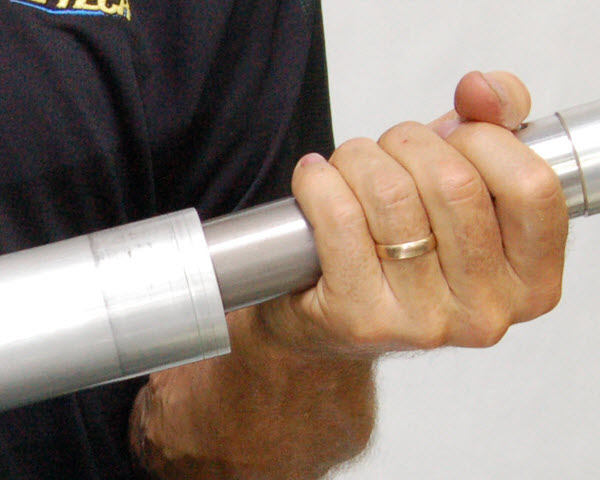
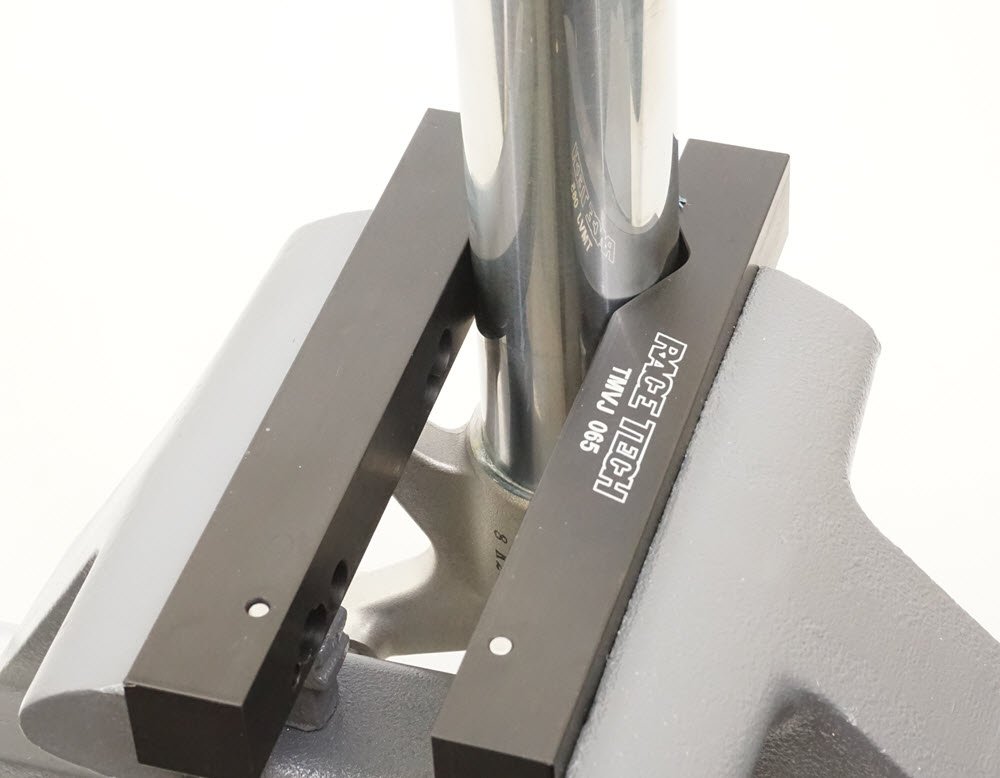
1- Hold the Outer Fork Tube in the "V" of the TMVJ 065 Vise Jaws at the point where the Lower Triple Clamp contacts the Tube.
|
|
|
2- Depressurize all air chambers.
Use a TFCW 50H Fork Cap Wrench to remove the Cap.
Pour out the old oil and dispose of it properly.
|
|
|
3- Use a 19mm socket to remove the Bottom Bolt. Do not use an impact!
|
|
|
4- Slide out the stock Cartridge from the top.
Clean everything or, at minimum, drain the oil.
Note - When switching to Ultra Slick Oil the more old oil you remove, the less contaminated the new oil will be and the slipperier it will be.
|
|
|
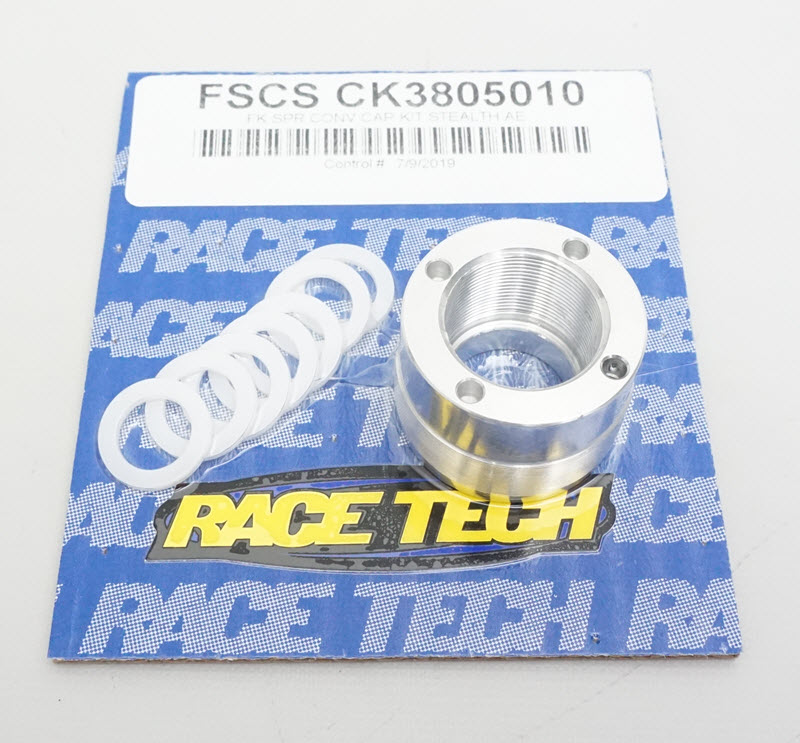
RF1- If you are installing the Retrofit Kit FSCS CK3805010.
If you are installing the complete Spring Conversion Cartridge go to Step 5-Assembly.
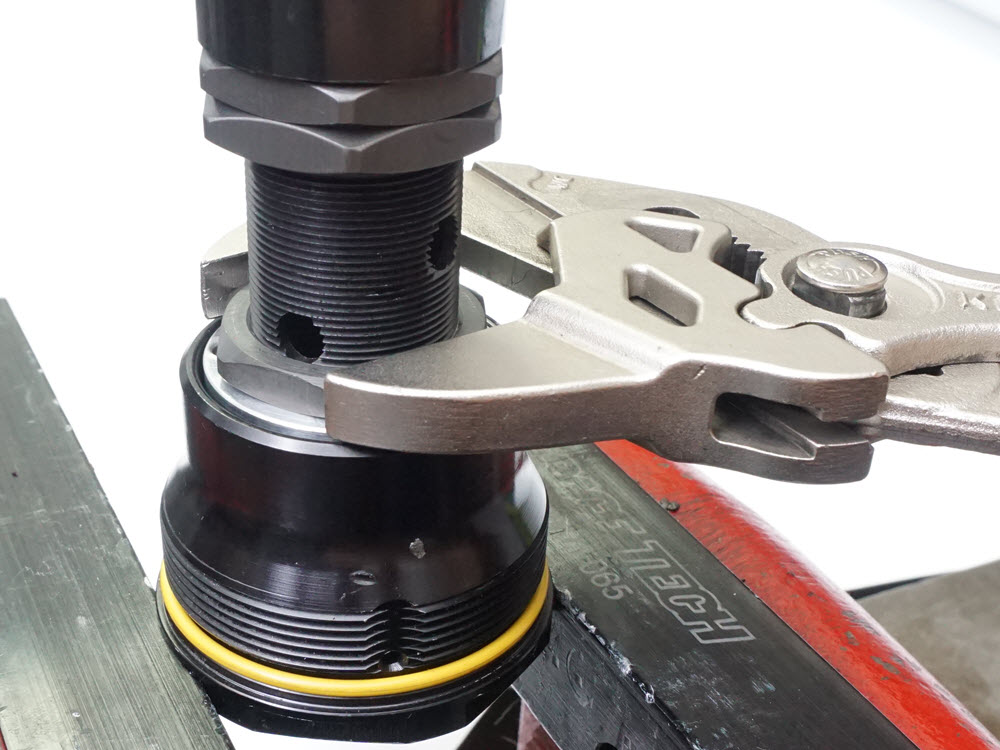
Begin by removing the stock cap from the air cartridge. You may need to use heat to loosen the Thread Lock.
Also remove the Cap from the existing RT Conversion Kit. This will allow you to...
|
|
|
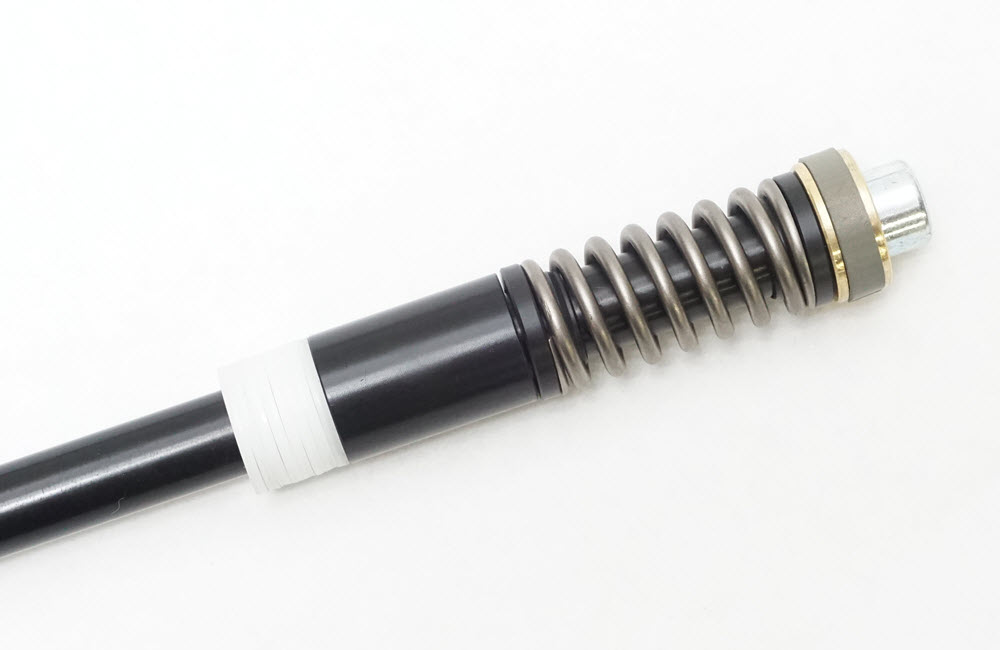
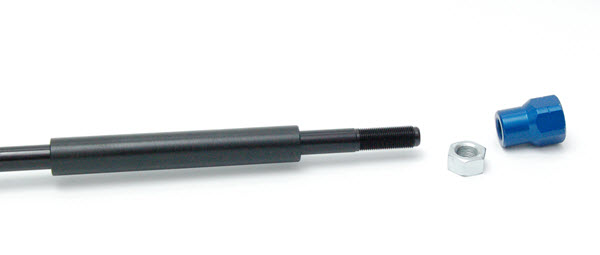
RF2- Remove the Rod from the top of the Cartridge. Add the white plastic washers supplied.
Reinstall the Rod Assembly back into the Cartridge.
Make sure the Piston Band is on the Piston.
Thread the Adapter onto the end of the Cartridge Tube. Extend the Rod and measure the overall length of the Cartridge. It should be 907.5mm plus/minus 1mm. This is adjusted with the number of white plastic washers.
|
|
|
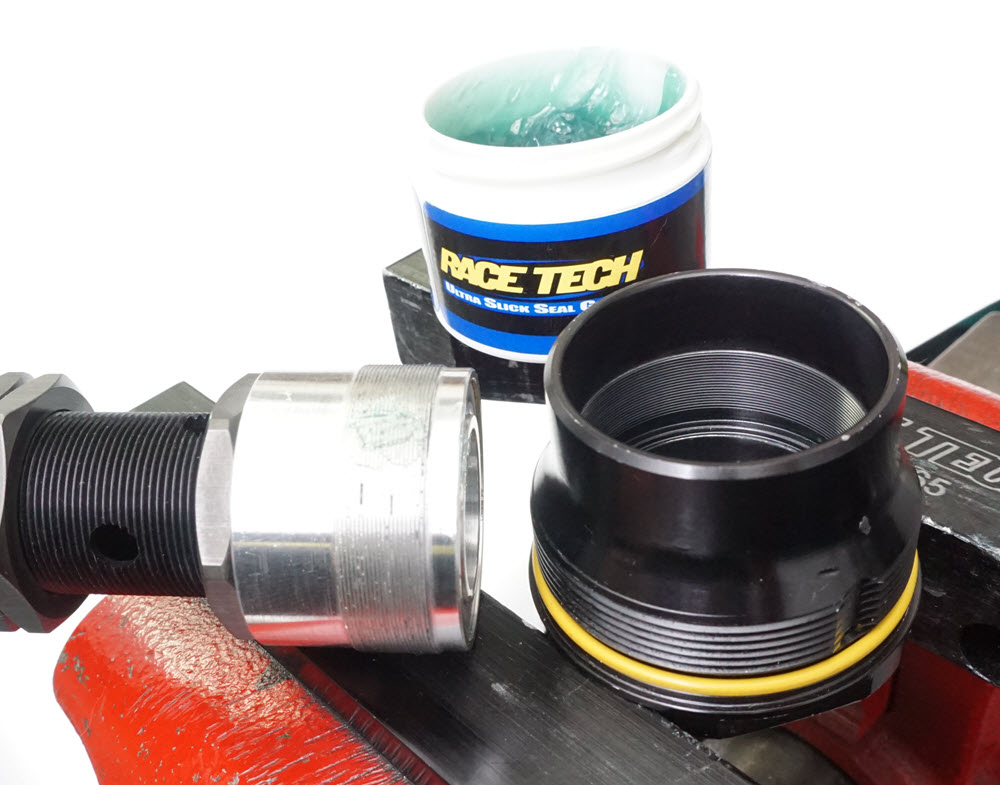
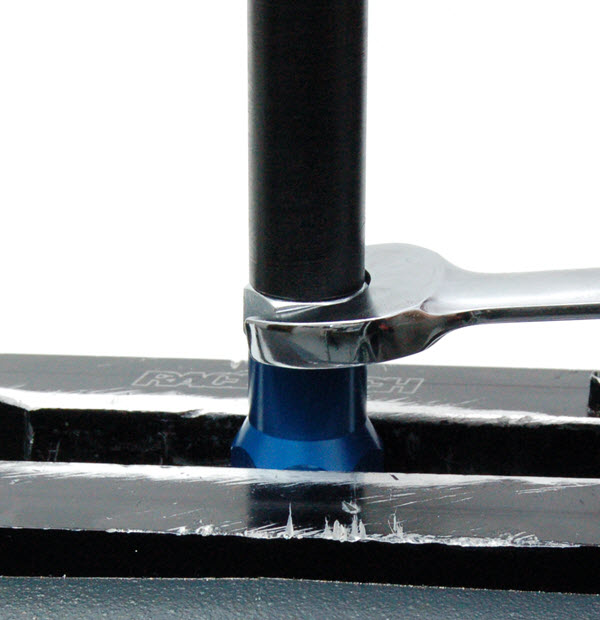
RF3- Grease both the end of the adapter as well as the thread. Thread the Adapter into the Cap and tighten.
|
|
|
5- ASSEMBLY
Use the stock Jam Nut and Adapter.
Notice the plastic spacer on the Damping Rod. This spacer creates the correct bottom-out point and limits the travel to match stock. Make sure it is on the rod before the Nut and bottom Adapter are installed.
Put the Nut on the rod far enough so the Adapter can be installed all the way and the Rod bottoms out in it. Tighten the Jam Nut.
|
|
|
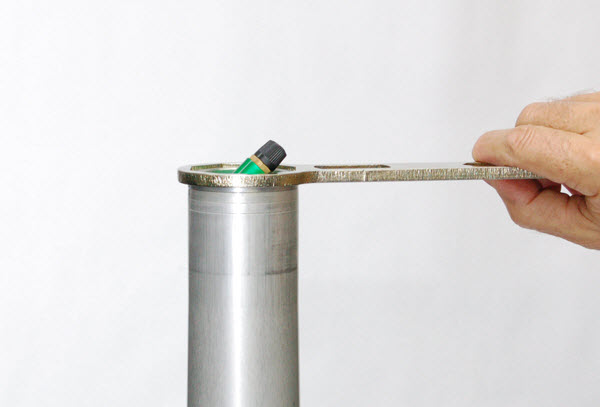
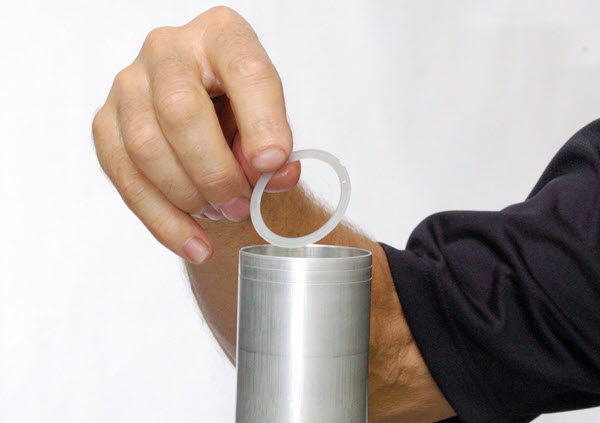
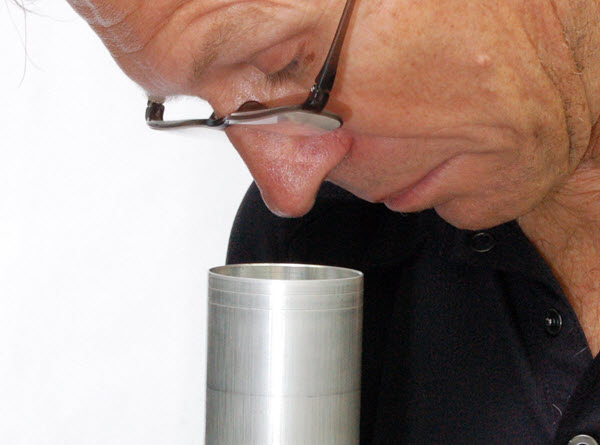
6- Insert a Spring Preload Washer into the bottom of the Fork Tube.
Do not put the Spring directly on the Fork Bottom or it will chip off pieces of aluminum into the oil and damage the forks.
(What happened to that index finger? Let me just say that playing with explosives is not always fun.)
|
|
|
7- Visually inspect to see that the Washer is lying flat. Use a flashlight if you can't see it clearly. If it is not located properly reach in from the bottom and move it into place.
Take a closer look Paul.
|
|
|
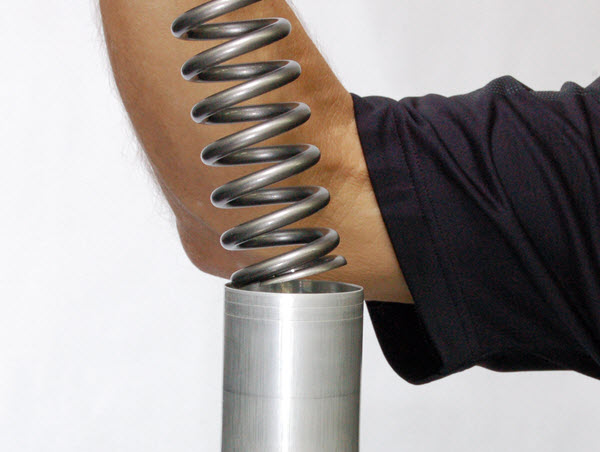
8- Insert the Fork Spring.
|
|
|
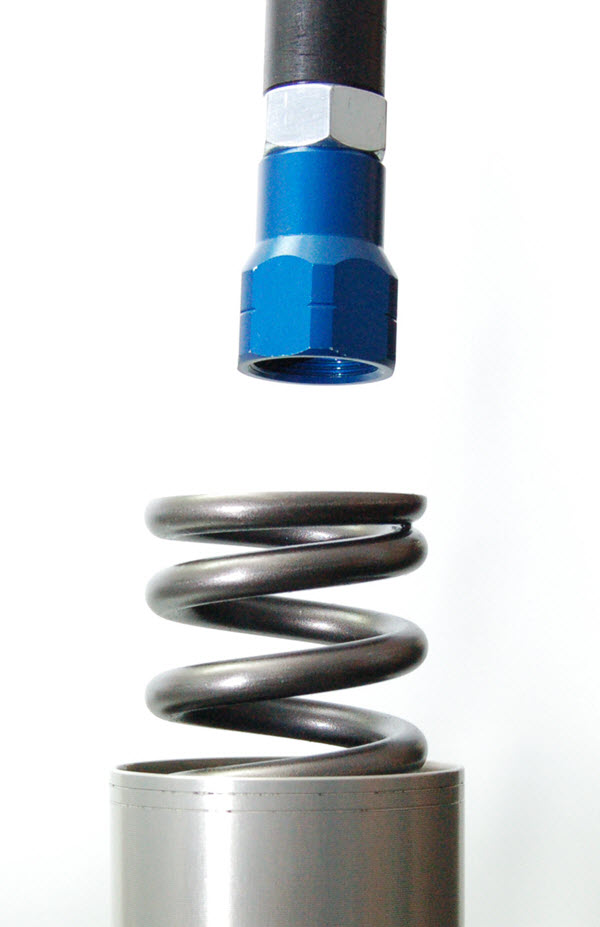
9- Install the Spring Conversion Cartridge. The hex on the Adapter must align with the internal hex in the bottom of the fork leg.
|
|
|
10- Install the Bottom Bolt and tighten it by hand.
|
|
|
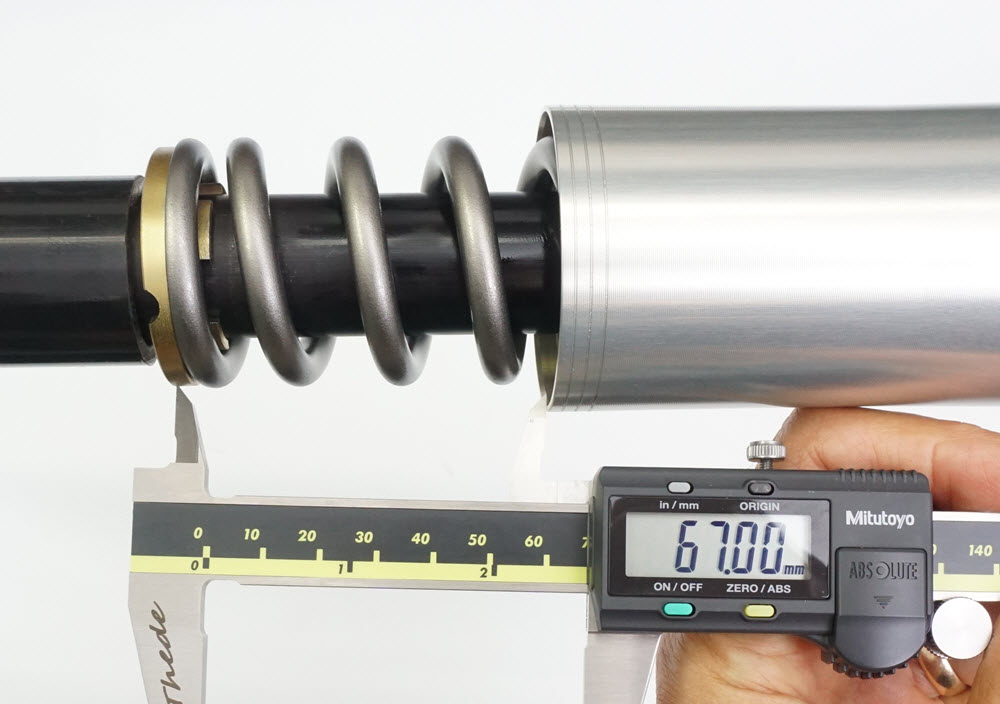
11- SETTING FORK SPRING PRELOAD
With the:
Outer Fork Tube fully collapsed,
Spring all the way in,
Preload Adjusting Nut loose, and the Cartridge extended
measure the reference distance from the top of the Outer Fork Tube to the end of the Spring Retainer.
This is L1. As you can see this one is about 67mm.
|
|
|
12- Tighten the Preload Adjusting Nut to add Preload.
|
|
|
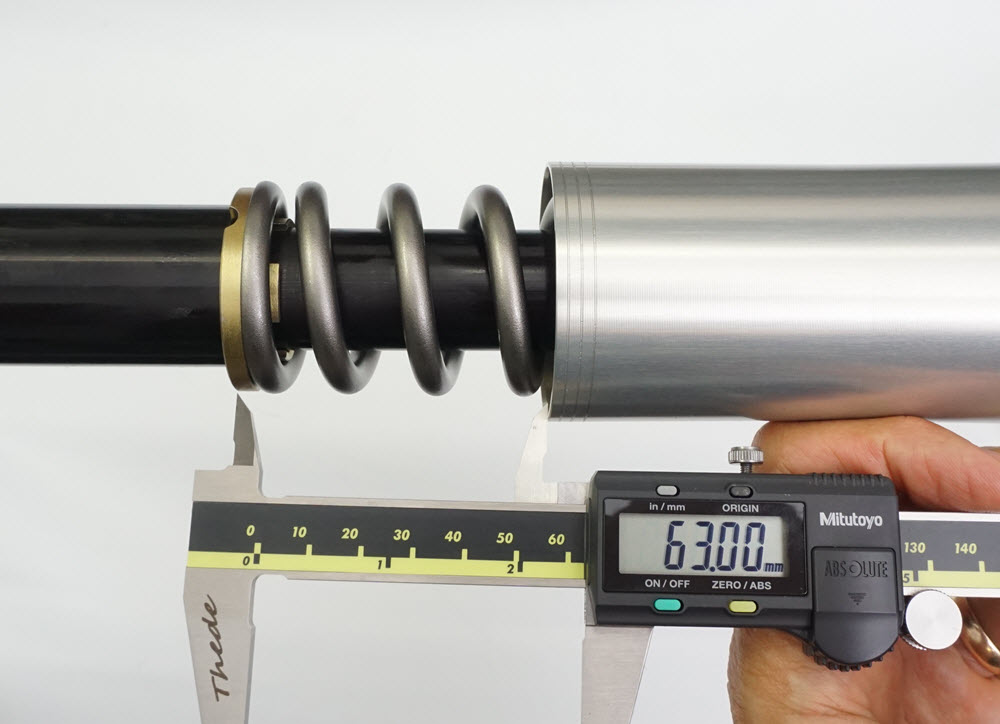
13- Measure the reference distance again. This is L2. In this case it is 53mm.
The difference between L1 and L2 is the Preload.
67 L1
-63 L2
4 mm Preload
Tighten the Preload Adjusting Nut to achieve 3 to 5mm of Preload.
Once you have achieved the desired Preload be sure to tighten the Preload Adjuster Jam Nut.
|
|
|
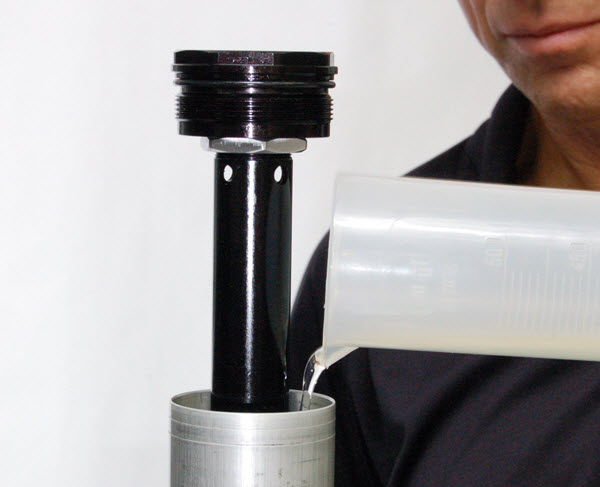
14- Use the Graduated Cylinder and install the proper amount of Fork Fluid. No bleeding necessary.
USF-05 is preferred as it is impressively slippery (if I do say so myself).
Use USF-05:
525cc for motocross
575cc for SX
500cc for off road
in this leg only.
See DVS or Product Search for Damping Rod leg level.
|
|
|
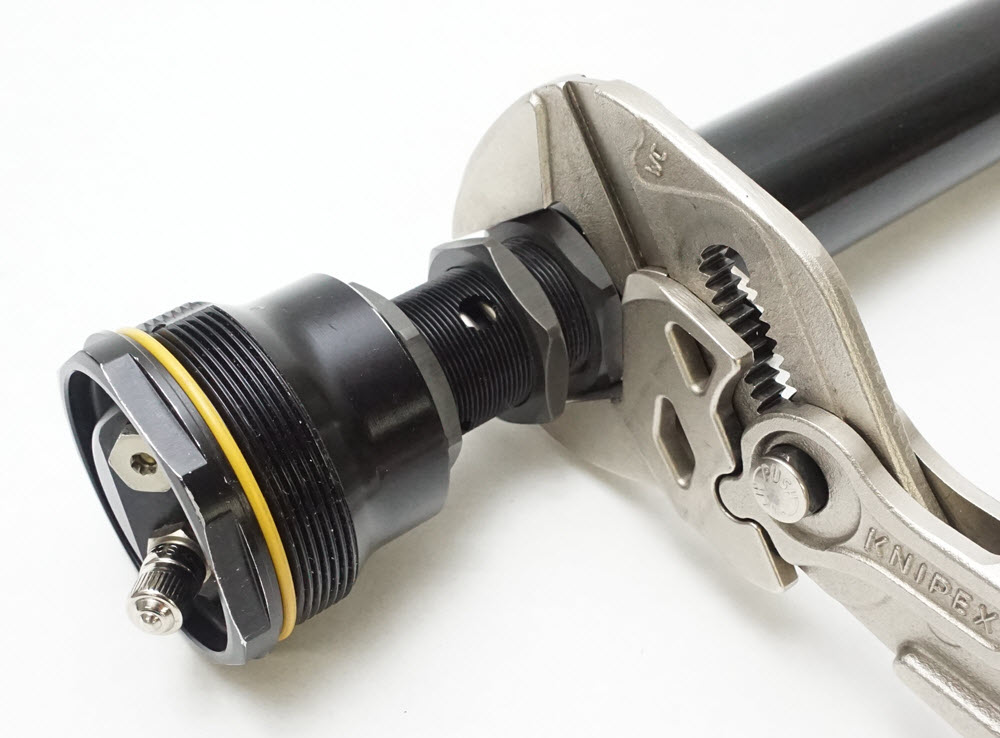
15- Tighten the Fork Cap.
Improper fork installation onto the bike is, perhaps, the most common error that is made. This has a huge effect on harshness!
Have fun!
|

