RACE TECH HI-PERFORMANCE
|
|
|
|
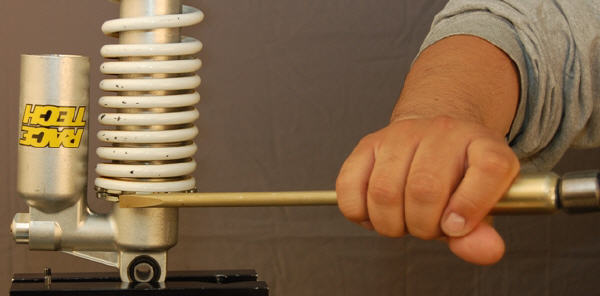
Stock Spring Disassembly D1 Clamp Shock into a vise with Soft Jaws D2 Loosen Lock Ring. D3 Remove all spring preload using a Spanner Tool or by loosening the Collar by hand. D4 Clean and lube the threads. |
|
|
Remove the Retaining Collar
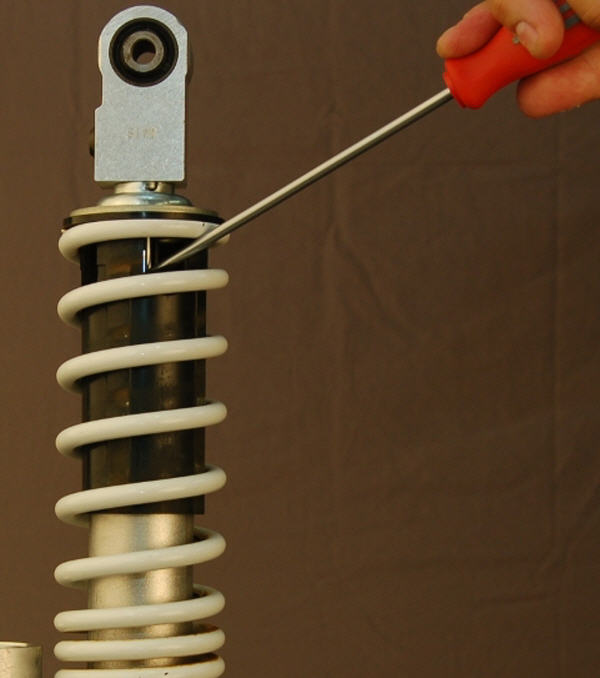
D5 Use a small Screw Driver or similar tool. Find the opening in the plastic Dust Shield and gently pry the Bottom-out Bumper away from the end of the Shock approximately 50mm (2”).
|
|
|
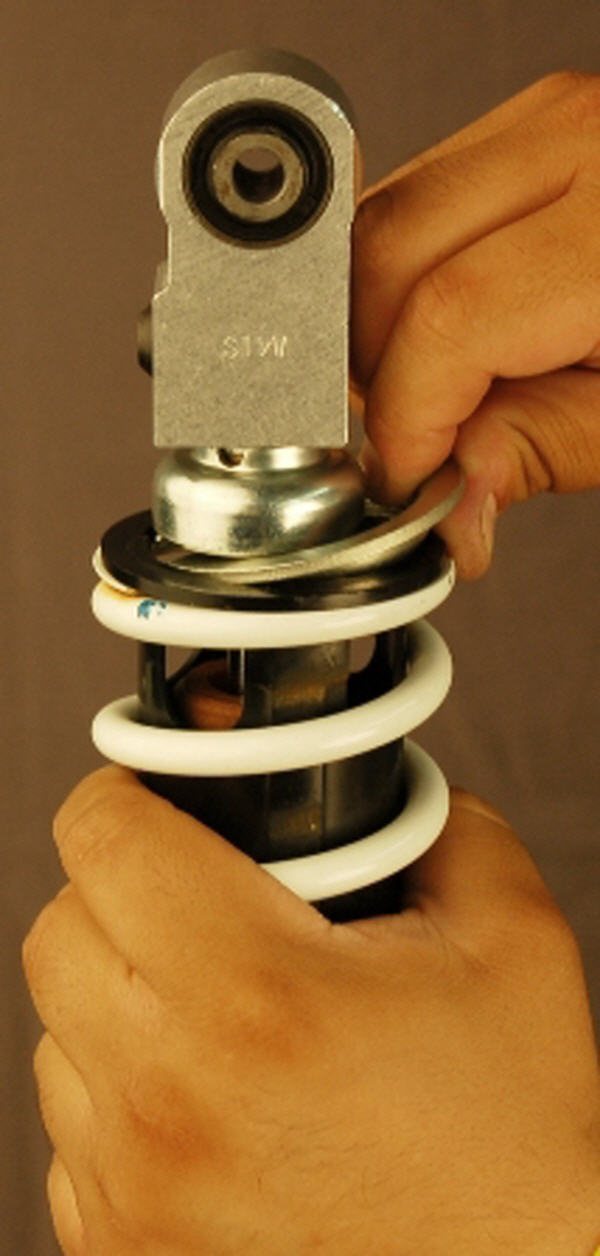
D6 Compress the Spring slightly by hand and remove the Retaining Collar being careful not to pinch your fingers! D7 Remove the stock Spring and Dust Shield. |
|
|
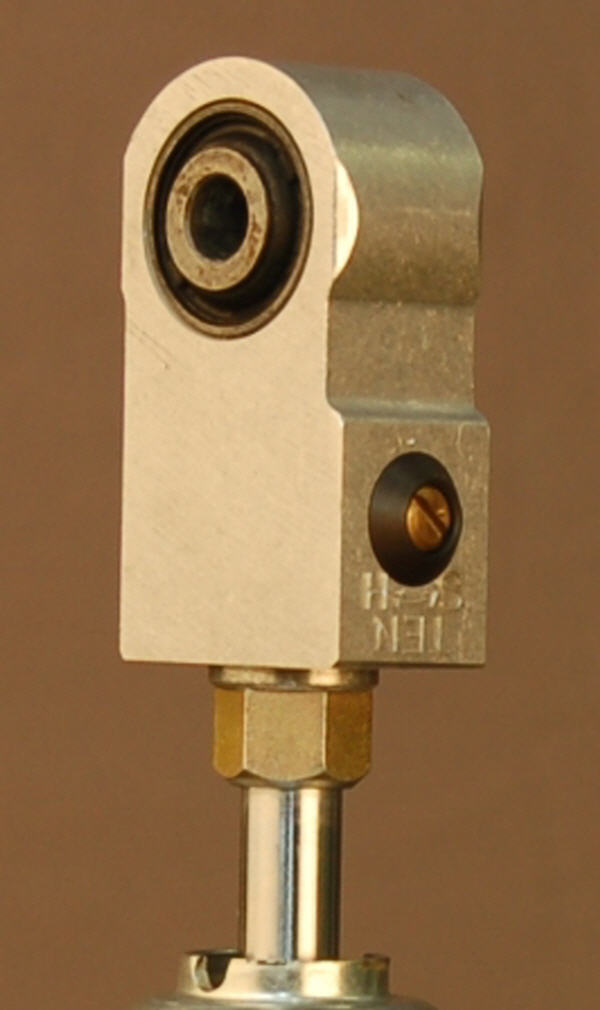
Modify the Stock Eyelet (Yamaha Models)
Skip this step if your Go-Between Collar fits over the Eyelet
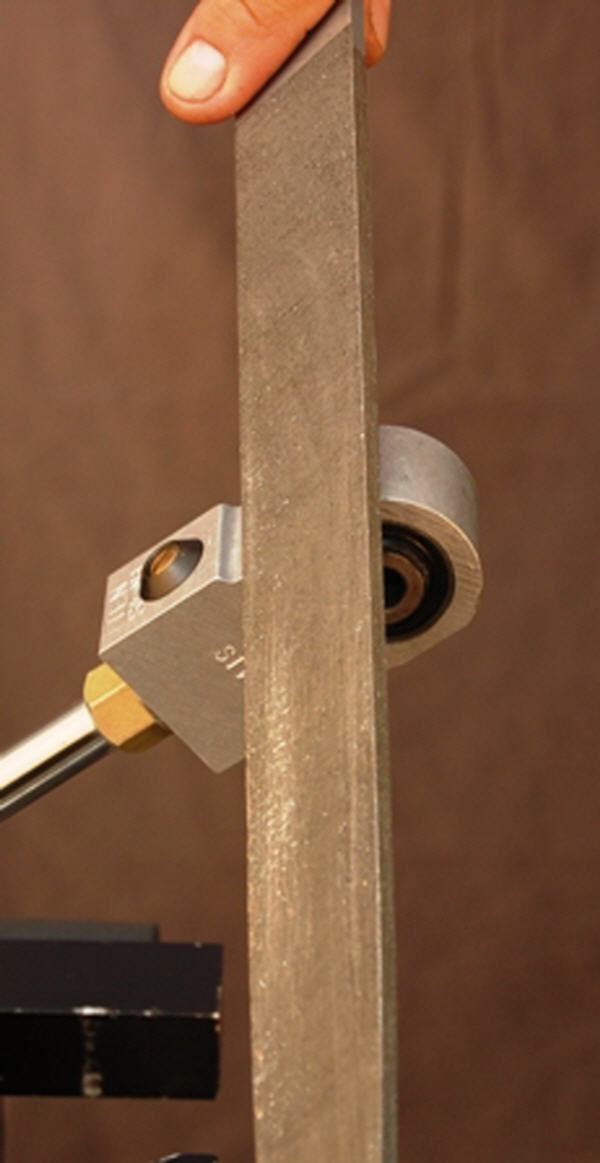
M1 Try installing the Go-Between Collar over the Shock Eyelet. If it does not fit you will need to modify the Eyelet slightly.
|
|
|
M2 It only takes a few minutes to chamfer the edges of the Shock Eyelet with a file. Remove approximately .5mm (.100”) from each edge as needed so the Go Between Collar slips on.
|
|
|
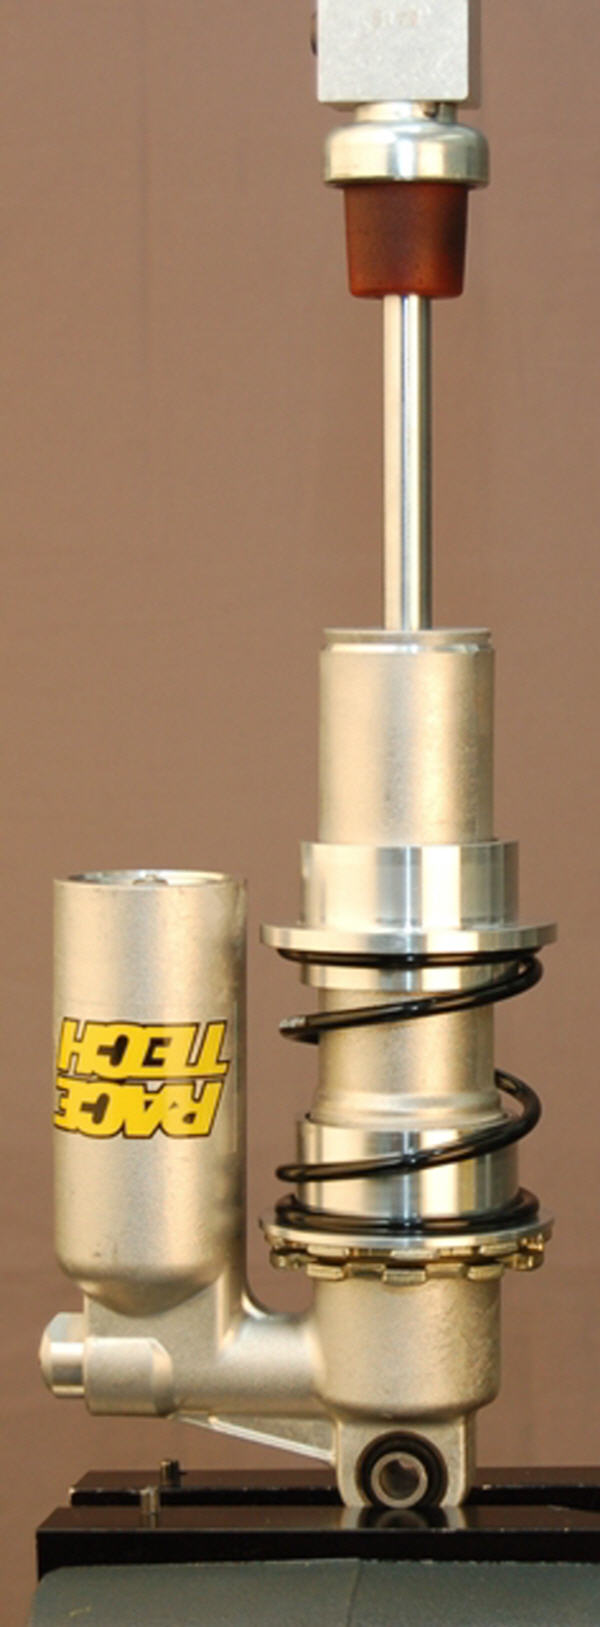
NPL Collar and Spring Assembly
A1 Install the NPL Collar (single flange) with the long end of the flange facing towards the bottom of the Shock.
A2 Install the short NPL Spring over the NPL Collar.
|
|
|
A3 Install the Go-Between Collar (has two flanges) with the short flange towards the NPL Collar.
A4 Install the Main Spring over the Go-Between Collar.
A5 Do not use the stock plastic dust shield.
|
|
|
A6 Install a Sizing Ring supplied in the Kit.
A7 Carefully pull down the Bottom-out Bumper and Main Spring, slide up the metal cup and insert the Retaining Collar under the metal cup.
|
|
|
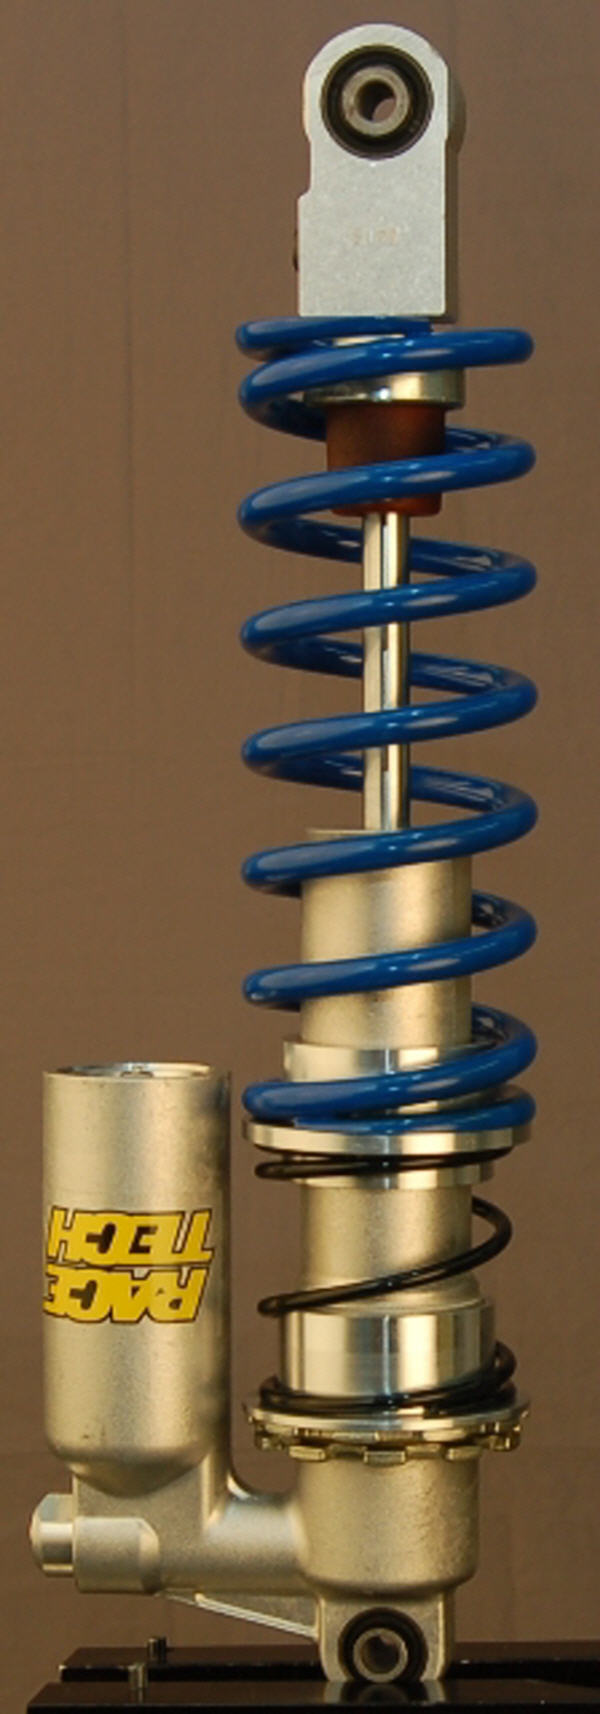
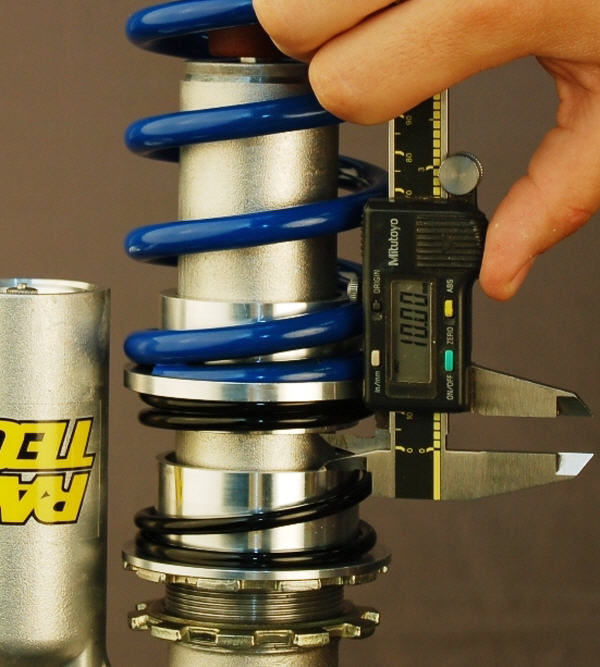
NPL Gap Setup
A8 Refer to the DVS Specs from racetech.com.
A9 Adjust the Preload Collar to set the Gap between the flanges of the NPL and Go-Between Collars. Use a Caliper or Tape Measure.
Note - NPL Gap is the distance between the NPL Collar Flange and the Go-Between Collar Flange that extends into the NPL Spring.
This distance determines the ride height of the ATV. A larger Gap equals a lower Ride Height; a smaller gap equals a higher Ride Height.
|
|
|
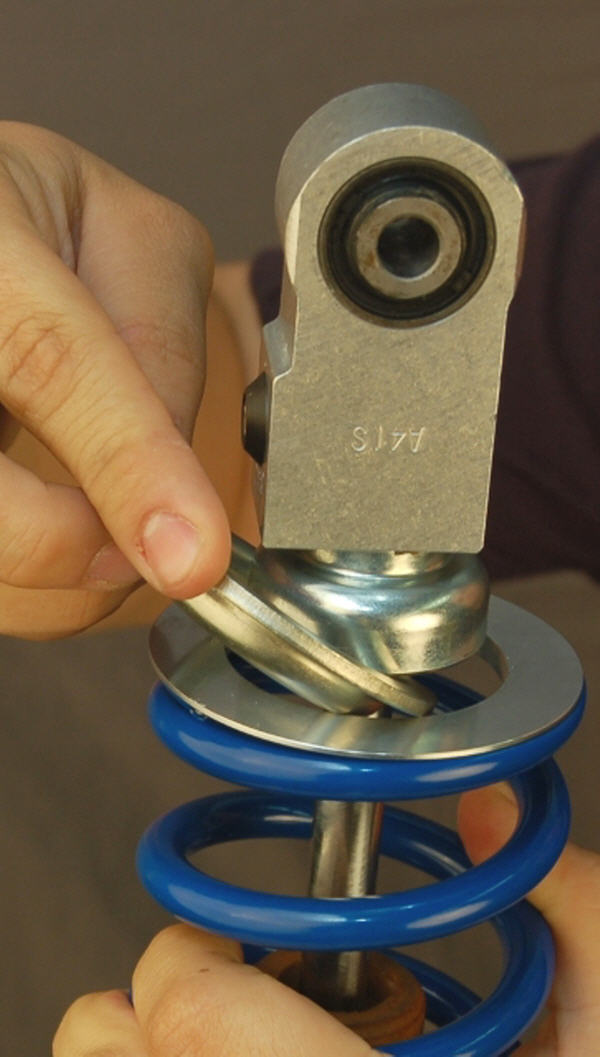
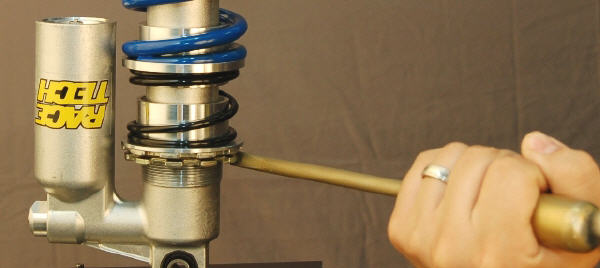
Tighten the Lock Ring
A10 Gently tighten the Lock Ring against the Preload Collar being careful not to change the Gap.
A11 Repeat the procedure for the second shock.
|