IP QFSKS04 Front Sport Spring Kit YAM YFZ450R
RACE TECH HI-PERFORMANCE SPRING KIT
|
|
|
|
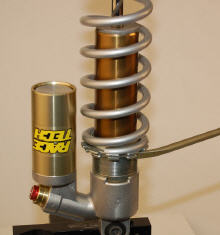
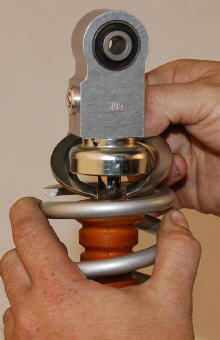
Disassembly D1Clamp Shock into a vise with Soft Jaws. D2Loosen Lock Ring. D3Remove all spring preload by unscrewing the collars. Use a Spanner Wrench if necessary. D4Use a small Screwdriver or similar tool to gently pry the Bottom-Out Bumper away from the end of the Shock. |
|
|
D5Remove the C-Clip Spring Retainer by pulling the Spring down and sliding the Clip out from under the Bumper Cup.
D6Remove the stock Spring.
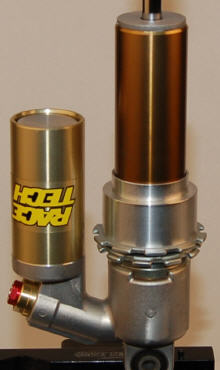
D7The stock Preload Collar and Lock Ring will be used with the Race Tech Spring Kit. It is a good idea to clean and grease the threads on both the Preload Collar and Lock Ring before installation of the Spring Kit.
|
|
|
Spring Kit Assembly A1Install the NPL Collar (single flange) with the long end of the Flange facing the bottom of the shock. |
|
|
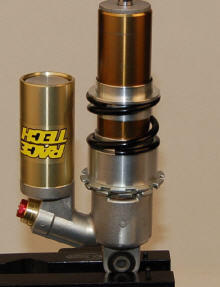
A2Install the NPL Spring over the NPL Collar. The NPL Spring is the softest of the three springs.
|
|
|
A3 Install the Go-Between. The Go-Between is reversible for tuning purposes. Running the shorter end into the Secondary Spring will cause the spring set to cross over onto the Main Spring later. Running the long end into the Secondary Spring will cause the spring set to cross over onto the Main Spring sooner. This tuning option can be used to affect things such as body roll and proper front end traction.
|
|
|
A4 Install the Main Spring.
A5Install the Lower Spring Spacer, with the flange going into the Main Spring. Use the stock C-Clip Spring Retainer sliding it on top of the Lower Spring Spacer and under the Bumper Cup the same as it was when removed.
|
|
|
Preload Setup P1 Refer to the DVS Specs from racetech.com. P2 Adjust the Preload Collar to set the preload.
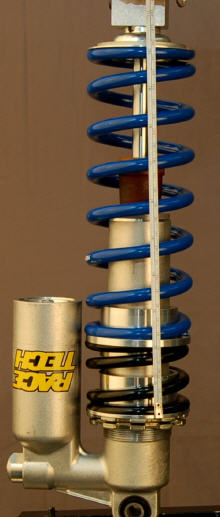
Note: Preload is the distance the spring assembly is compressed initially at full shock extension. Measure the overall length of the spring assembly with no tension. Subtract the Preload (from the DVS Spec) to calculate the installed length of the Spring assembly. Then use the Preload Adjusting Collar to adjust the spring set the amount specified in the DVS specs. |

