RACE TECH HI-PERFORMANCE
|
|
|
|
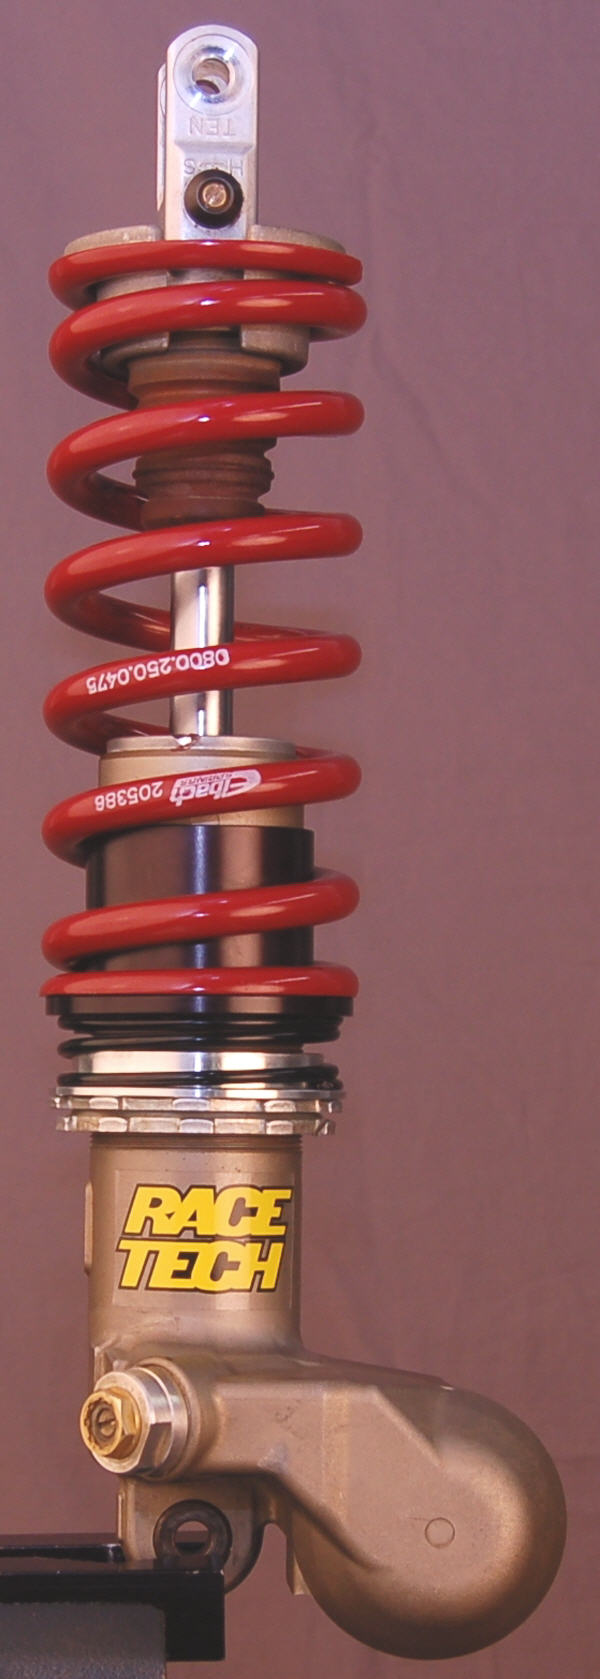
Disassembly D1 Clamp Shock into a vise with Soft Jaws. D2 Loosen Lock Ring. D3 Remove all spring preload using a Spanner Tool or by loosening the Collar by hand. D4 Clean and lube the threads. |
|
|
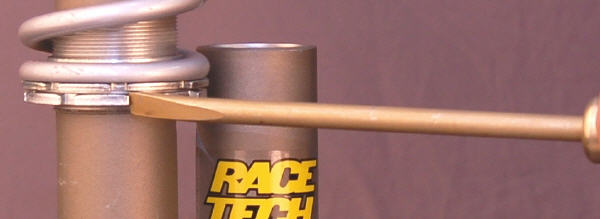
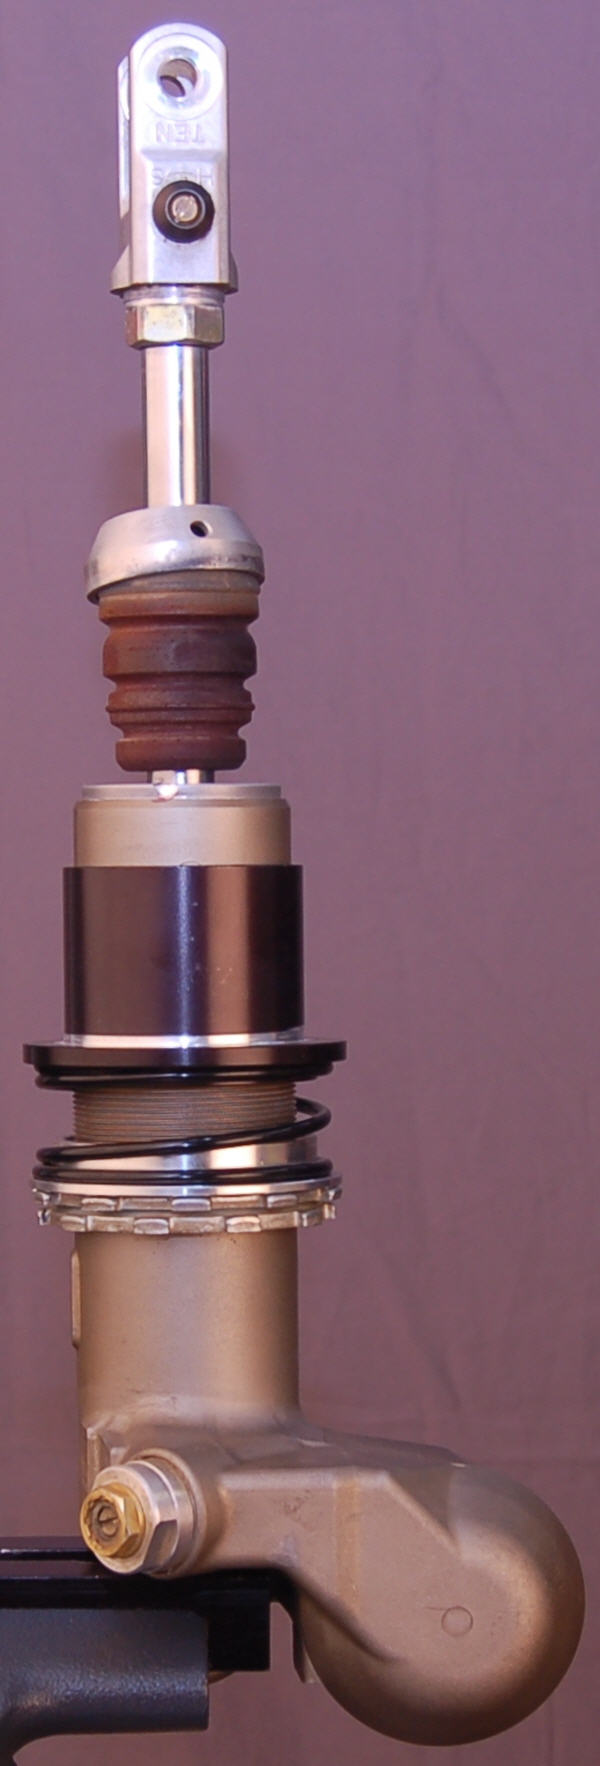
D5 Use a small Screwdriver or similar tool. Find the opening in the plastic Dust Shield and gently pry the Bottom-out Bumper away from the end of the Shock approximately.
|
|
|
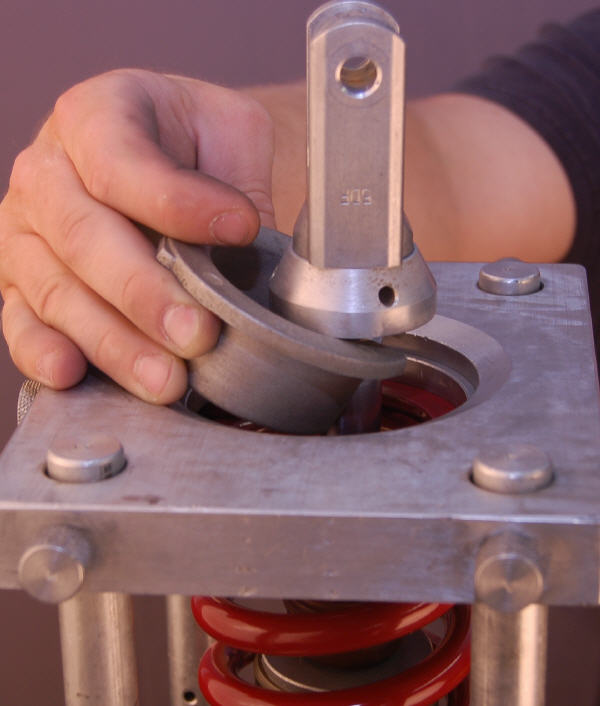
D6 Using a Hydraulic Spring Compressor, compress the stock Spring and remove the Spring Retaining Collar. D7 Remove the stock Spring.
Note: The Suzuki LTR450 rear Shock Absorber has a deep drop style Lower Spring Retaining Collar which requires the Spring to be compressed about 35mm (1.5”) to be removed. A Hydraulic Spring Compressor (shown) should be used to safely remove the stock Spring and install the new Race Tech Base Kit and Main Spring. Many suspension shops will have a Spring Compressor such as this. If you are unable to find a shop in your area please feel free to contact Race Tech for details on purchasing a Spring Compressor. You can also send your Shock to Race Tech and we will be happy to install the Spring Kit for you. |
|
|
Assembly
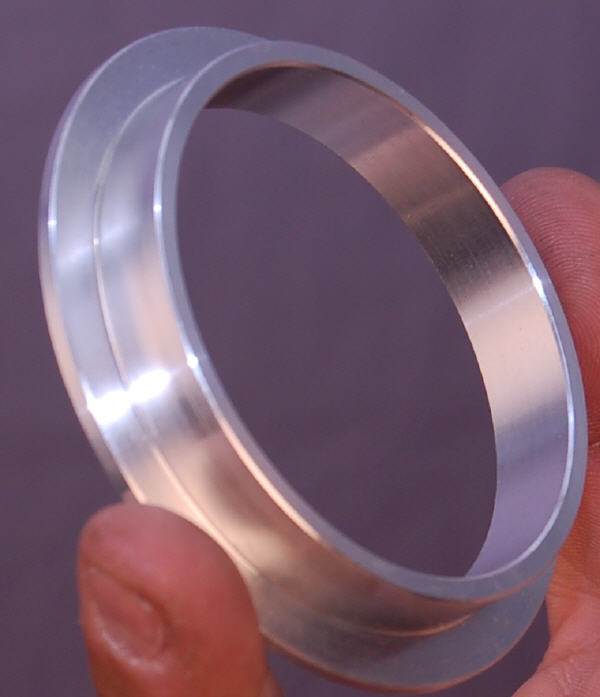
NPL Collar
A1Install the NPL Collar (single flange) with the long end of the flange facing towards the bottom of the Shock.
A2Install the NPL Spring over the NPL Collar. The NPL Spring is the softest of the three springs.
|
|
|
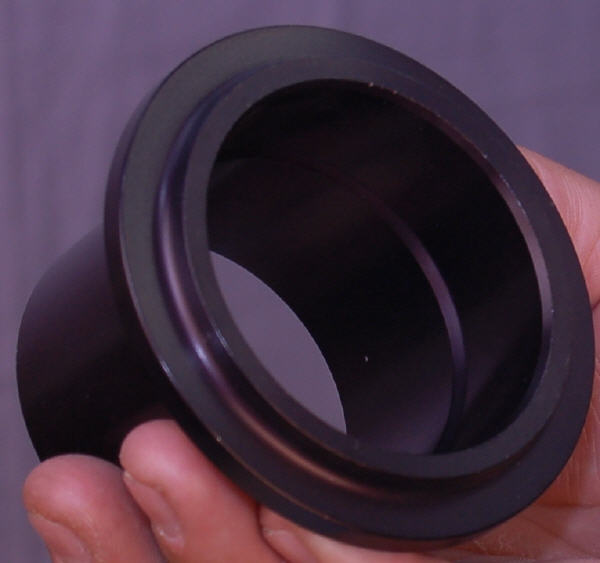
A3Install the Step-Cut Go-Between Collar. The Collar has a step on the inside diameter. The larger diameter must go towards the threaded portion of the shock body for proper clearance.
|
|
|
A4 Install the Main Spring (sold separately). Refer to Race Tech’s Spring Search on racetech.com for Spring Series and rate selection.
|
|
|
A5 Install the original Lower Spring Retaining Collar using a Hydraulic Spring Compressor. |
|
|
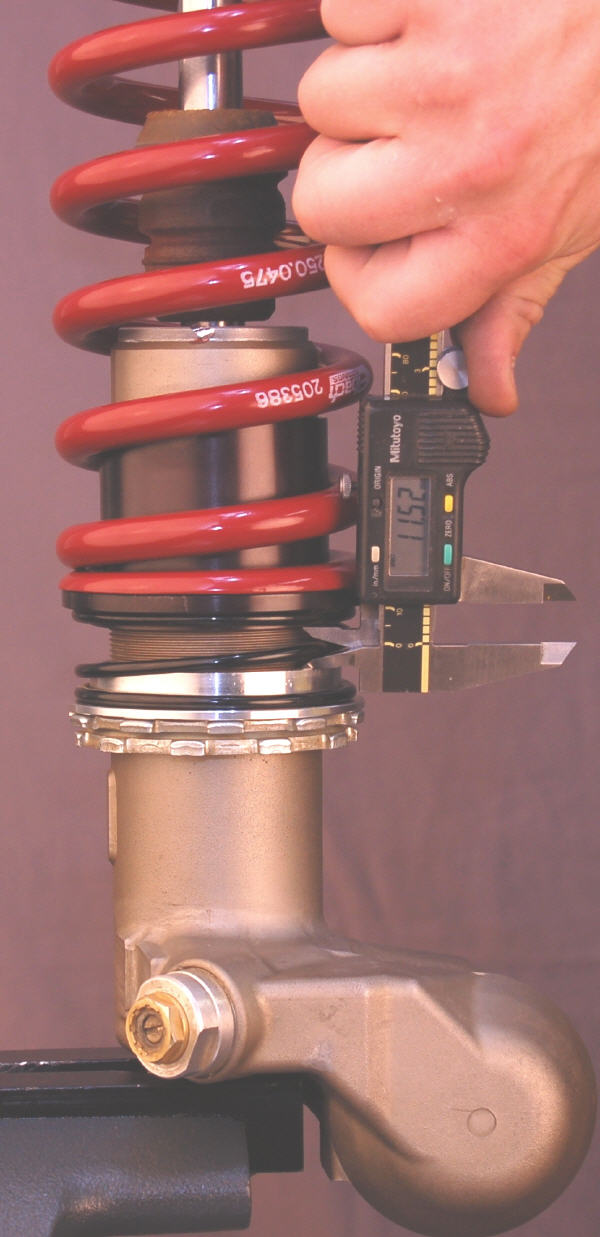
NPL Gap Setup A6 Refer to the DVS Specs from racetech.com. A7 Adjust the Preload Collar to set the Gap between the flanges of the NPL and Go-Between Collars. Use a Caliper or Tape Measure. A8 Gently tighten the Lock Ring against the Preload Collar being careful not to change the Gap. NPL Gap is the distance between the NPL Collar Flange and the Go-Between Collar Flange that extends into the NPL Spring. This distance determines the ride height of the ATV. A larger Gap equals a lower Ride Height; a smaller Gap creates a higher Ride Height. |