Skip to content
RT_E2_Logo

SUSPENSION & ENGINES

  • SEARCHES
    • Product Search
    • DVS Valving Search
    • Spring Rate Search
    • TNK Fork Tube Search
    • Instructions Search
    • Basic Setup Search
    • Engine Search
  • PRODUCTS
    • Suspension
    • Engines
    • Lubricants
    • Tools
      • Fork Tools
      • Shop Tools
      • Shock Tools
      • Dyno Mounts – CTW and Roehrig
      • Engine Tools
    • RT Merch
    • Stickers-Banners
    • Suspension Bible
    • Vintage (pre-2000)
  • SERVICES
    • Suspension
    • Engines
    • Brake Arcing
    • Race Tech Centers
  • ABOUT
    • About Race Tech
    • Contact Us
    • RT Policies
    • Rider Support
  • RESOURCES
    • Instructions
    • Service Request Forms
    • Shipping
    • Contact Us
    • Suspension Bible
    • Mental Edge Video
    • Seminars
    • Downloads
  • LOGIN
  • CART
PRODUCT SEARCH
DVS VALVING SEARCH
SPRING RATE SEARCH
ENGINE SEARCH

SHOCK SHAFT REBUILD - BFRC SHOWA
Balance Free Rear Cushion
2018 RM-Z450

The BFRC Showa shock on the 2018 RM-Z450 is a twin tube design with a solid main piston.

►See Shock Rebuild BFRC for the preliminary steps (click here).

Click on images to enlarge.

TMVJ 065 Vise Jaws mounted on a Craftsman Vise.

Tools
- Torque wrench (SnapOn Digital Torque Wrench shown)
- Metric calipers and micrometer
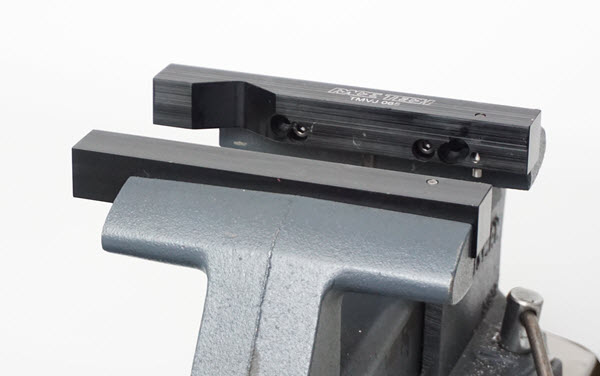
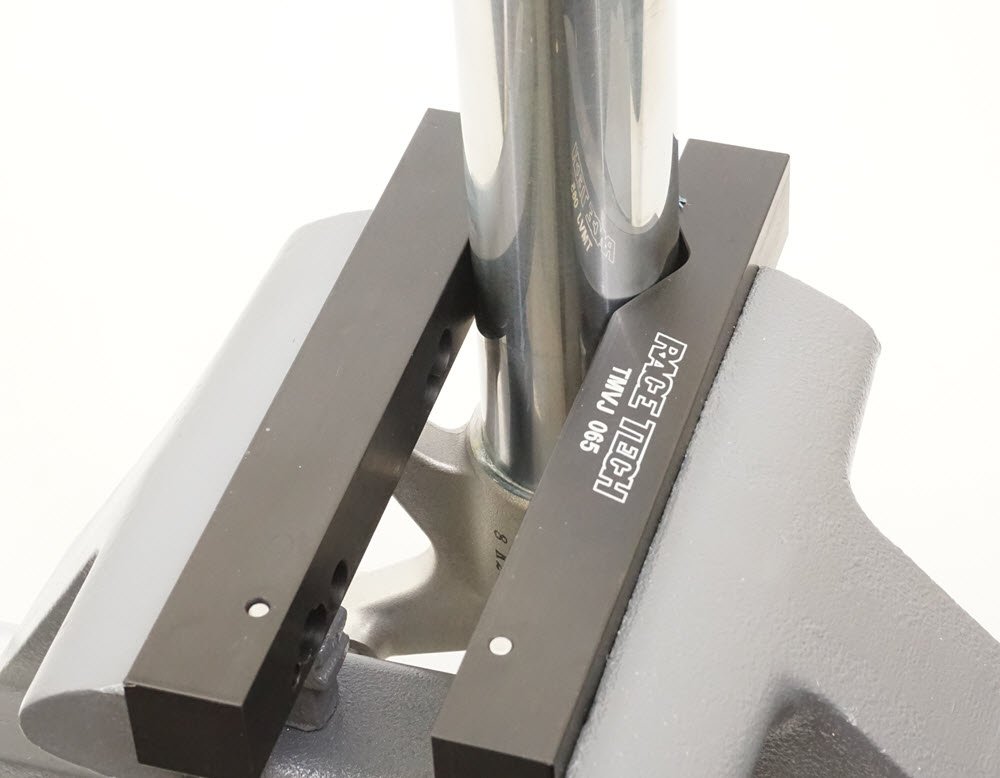
- TMVJ 065 Vise Jaws mounted on a Vise - suggested
- TSSB 16 - for Seal Head installation
- TSPA 01 - Shock Preload Adjusting Tool

- TFSD 46 - Fork Seal Driver

Supplies 
Contact Cleaner - or other good, clean solvent
Loctite - Hi-Strength (included in the Gold Valve Kit)
USSG 01 - Ultra Slick Seal Grease

1 - Refer to the Shock Shaft Rebuild BFRC instructions to get to this point.

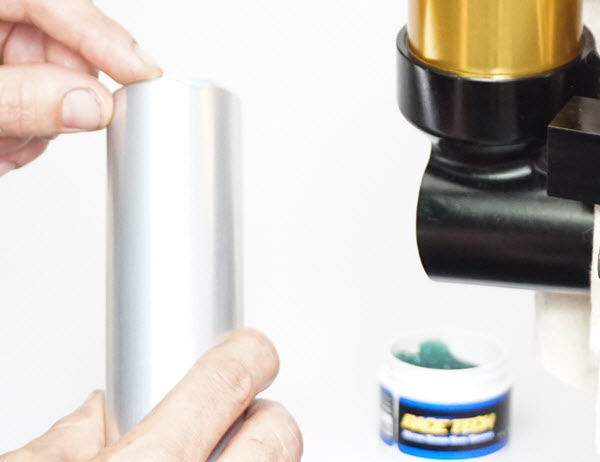
2 - The Damping Tube is press fit onto the Seal Head. Use the back side of a 46mm Fork Seal Driver as a slide hammer to knock it off. It is not easy.

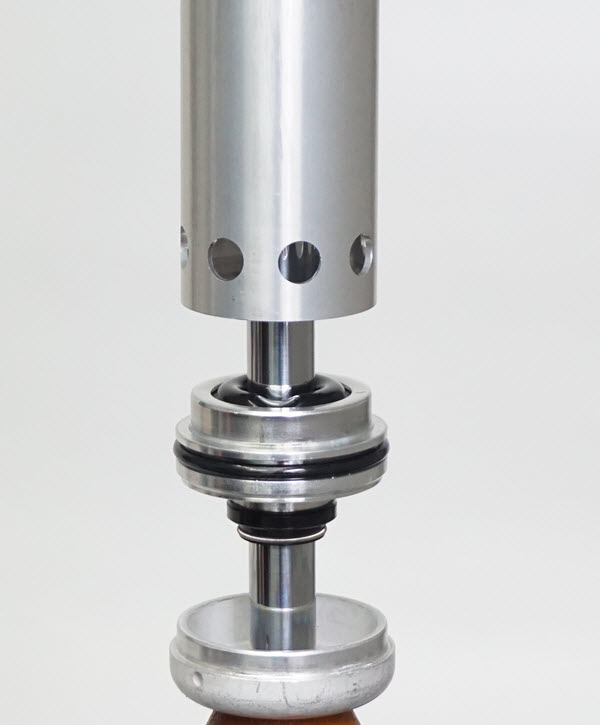
3 - This is the Seal Head detached from the Damping Tube. Slide the damping tube off.
Notice the end of the cartridge tube with the holes is closest to the seal head.

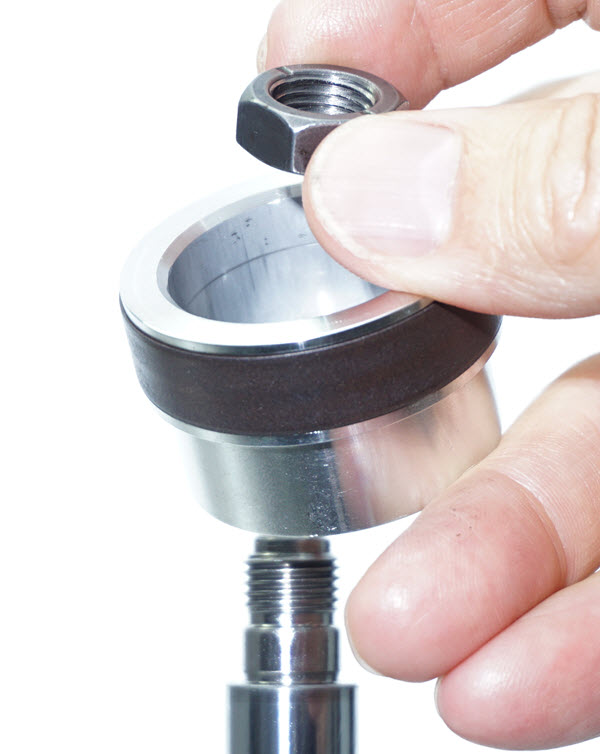
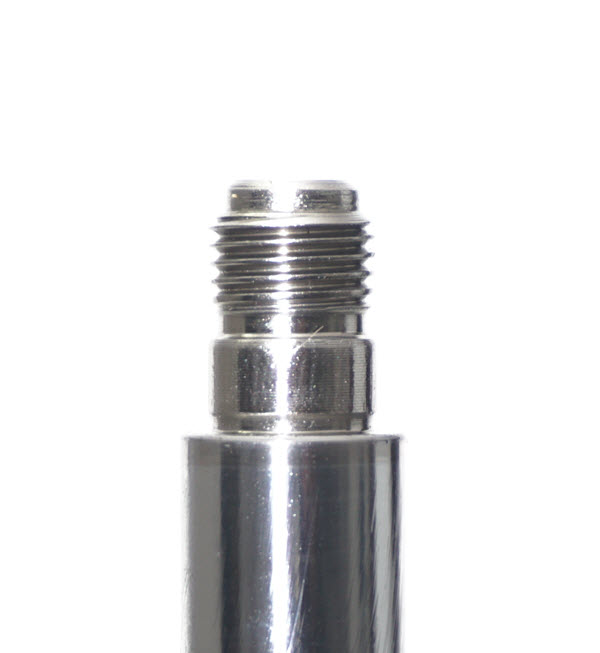
4 - The nut on the end of the shaft is peened on. You can turn off this peening on a lathe or you can grind it off with a porting tool.

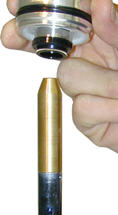
5 - Remove the piston and slide the shaft out of the seal head. Deburr the end of the shaft. You will re-use the stock nut.

►At this point the Seal Head Rebuild is standard. For more details (click here).

6 - Reassemble the shaft in reverse order. Use a Bullet Tool (TSSB 16) to protect the seal. Use High-Strength Loctite and torque the nut to 25 ft-lbs (34 NM).
 
7 - Press fitting the seal head into the tube will occur automatically during reassembly.
Put a small amount of Ultra Slick Seal Grease on the outer edge of the inner tube to lube the o-ring in the shock.


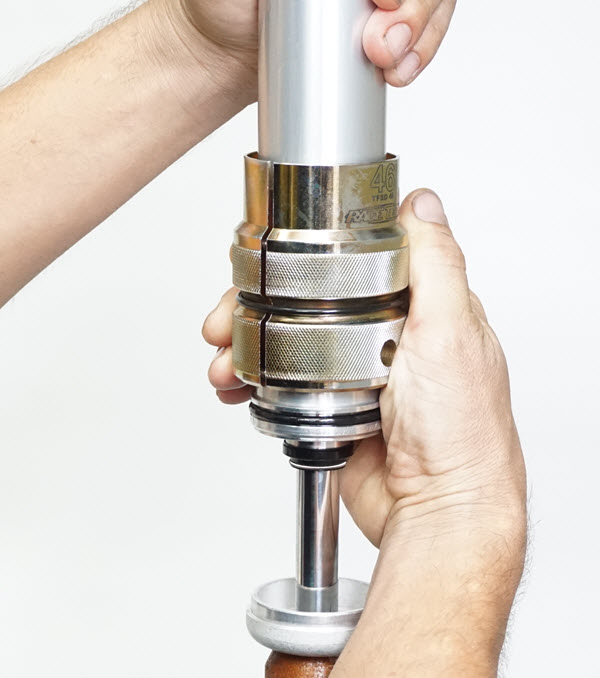
8 - Install the inner tube into the shock body with the holes up.

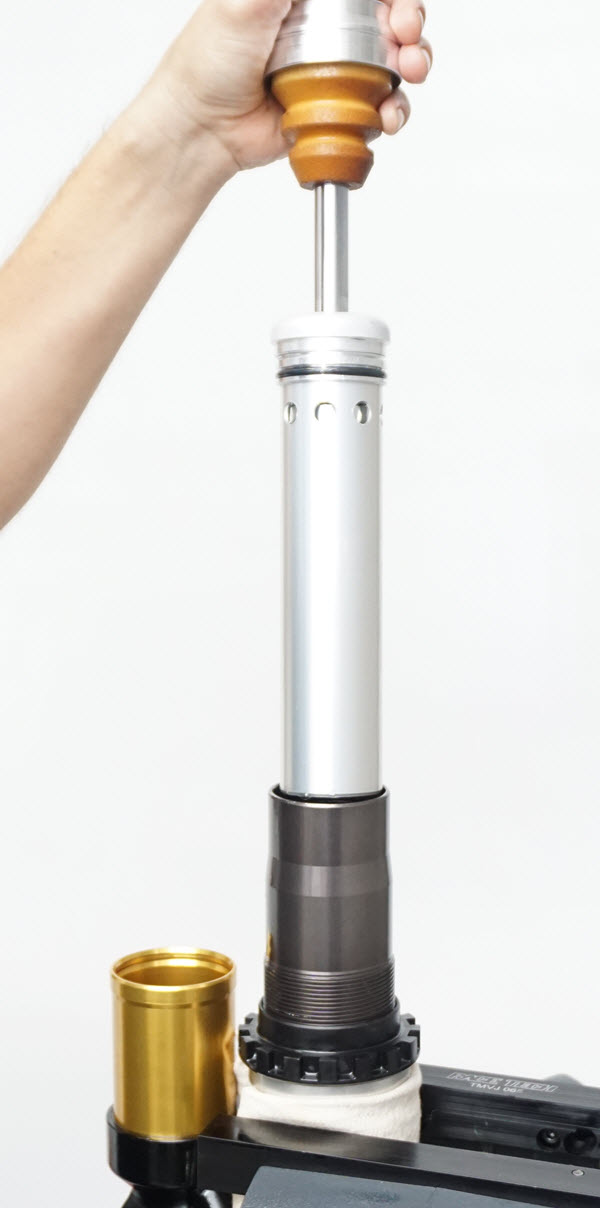
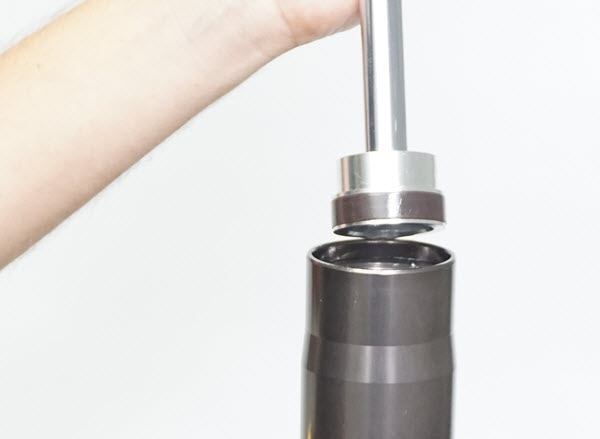
9 - Insert the shock shaft assembly into the inner tube.

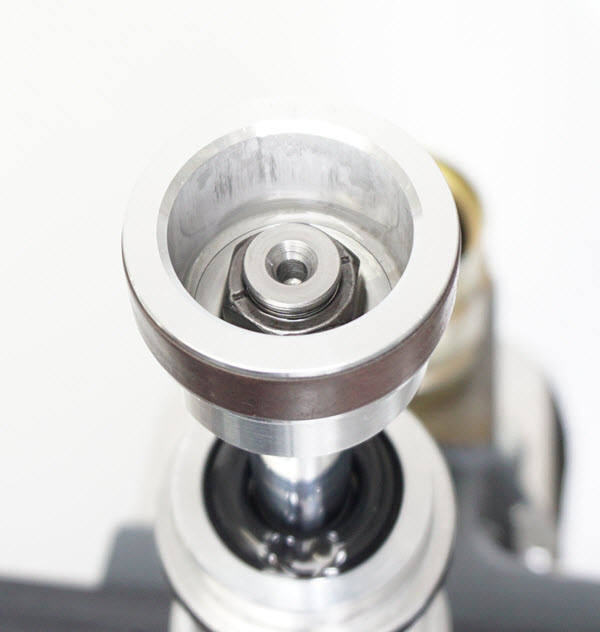
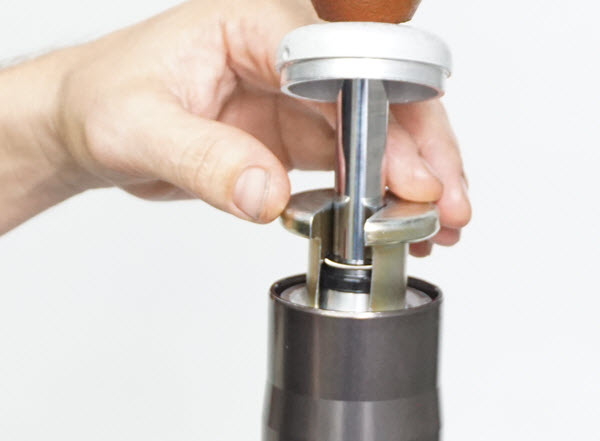
10 - Use the Seal Head Setting tool and push the seal head down as far as you can. It will need to go further as the seal head is press fit into the inner tube.
 
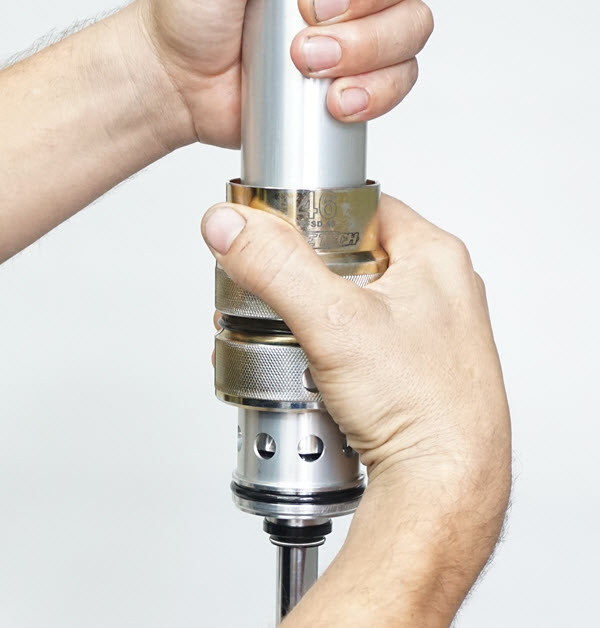
11 - Invert the shock. Rest the Seal Head Setting Tool on the vise jaws in the "V". Use a plastic mallet and tap on the end of the shock body to seat the seal head.
Install the circlip completely into the groove.
Return to the Shock Rebuild Instructions BFRC to complete the assembly.
RT_E2_Logo

951.279.6655

info@racetech.com

1501 Pomona Rd. Suite 101
Corona, CA 92878

STOP! Include Service Request Form when shipping components to Race Tech.

twitter link facebook link instagram link

© 2025 Race Tech. All Rights Reserved

  • Downloads
  • Dealer Application
  • Policies
  • Cookie Policy (EU)
Race Tech
We Respect Your Privacy
To provide the best experiences, we use technologies like cookies to store and/or access device information. Consenting to these technologies will allow us to process data such as browsing behavior or unique IDs on this site. Not consenting or withdrawing consent, may adversely affect certain features and functions.
Functional Always active
The technical storage or access is strictly necessary for the legitimate purpose of enabling the use of a specific service explicitly requested by the subscriber or user, or for the sole purpose of carrying out the transmission of a communication over an electronic communications network.
Preferences
The technical storage or access is necessary for the legitimate purpose of storing preferences that are not requested by the subscriber or user.
Statistics
The technical storage or access that is used exclusively for statistical purposes. The technical storage or access that is used exclusively for anonymous statistical purposes. Without a subpoena, voluntary compliance on the part of your Internet Service Provider, or additional records from a third party, information stored or retrieved for this purpose alone cannot usually be used to identify you.
Marketing
The technical storage or access is required to create user profiles to send advertising, or to track the user on a website or across several websites for similar marketing purposes.
Manage options Manage services Manage {vendor_count} vendors Read more about these purposes
View preferences
{title} {title} {title}
Scroll To Top