SK INSTALL G3S KAWASAKI NINJA 300 2013
G3-S Mounting Instructions2013 Kawasaki Ninja 300These are instructions for mounting the shock to the motorcycle. The shock has been preset for your weight, skill, and riding type. The preset adjustments are listed on your Setup Sheet. After mounting the shock please check the Sag. Click here for details. Click here for General G3-S Instructions. Note: Click on the images to enlarge. |
|
|
|
1. Remove stock shock absorber according to procedures outlined in the Kawasaki service manual.
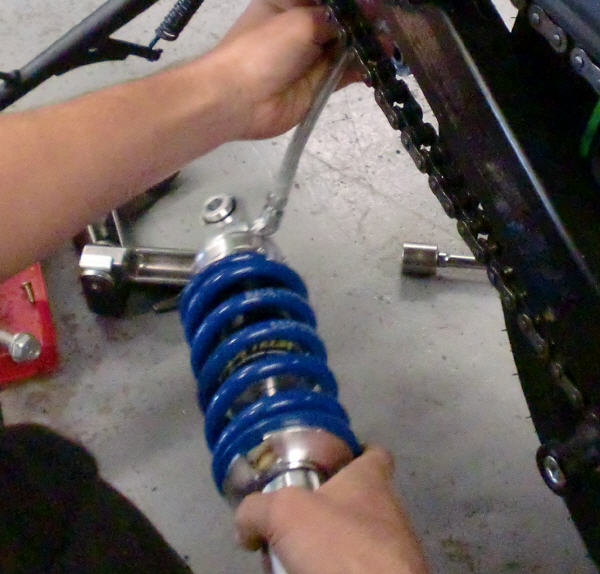
2. Once the stock shock absorber is removed, install G3-S shock through the bottom of the swing arm. With reservoir facing the rear of the motorcycle install the top shock bolt and torque to factory specifications.
|
|
|
3. Install the lower shock and linkage arm bolt. Torque fasteners to factory specifications. |
|
|
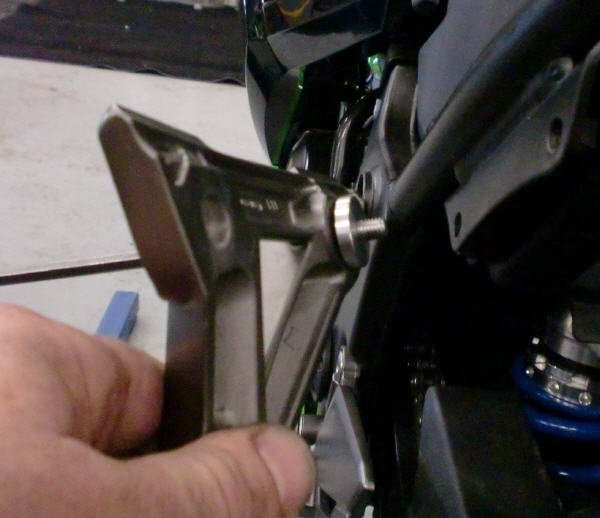
4. Remove left side passenger peg bracket.
5. Use the included longer Allen bolts. Install the aluminum washer on the front passenger peg mounting bolt. 6. Thread the front passenger peg mounting bolt into position. Do not torque this bolt yet leave it slightly loose.
|
|
|
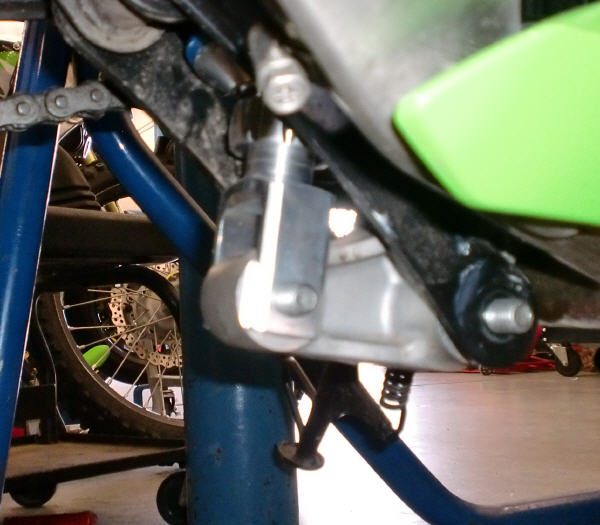
7. Slide the reservoir mounting bracket between the foot peg bracket and the frame. Thread the other included Allen bolt into position. 8. Be sure the front of the reservoir makes contact with the plastic undercarriage as shown. This provides proper clearance for the swing arm. |
|
|
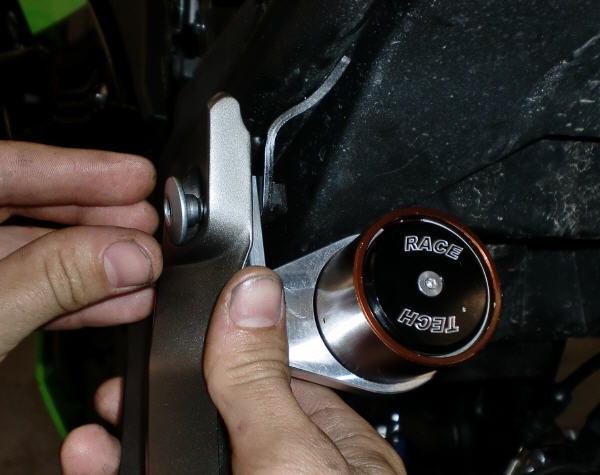
9. Locate the Allen bolt heads on the reservoir bracket into the recess in the foot peg bracket as shown. Failure to do so can cause damage to the foot peg bracket. |
|
|
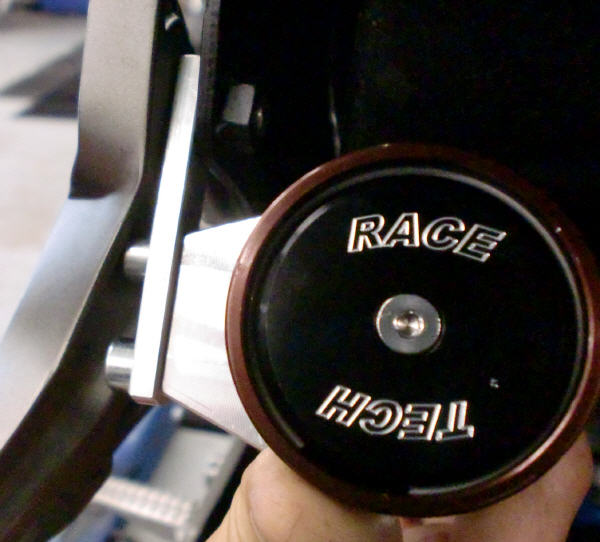
10. Torque the two passenger peg mounting bolts to factory specification. The picture for step ten shows the position of the properly mounted reservoir. Have Fun, Go Ride. |
|
|
The shock is preset for you. Please check the sag before you ride. |