SK INSTALL G3S YAMAHA RZ-350 1984 RESY CONV
G3-S REMOTE RESERVOIRSHOCK MOUNTING INSTRUCTIONS
|
|
|
|
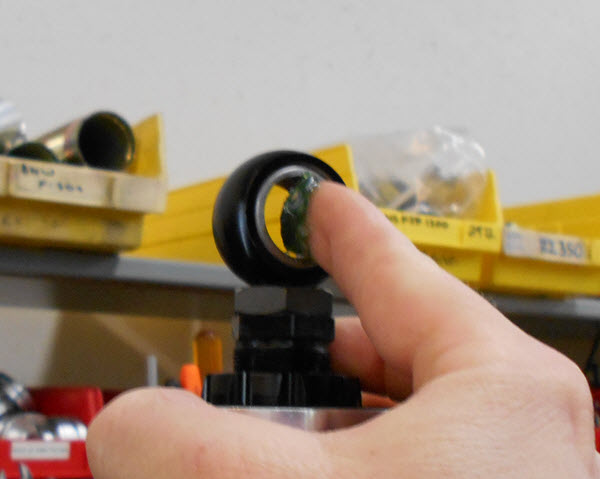
1) Remove the stock shock absorber according to procedures in the Yamaha service manual. 2) Pack the lower needle bearing on the G3-S shock with grease.
|
|
|
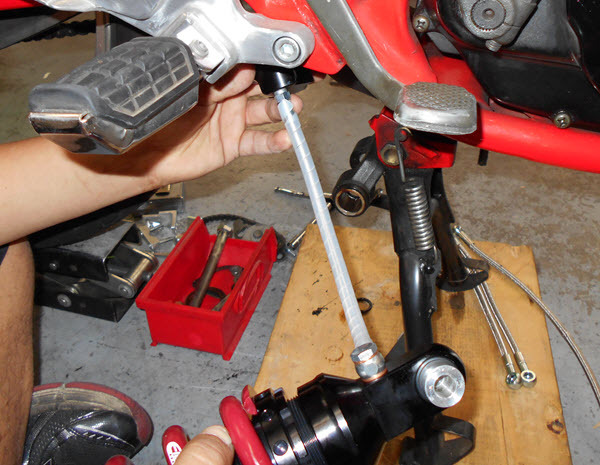
3) With the linkage dropped down as shown, feed the reservoir and shock up through the bottom of the swingarm. The hydraulic line banjo bolt should face the back of the motorcycle with the reservoir located on the left side.
|
|
|
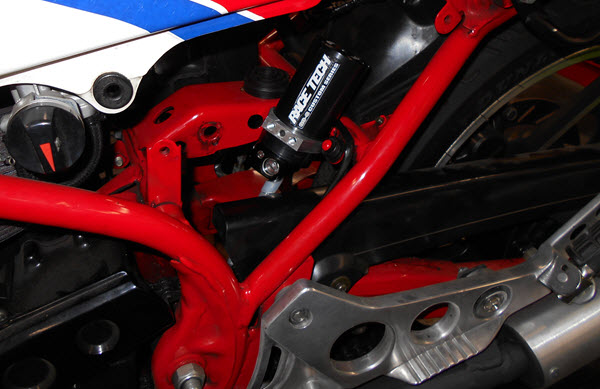
4) Install upper shock bolt and nut and torque to factory specifications. |
|
|
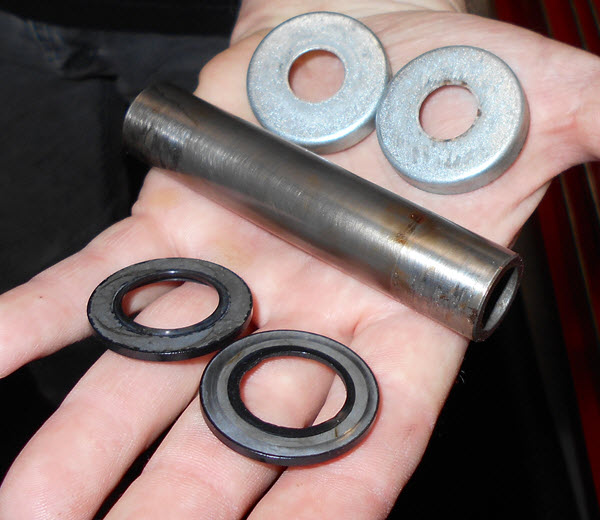
5) Locate the stock lower linkage end caps, bearing sleeve and seals these parts will be used for installation. |
|
|
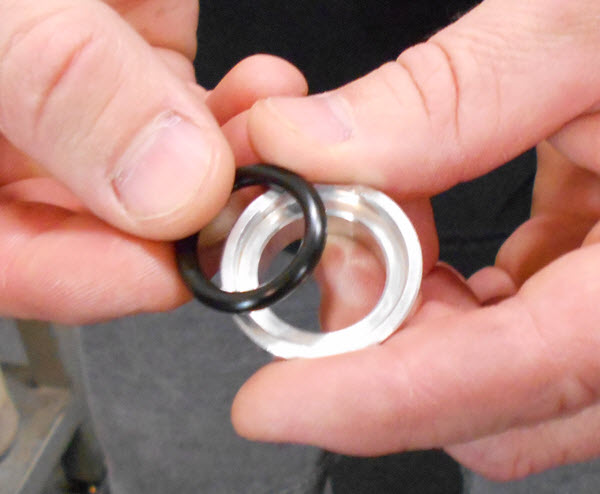
6) Install the stock seals on the new included spacers. The included O-Rings will locate on the cutout side of same spacer.
|
|
|
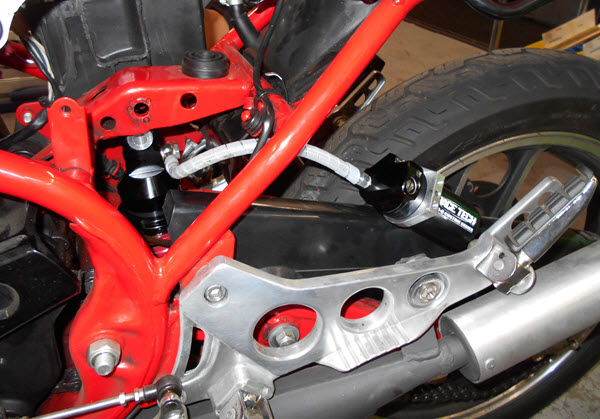
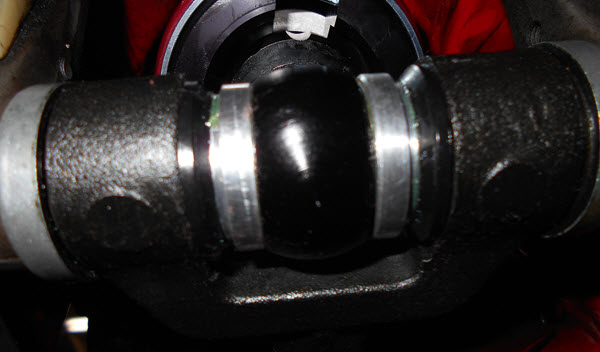
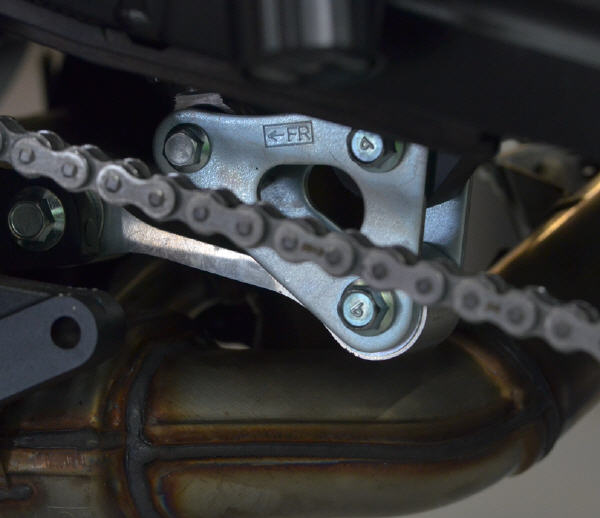
7) Attach the lower linkage to the shock as shown. Torque the lower shock bolt and nut to factory specification. Double check all linkage and shock fasteners for proper torque. |
|
|
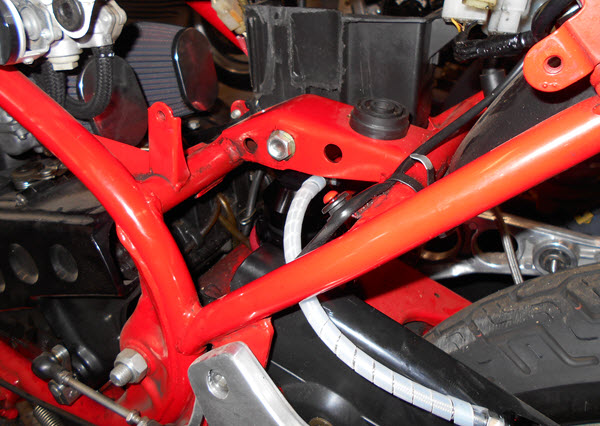
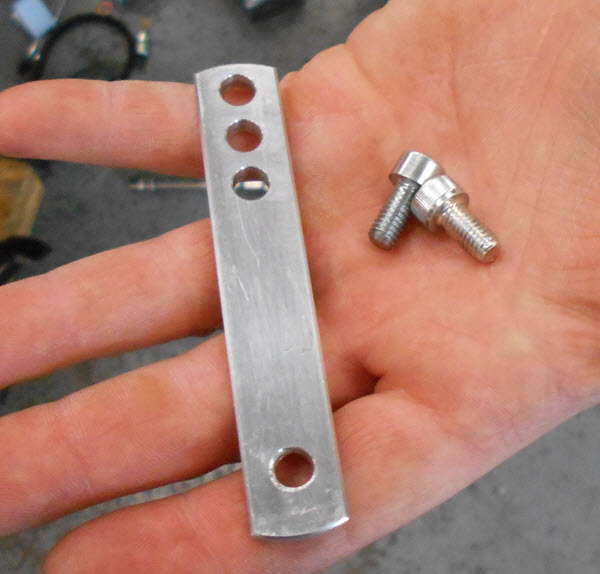
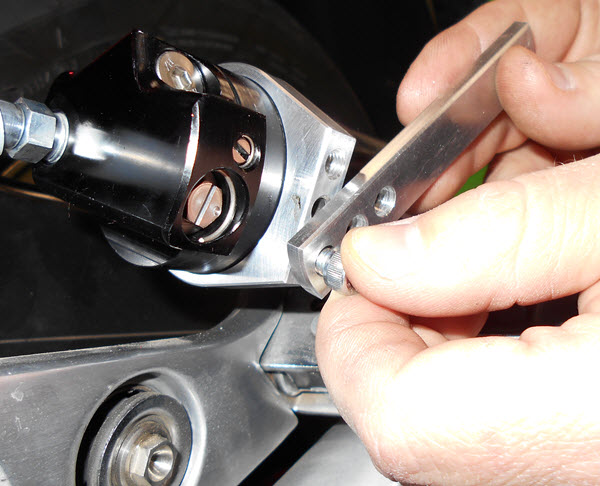
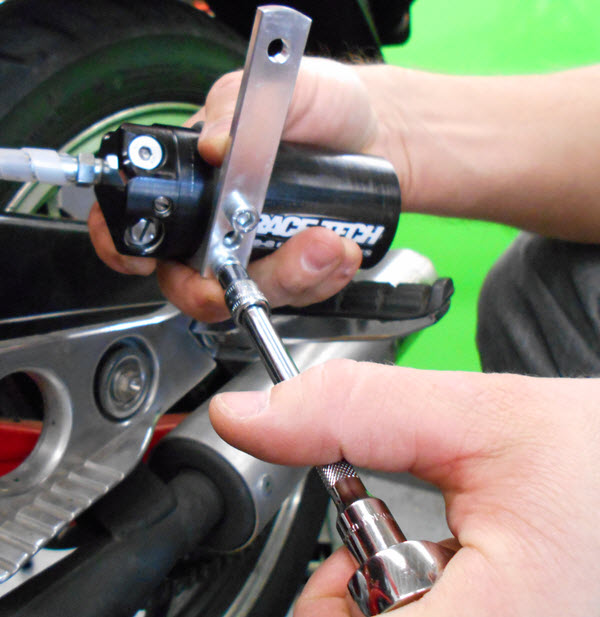
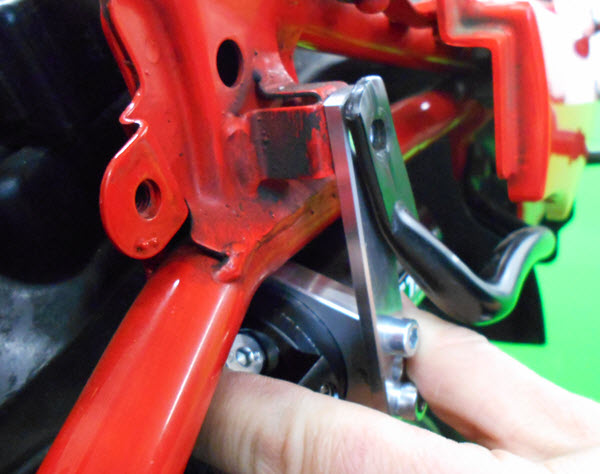
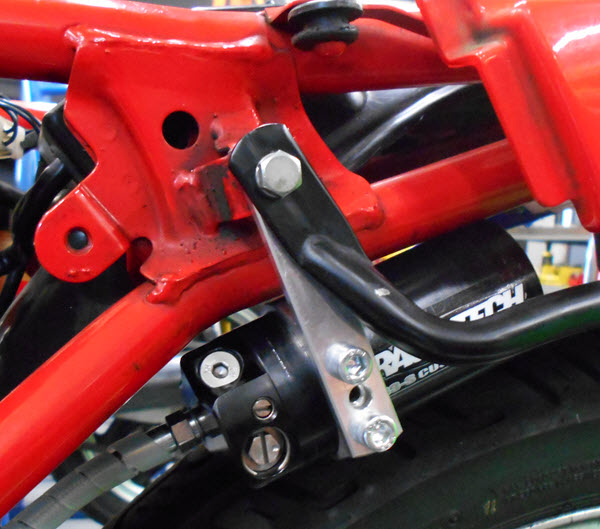
8) Locate included reservoir frame mount bracket and (2) 6×1.0x12 Allen head bolts. Attach frame mount bracket to reservoir bracket as shown. Use a small amount of blue lock tight on the Allen bolts.
|
|
|
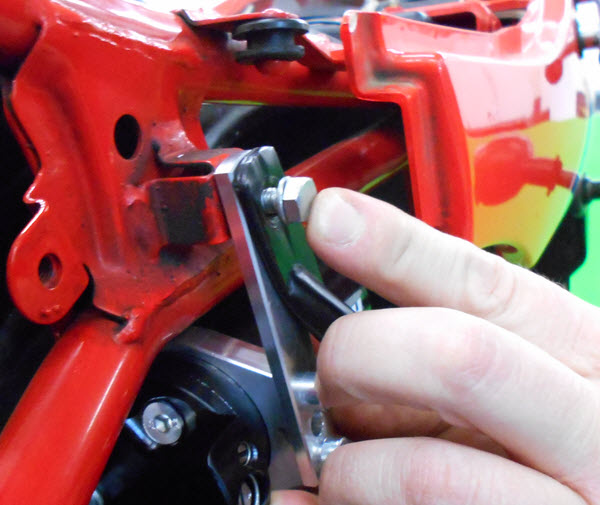
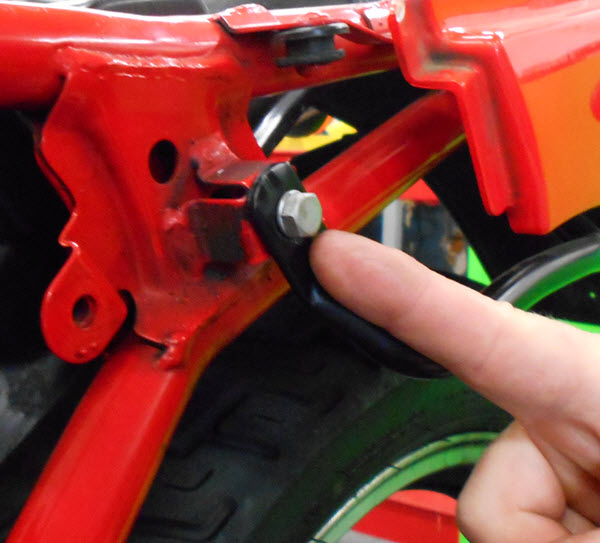
9) Remove front grab rail mounting bolt. Slide reservoir frame mounting bracket behind grab rail as shown. Install grab rail mounting bolt and torque to factory specifications.
Double check all fasteners, install body panels and seat. Set the rider sag to the number specified in your setup sheet. Enjoy your ride! |
