Nitrogen Charging Bolt Installation - SPNV 0512
"Non-Rebuildable" Shocks

Instructions for WP shocks ►Click here

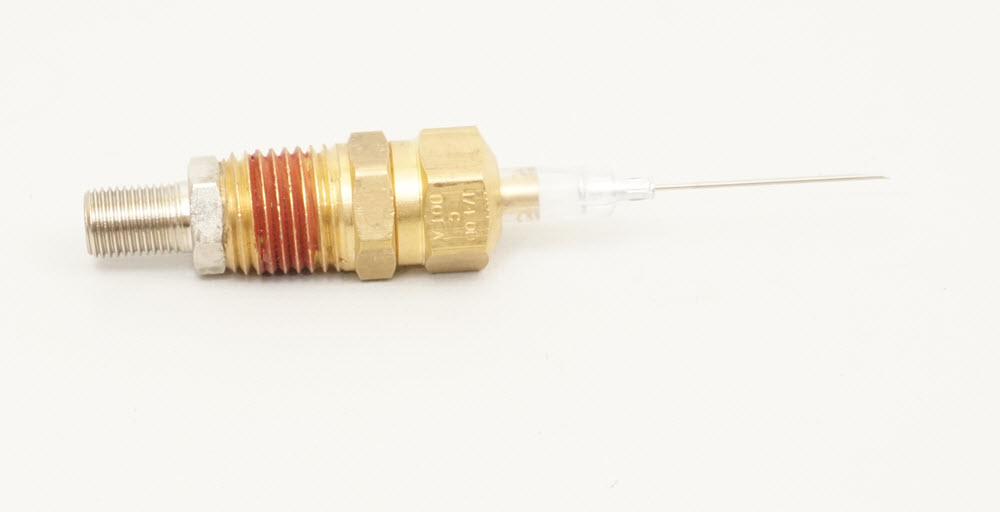
Some shocks are non-rebuildable only because there is no provision for charging them with nitrogen. In many cases a Nitrogen Charging Bolt (SPNV 0512) can be fitted to solve the problem. This allows the shock to be charged with a Nitrogen Needle (TSNN 01).

We have been doing this service for years and have always required these jobs to be performed at Race Tech  due to the complexities of the installation. This installation requires careful machining and, if done improperly, can ruin the shock.

Here are a few considerations:

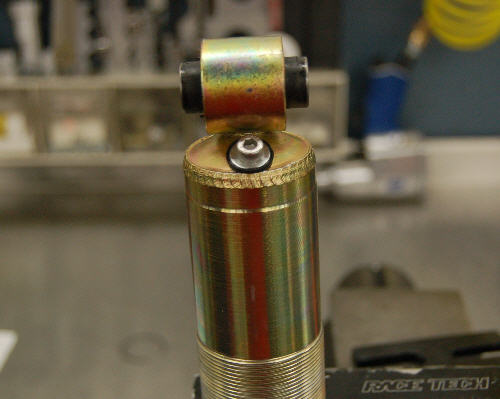
  • There must be a large enough surface area that can be flattened to allow the sealing washer to seal.
  • The screw head must clear the eyelet, frame and mounting brackets through the entire travel of the shock. If anything disturbs the seal of the screw you can lose damping immediately.
  • The spring and/or spring collars must be able to be installed.
  • If this modification isn't done correctly the shock can be damaged beyond repair.

WARNING - We suggest only highly qualified suspension technicians/machinists attempt this modification. These shocks come in many variations and must be approached with caution. Race Tech will not accept responsibility or liability for any damage that may occur due to improper installation. If at any time you have any questions, stop work immediately and contact Tech Support 951.279.6655 x109.

The purpose of this text is to give a basic understanding of the procedure because many people have had failed attempts doing this themselves.

Supplies Needed

SPNV 0512 - Nitrogen Charging Bolt -  Add to Cart

TSSN 01 - Nitrogen Charging Needle -  Add to Cart

M5x.8 Tap

4.2mm Drill

Flat file or mill


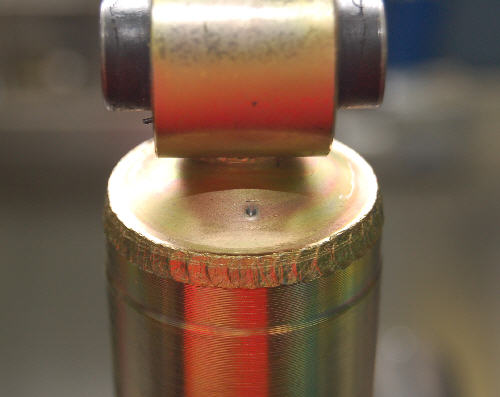
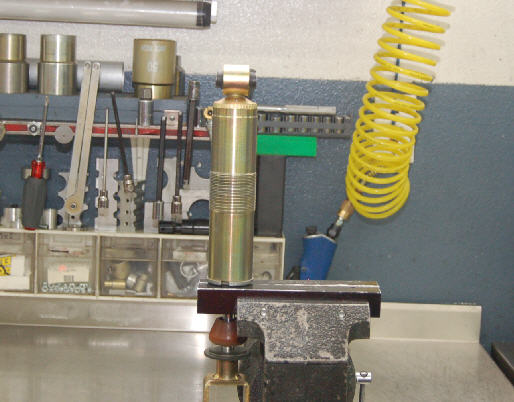
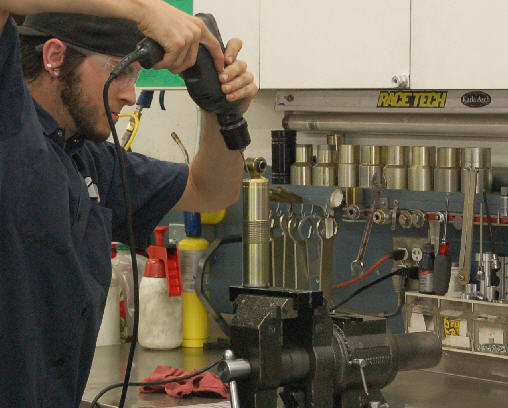
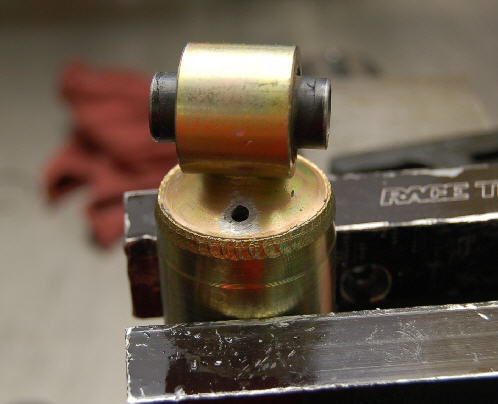
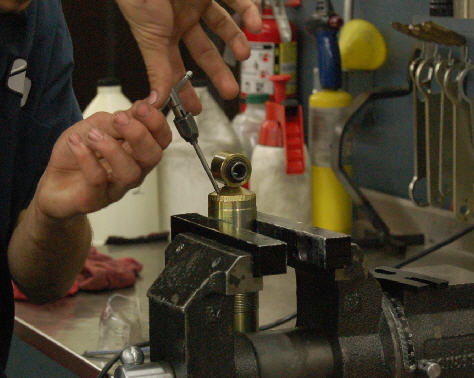
Step 1 - Mount the shock in a vise with the body eyelet at its highest point. Make a small punch mark to guide the drill bit on initial entry. Release the nitrogen pressure by drilling an 1/8" (3mm) hole perpendicular to the surface.

Note: In some shocks the reservoir piston or bladder cannot be removed even after the shock is disassembled. In this case the metal chips must be thoroughly removed. Dab a small amount of grease on the end of the drill bit to help catch metal filings.

IMPORTANT! Eye protection is required to protect against small projectiles when the pressure is released. And lastly keep your mouth closed.

Step 2 - After pressure is released, disassemble the shock by removing the seal head and shaft assembly. Discard oil in an appropriate container and rinse the shock body to clean the surface of any contaminants. Mount the shock body back in the vise to proceed.

Note: On shocks with captive bladders or pistons the reservoir volume must be cleaned completely. It can be helpful to use an air nozzle with a long tube on it. Insert the tube into the hole and blow out the chamber from the inside out.

Step 3 - Increase the hole size to 4.2mm (#19) which is the proper diameter for an M5 x 0.8 tap.

Note: Make sure the drill bit is perpendicular to the surface.

Step 4 - Make a flat where the bolt head must seal by milling or carefully filing.

Step 5 - Tap the hole to M5 x 0.8mm

Note: Use tapping fluid. Make sure tap is perpendicular to the surface.

Clean all shavings and debris inside and out.

Step 6 - Put the o-ring and washer on the SPNV 0512 and install on the shock. Use thread lock.

Shock Assembly - There are 3 basic shock styles:

  1. Emulsion - You must know and set the oil level.
  2. Internal Floating Piston (IFP) - You must set the proper Reservoir Piston height. Gently squeezing the body in TMVJ 065 Vise Jaws will lock the piston in place while bleeding the piston. Be sure to release the body when inserting the Seal Head .
  3. Captive Bladder - Reassemble and bleed the shock with 40 psi in the reservoir then release the pressure when inserting the Seal Head.