2017 WP XPLOR Fork Special Instructions | |
TOOLS and SUPPLIES REQUIRED TMVJ 065 - Vise Jaws Propane Torch Hi-Strength Loctite Knipex Pliers or Spanner Torque Wrench (accurate at 20-50 in-lbs) | |
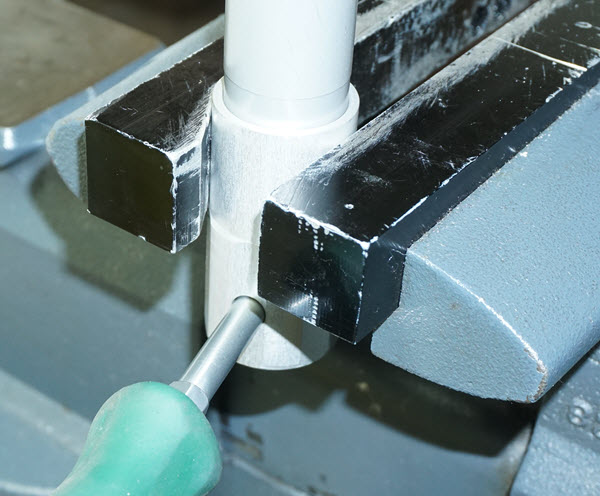
CM1- Hold the cartridge tube in the "V" of the TMVJ 065 Vise Jaws. Place a #3 Philips Screwdriver or other close-fitting rod through the compression holes at the bottom and rotate the entire assembly counter-clockwise until the shaft hits the vise. Snug This is to keep the cartridge from turning. | |
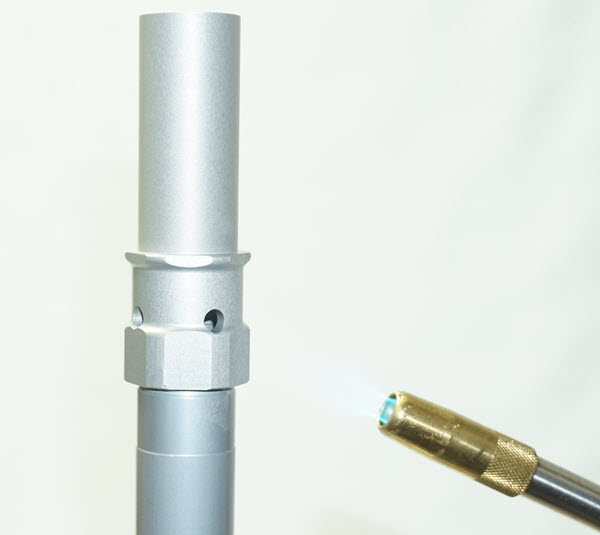
CM2- To loosen the existing threadlock. You may need to use some heat on the thread. Do not heat over 350º F. Laying the cartridge horizontally on an anvil and tapping with a plastic mallet on the threaded area works well too. | |
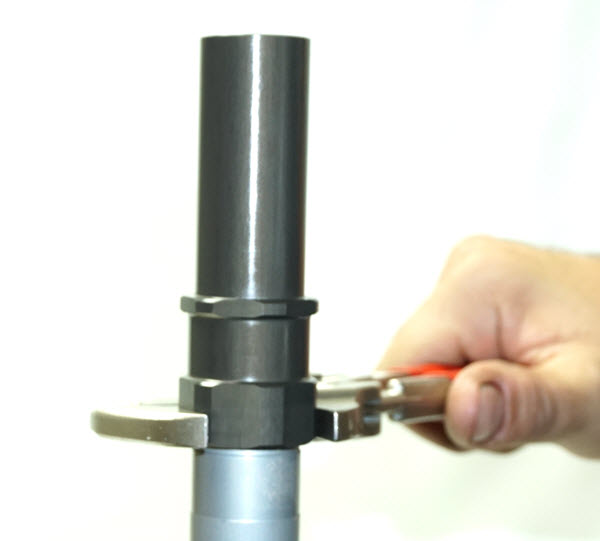
CM3- Loosen the cartridge head. These are Knipex Pliers. (In case you were worried this is a really cool wrench with flat jaws. If you don't have one of these you might consider it. It is not a pipe wrench. Snap-On and other sources have them.) | |
CM4- Use Hi-Strength Loctite and install the new Seal Head. | |
CC1- Hold the damping rod in a vise with the Shaft Holding Tool provided. Remove the existing shaft compression valve. You may have to hold the shaft in a press to keep it from spinning. A little heat up here can help but make sure you don't melt the plastic spring guide or overheat the spring. Use a Heat Gun instead of a propane torch. | |
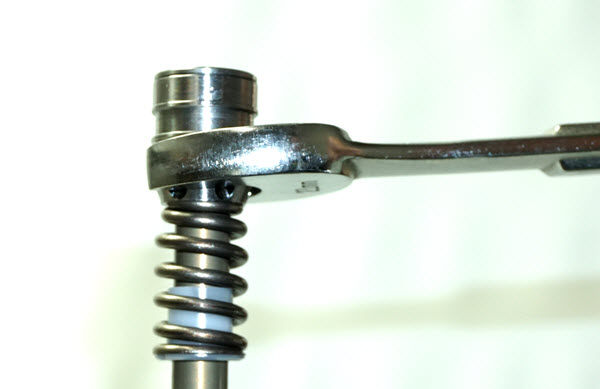
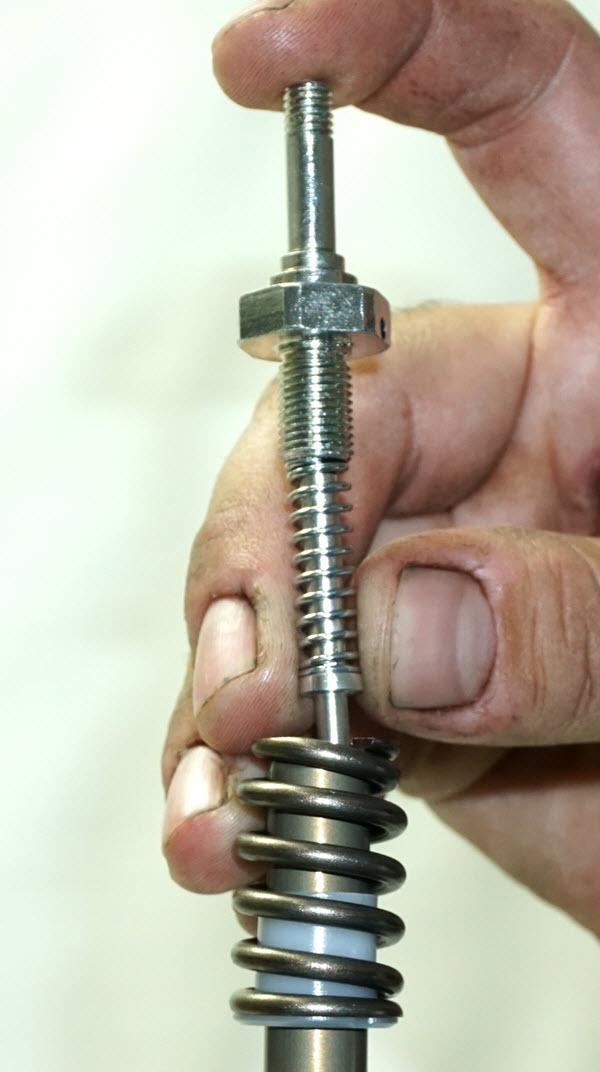
CC2- Install the new Rebound Holder, Rebound Needle, and Adjuster Spring. Use Hi-Strength Loctite on the Rebound Holder Thread. Make sure the o-ring is on the Rebound Holder (unlike this photo-oops). | |
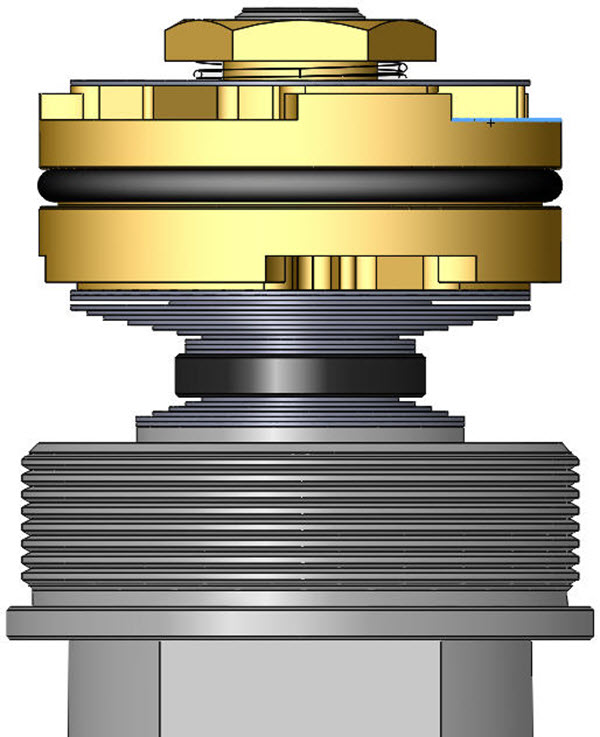
This is a Post Type Compression Assembly. It has a LSV (Low Speed Valve) below the compression stack. | |
| FORK SPRING PRELOAD SETUP | |
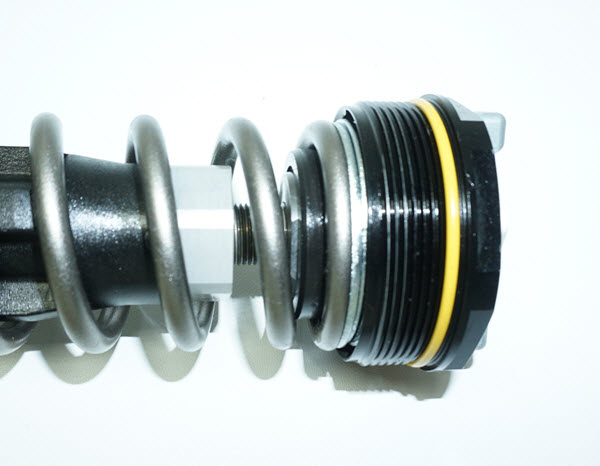
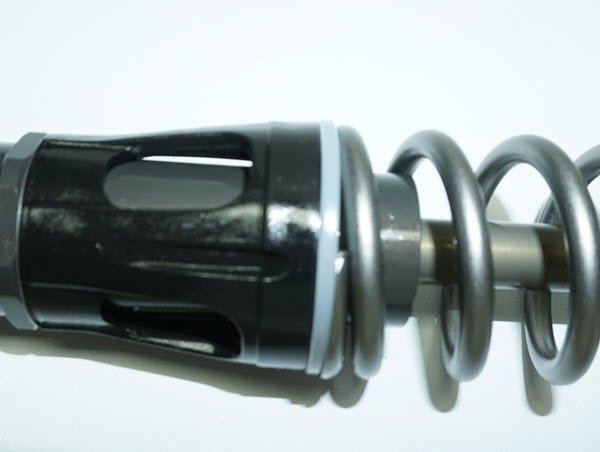
FP3- If the Preload needs to be increased you can add Preload Washers at either end. | |
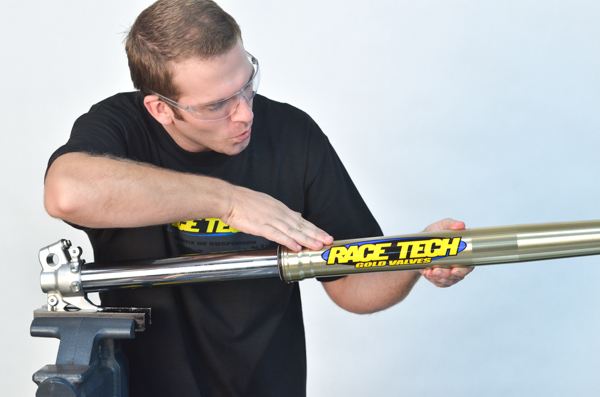
FP4- Complete the Fork Assembly. Set the clickers. The adjusters on the bottom are Compression. The adjusters on the fork caps are Rebound. It is important to note that the Compression Adjuster on the fork cap (which is now rebound) has reversed threads. This means zero (maximum rebound damping) is fully counterclockwise on this leg only. Note: For additional horsepower install the stylish Race Tech sticker. (Thanks A.J. - you're a pro.) | |


