2019- Sachs Fork Special Instructions
|
|
|
|
TOOLS and SUPPLIES REQUIRED
TMVJ 065 - Vise Jaws helps a lot!
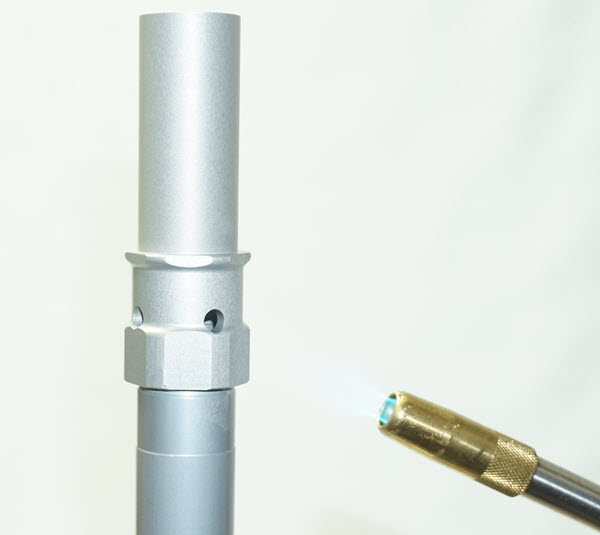
Propane Torch - for early style seal head removal Hi-Strength Loctite
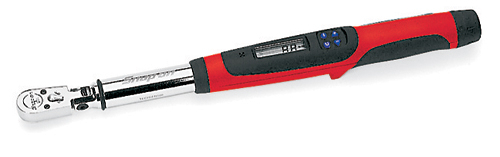
Torque Wrench (accurate at 20-50 in-lbs)
Plastic Head Hammer
Included in kit:
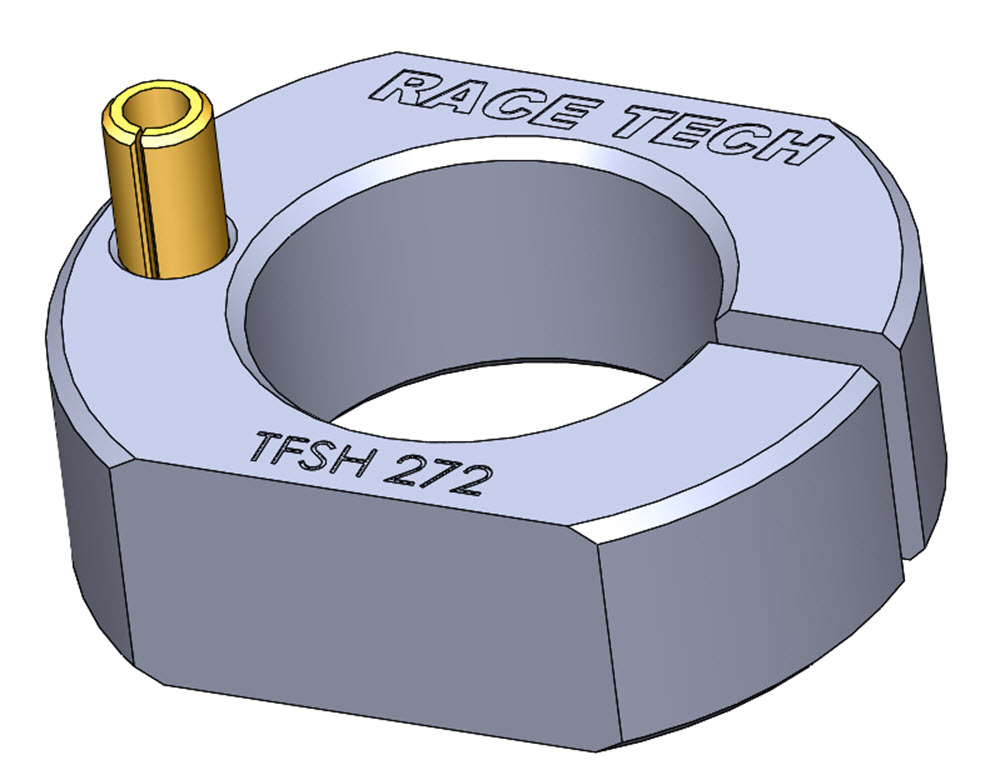
TFSH 272 - Shaft Holding for seal head removal on early style cart
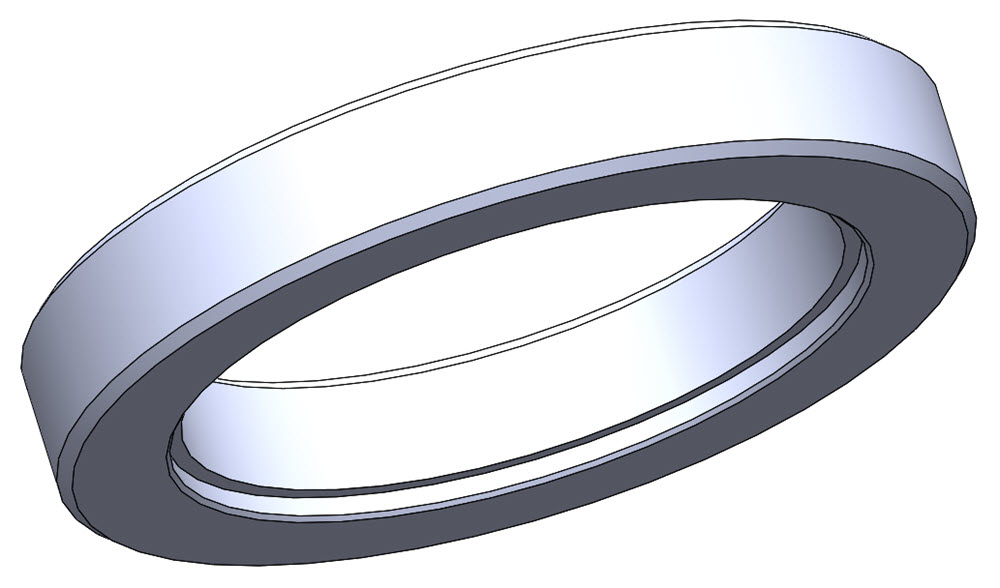
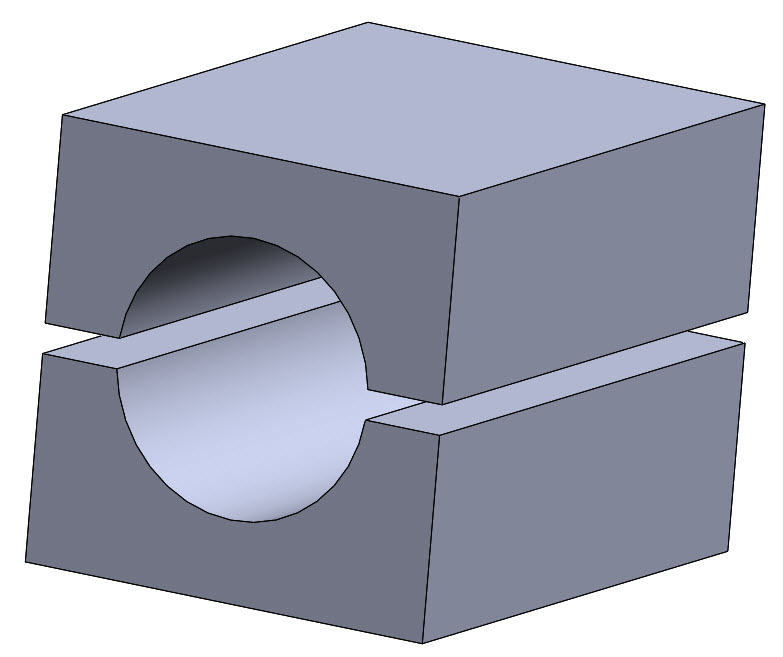
TFBS 27 - Block off sleeve installation tool
TFSH 1225 - Shaft Holding Tool
|
|
|
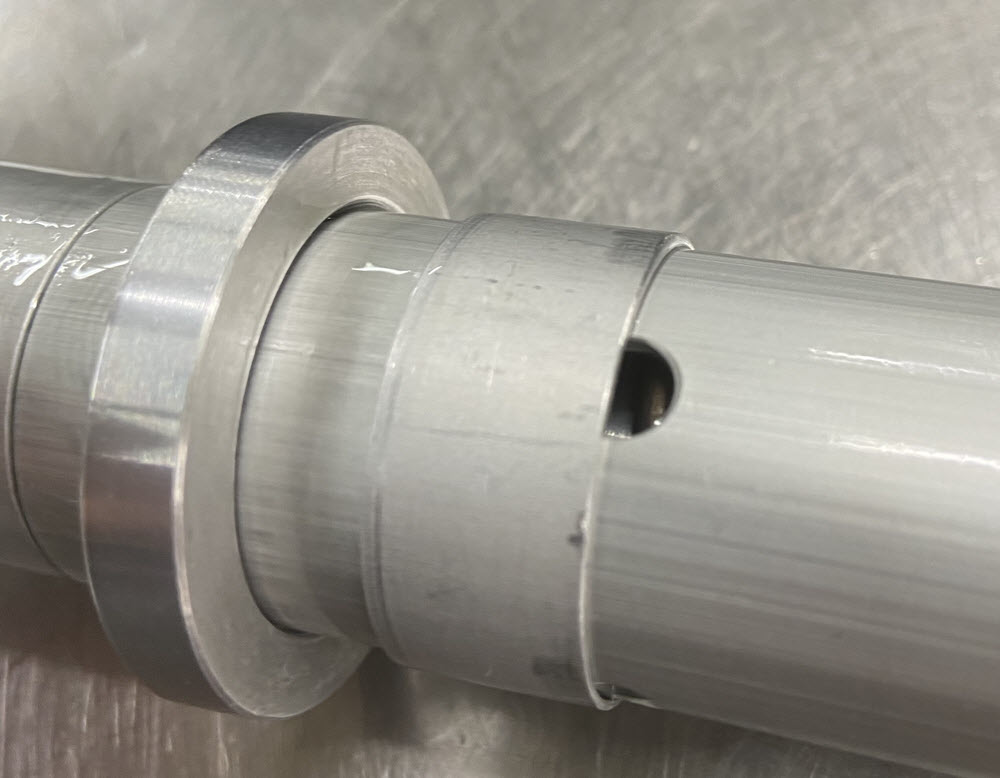
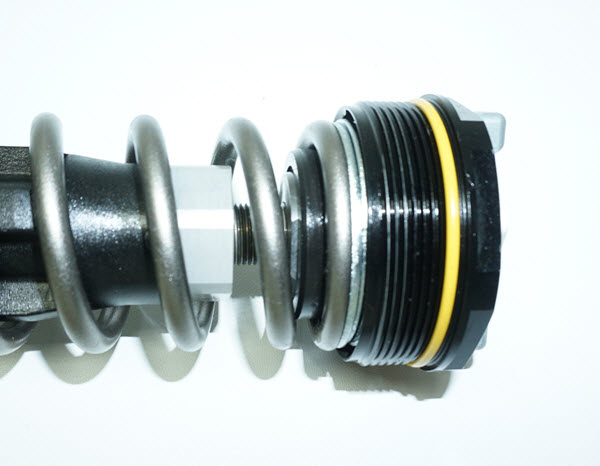
CM1- The holes near the top of the cartridge must be sealed off with the installation of the "block-off" sleeve. There are two types of cartridges:
1-Early model with integrated spring perch. This type must have the seal head removed to install the block-off sleeve. This requires disassembly of the cartridge using the shaft holding tool supplied in the kit.
Hold the Seal Head in the Shaft Holding tool in the vise. Place a #3 Philips Screwdriver or other close-fitting rod through the compression holes at the bottom of the cartridge tube and unscrew the seal head.
To loosen the existing threadlock. You may need to use some heat on the thread. Do not heat over 350º F.
Laying the cartridge horizontally on an anvil and tapping with a plastic mallet on the threaded area works well too.
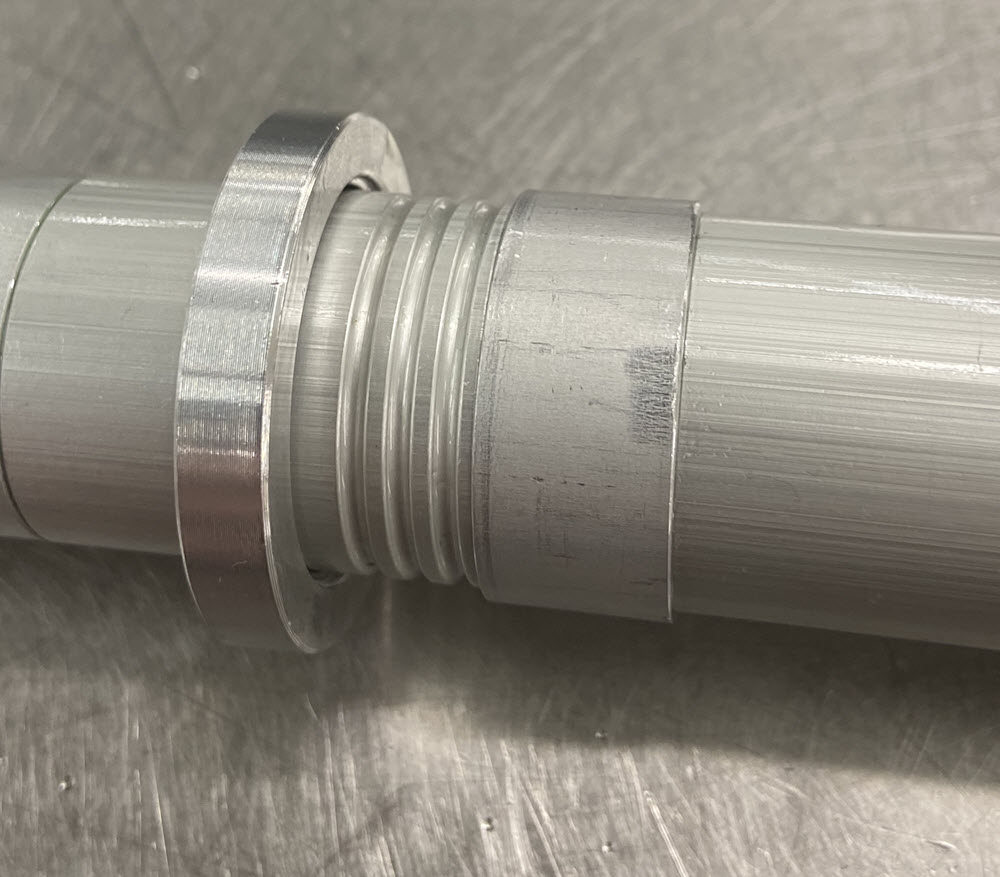
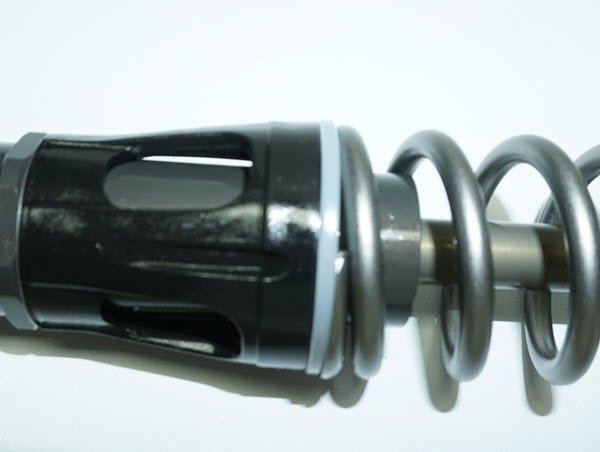
2-Late model (around 2020 though there is some overlap) that has a separate spring perch retained with a circlip. The block-off tube can be installed without cartridge disassembly.
|
|
|
CM2- This is a late model cartridge. The block-off sleeve can be installed with the cartridge assembled.
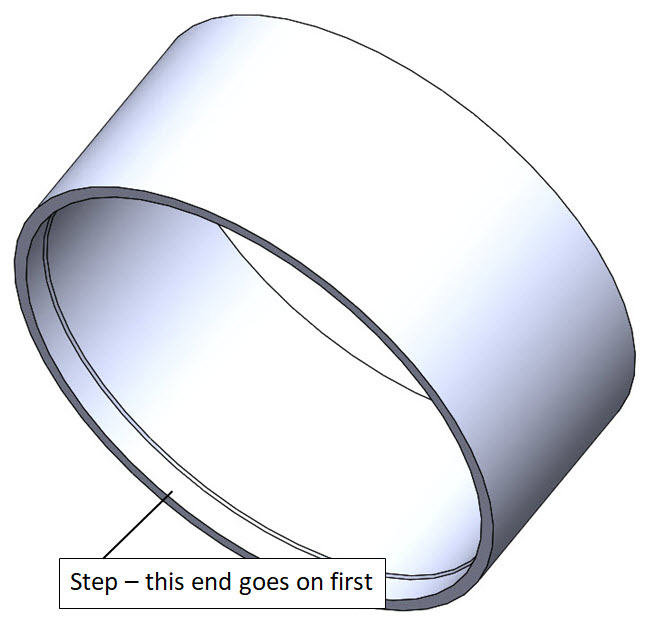
The ID of the Block-off Sleeve has a step on one end. This step goes on first to help start the installation.
|
|
|
CM3- Put the block-off sleeve into the installation tool in the recessed side. With the tool resting on the vise jaws and the vise loose, tap down on the end of the cartridge with a plastic hammer. Keep going until the feed holes are completely covered.
|
|
|
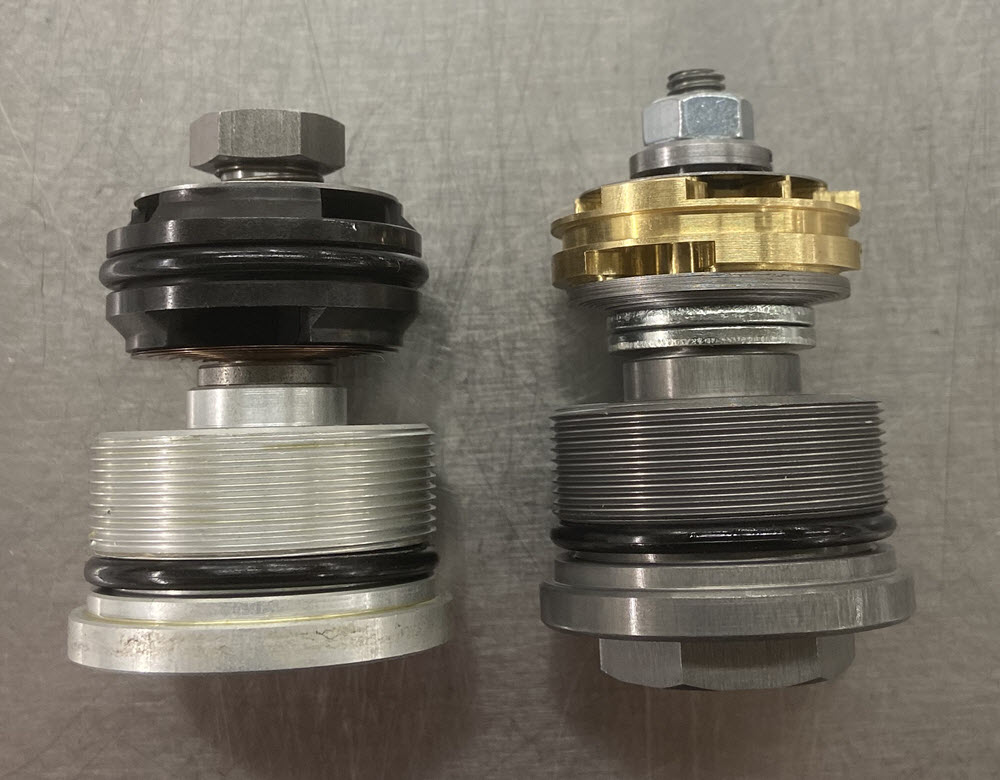
CC2- Use the TFSH 1225 Shaft Holding Tool. Remove the stock rebound holder and Install the new one. It may help to use a propane torch to heat it at the thread for removal.
Re-use the stock Rebound Needle and Spring. Use Hi-Strength Loctite on the Rebound Holder Thread.
|
|
|
|
|
|
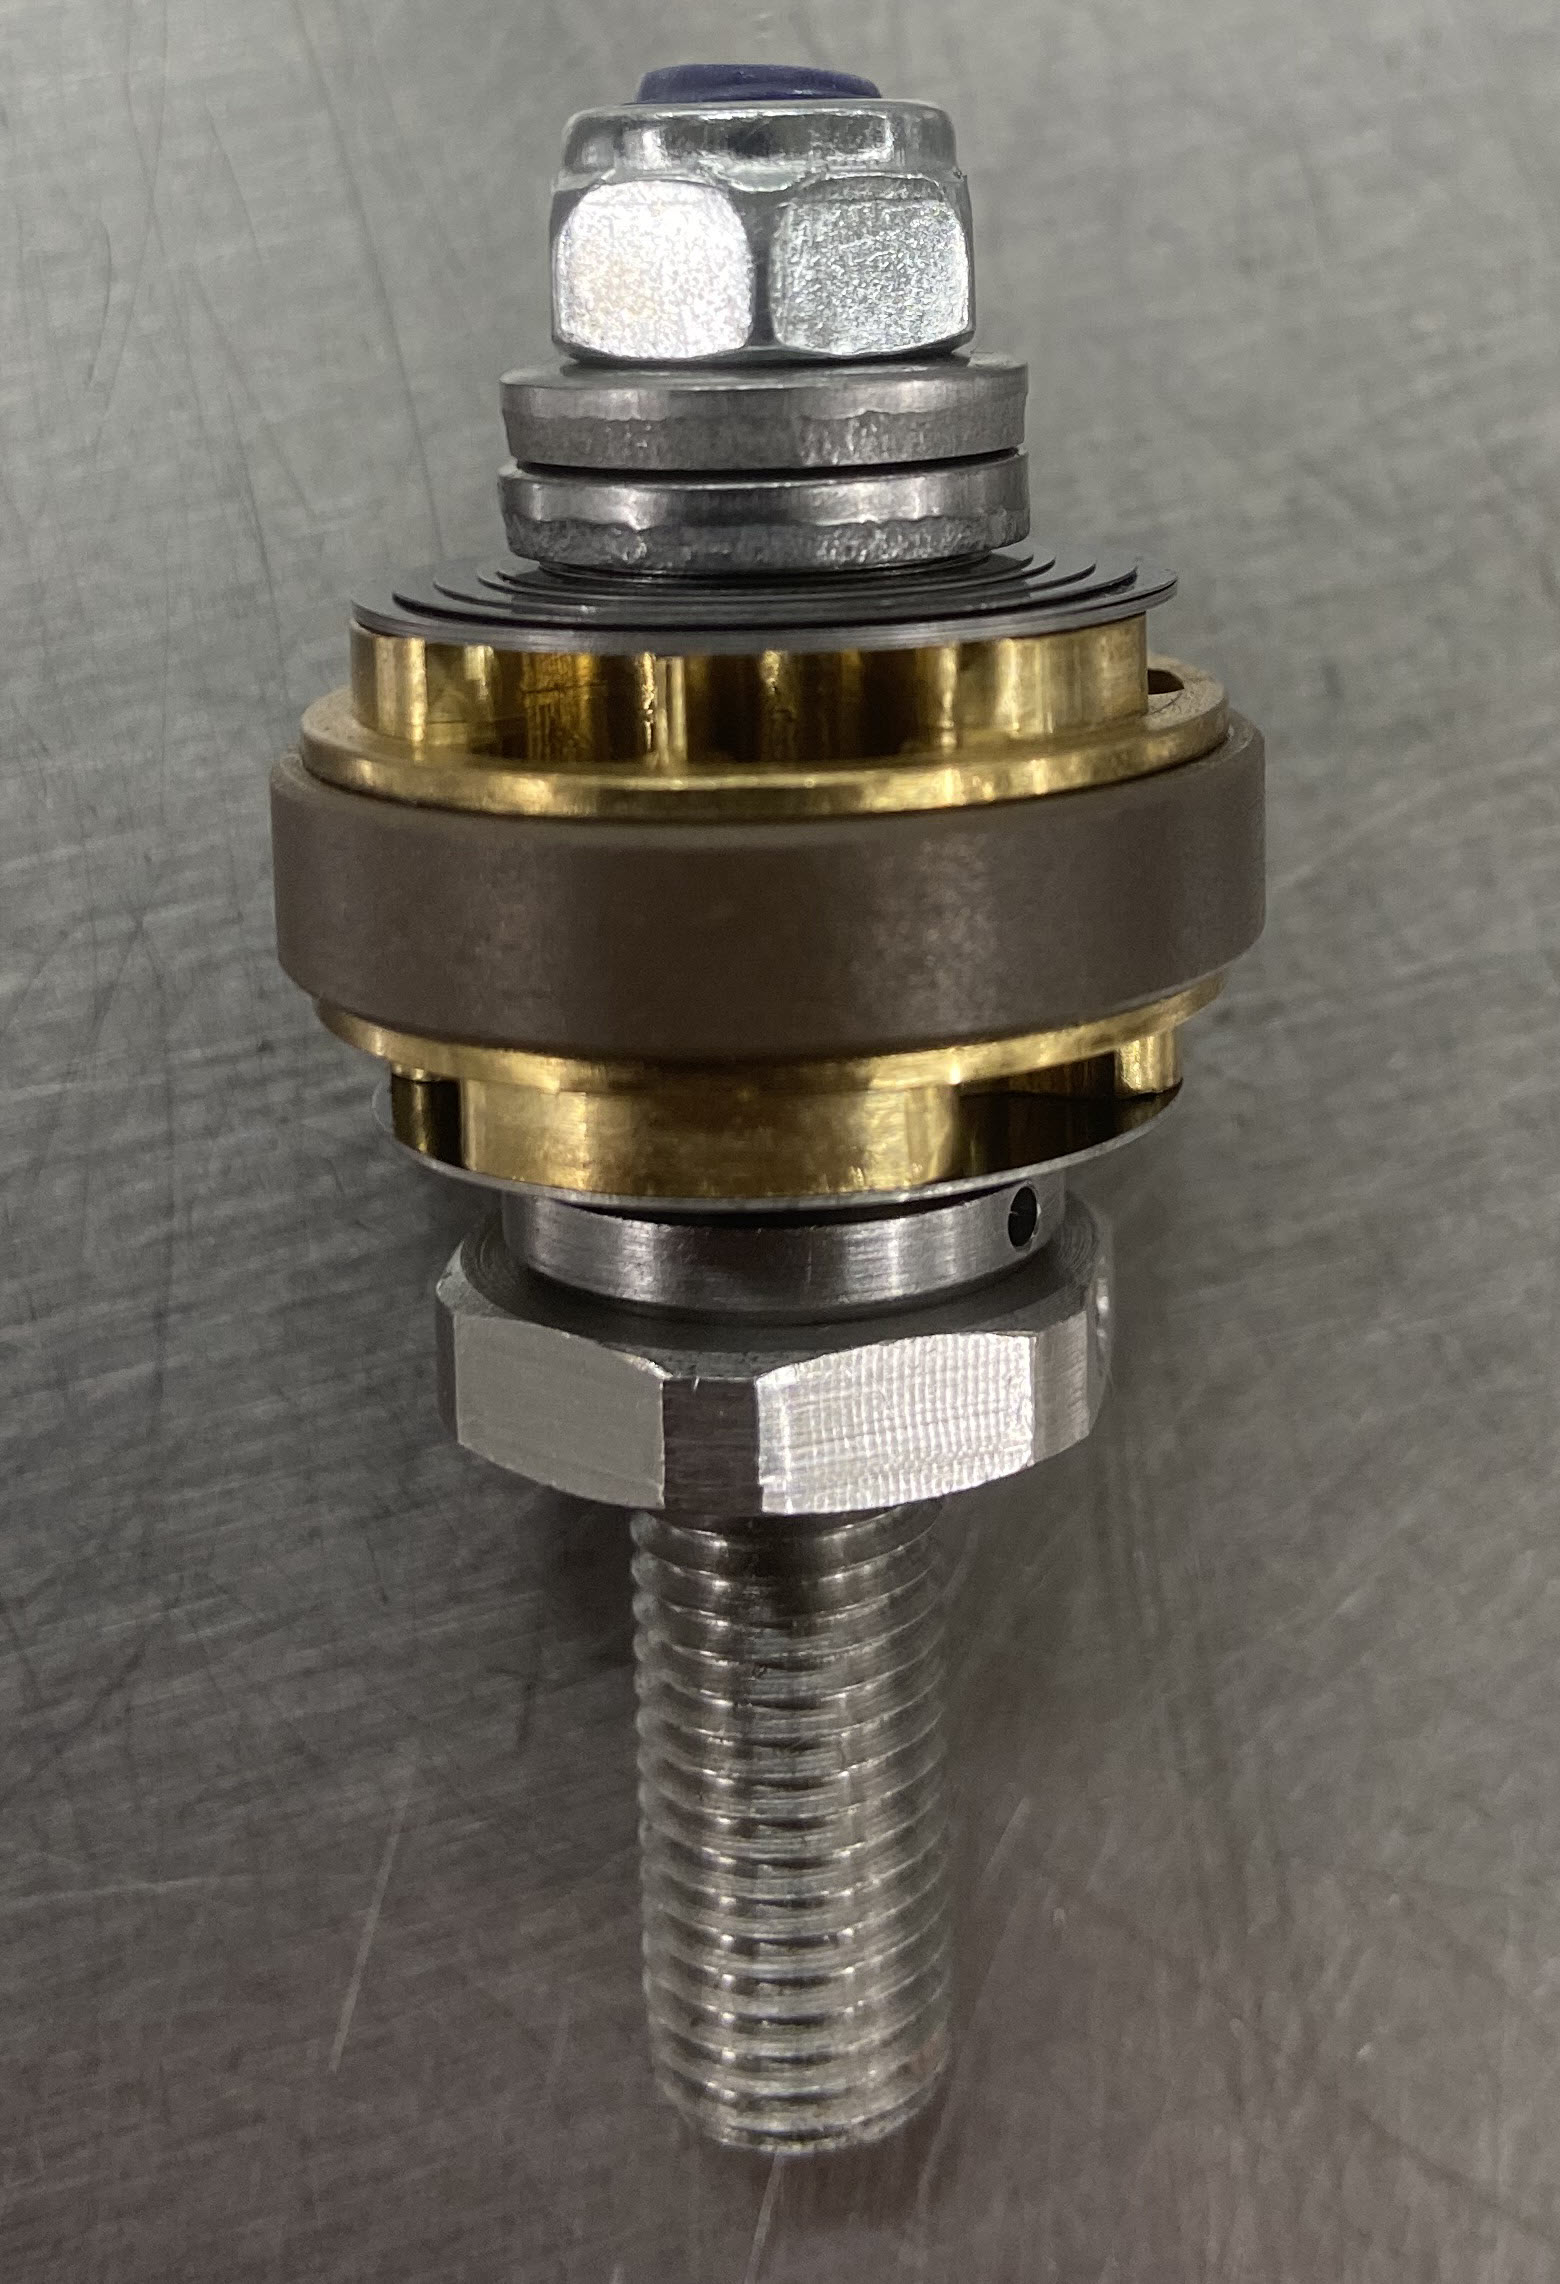
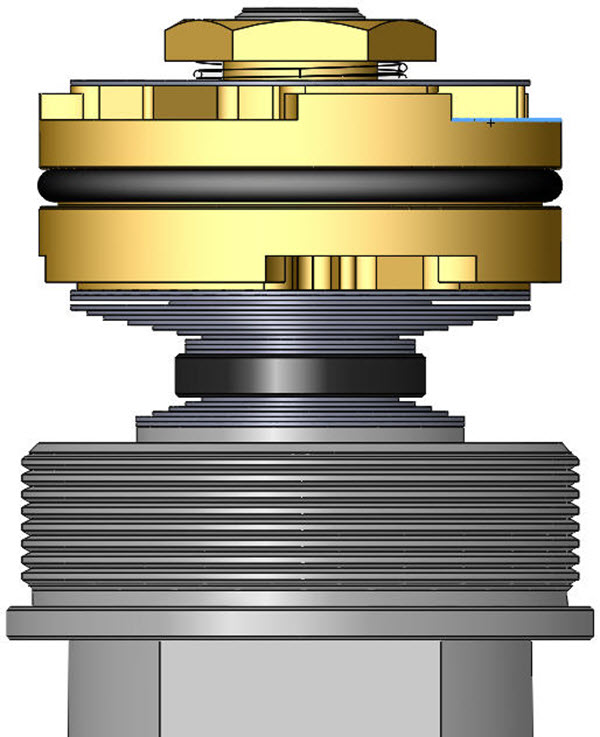
This is a Post Type Compression Assembly.
It has a LSV (Low Speed Valve) below the compression stack.
|
| FORK SPRING PRELOAD SETUP
|
|
|
|
|
|
|
FP3- If the Preload needs to be increased you can add Preload Washers at either end.
|
|
|
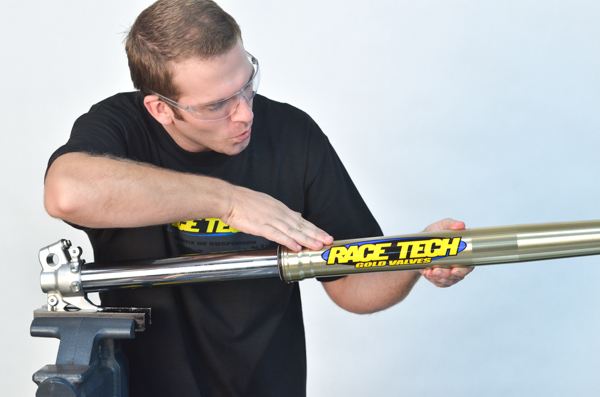
FP4- Complete the Fork Assembly.
Set the clickers. The adjusters on the bottom are Compression. The adjusters on the fork caps are Rebound.
Note: For additional horsepower install the stylish Race Tech sticker. (Thanks A.J. - you're a pro.)
|