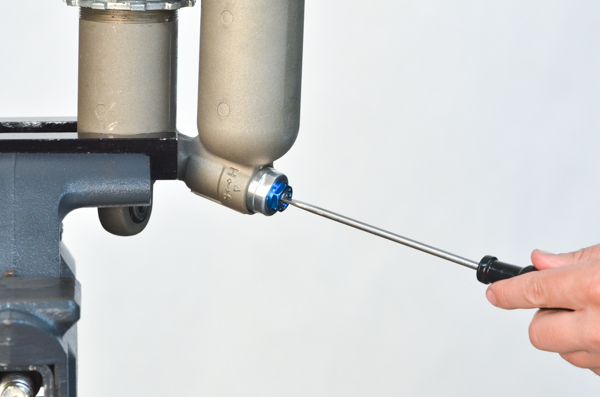
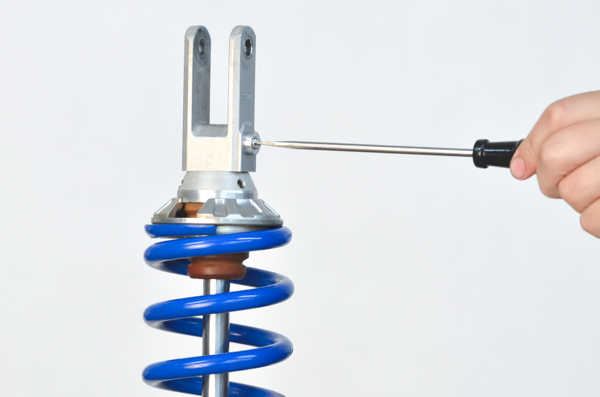
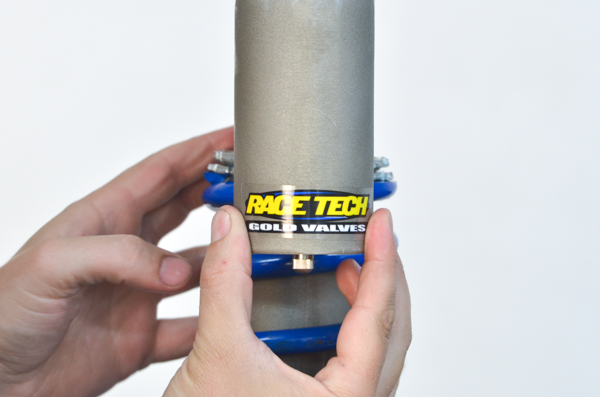
SHOCK REBUILD - BLADDER RESERVOIRLink to Gold Valve Installation Reservoir shocks are common on dirt and street motorcycles and ATVs. They have either integral reservoirs built into the body or external remote reservoirs attached with a hose. These shocks use either a bladder or a floating piston to separate the oil and nitrogen in the reservoir. Most of the procedure is the same. Click here for Piston Style Reservoir Assembly. CAUTION: IF YOU ARE UNFAMILIAR WITH REBUILDING AND REVALVING SHOCKS, STOP!!! DO NOT PROCEED; SEEK OUT A QUALIFIED SUSPENSION TECHNICIAN. Special thanks to Master Suspension Technician Alan "AJ" Peck (yeah, that's his arm). Shortcuts: 1. SHOCK DISASSEMBLY |
|
|
|
Tools
- Torque wrench (SnapOn Digital Torque Wrench shown)
- Metric calipers and micrometer
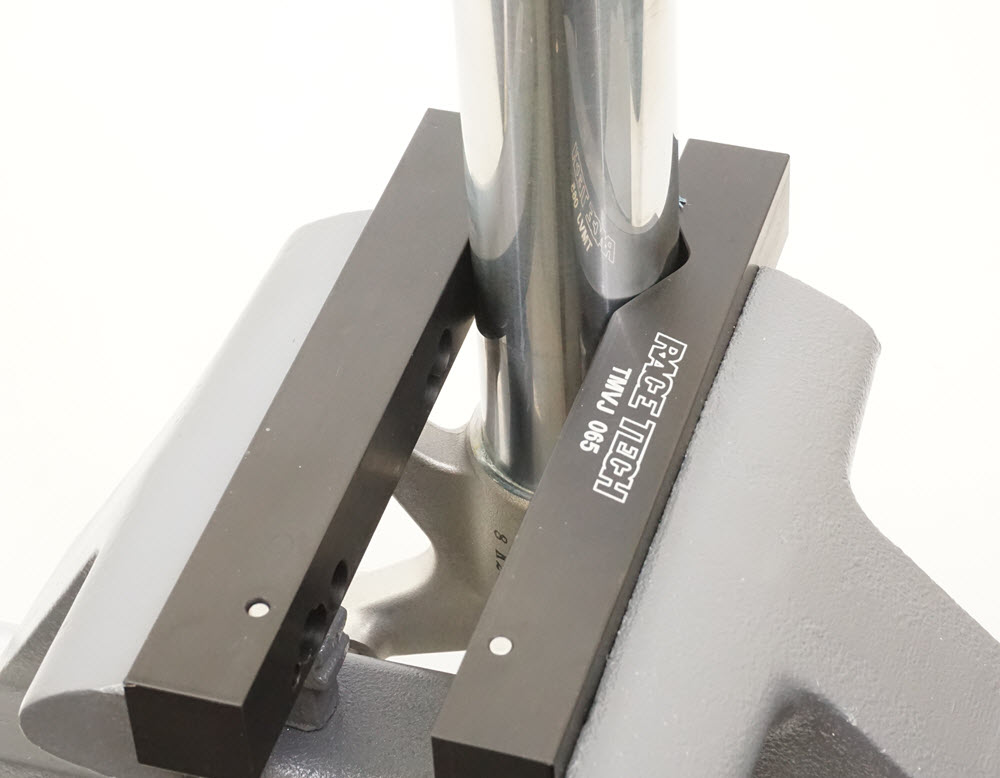
- TMPS 4853 or 3843 Pin Spanner for Threaded Body Caps - TMVJ 065 Vise Jaws mounted on a Vise - suggested - TSCT 01 - Reservoir Cap Tool - TSCP 01 - Clip Tool - TSPA 01 - Shock Preload Adjusting Tool - TSRC 01 - YZ Reservoir Cap Tool - TSSB Series Bullet Tool - for Seal Head installation - TSSC 01 - Spring Compressor Lever Type or - TSSC 02 - Spring Compressor Screw Type
- TSSS Series - Seal Head Setting Tool - TSNN 01 - Nitrogen Needle (if needed)
- TSNR 01 - Regulator
- TSNH 48 - High-pressure Nitrogen Hose
|
|
|
|
|
|
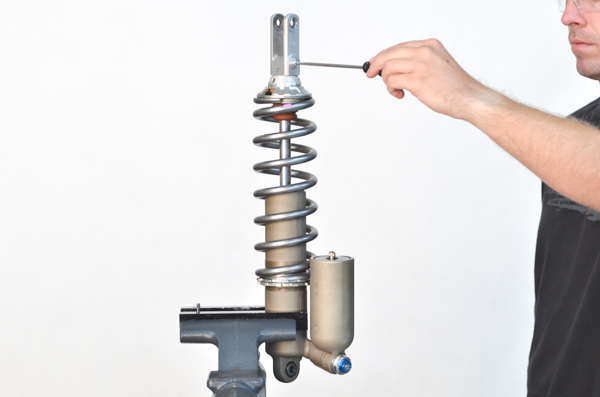
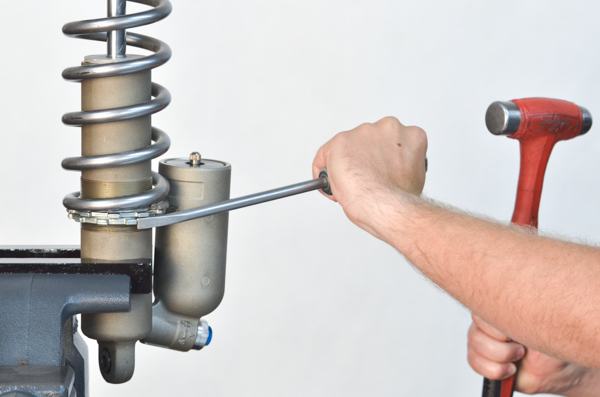
D2 - Remove the spring by loosening the preload locking collar with a Shock Preload Adjusting Tool (TSPA 01).
A quicker way to remove the spring is to use TSSC 01 or TSSC 02 Spring Compressors. On some models a TSSC 02 is required to remove the spring.
***RESHOOT THIS PHOTO clamped lower and with a rag
|
|
|
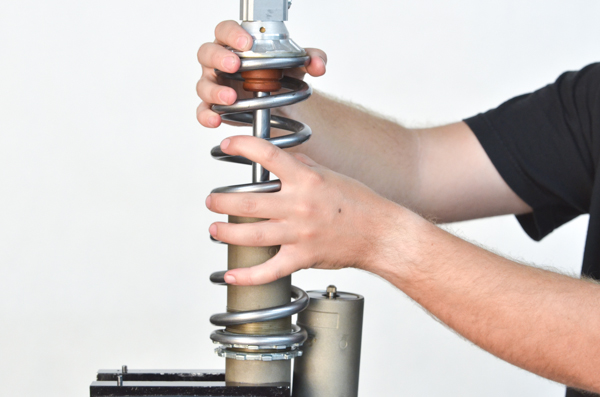
D3 - Take the preload off of the spring by unscrewing the preload collar.
***Need pics using spring compressors - both types
|
|
|
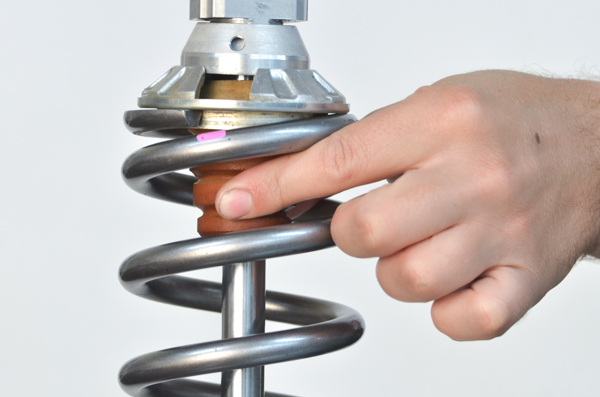
D4 - Slide the bumper down and out of the bumper cup. Use a screwdriver to pry it down if necessary. Be careful not to damage the bumper.
Inspect the bumper. these are wear items and should be replaced regularly. Look for signs of deterioration including tearing on the OD.
|
|
|
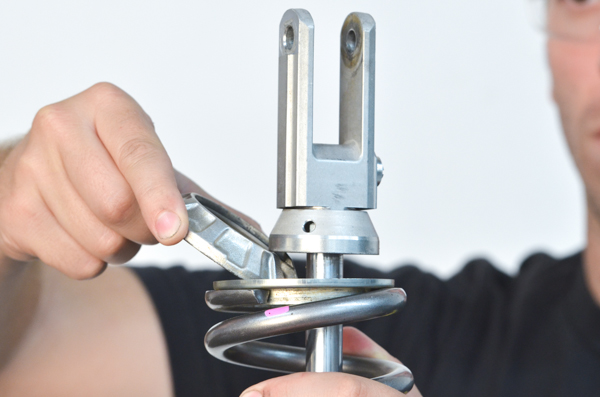
D5 - Remove the spring collar.
This is a KYB. The Spring Retainers on Showa shocks are commonly held on with a round wire clip that must be popped out of its groove.
|
|
|
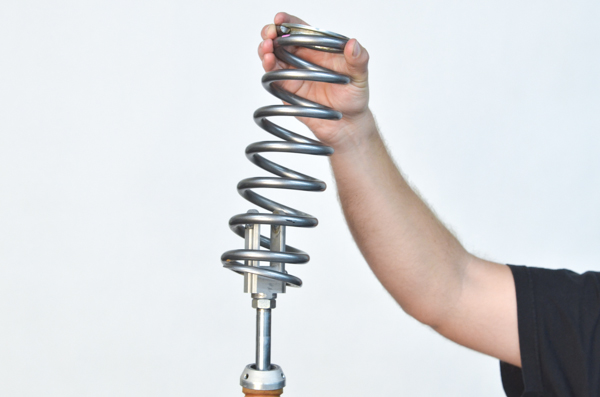
D6 - Remove the spring.
|
|
|
D7 - Compress the shock and make sure it returns completely. If it does not, there may be a bent shaft, blown shaft seal, a bad bladder, low-pressure, or an improperly located piston (on reservoir piston shocks.)
|
|
|
D8 - Remove the pressure from the reservoir by depressing the valve core. Some types use a nitrogen needle that pushes through a block of rubber instead of a Schrader valve.
|
|
|
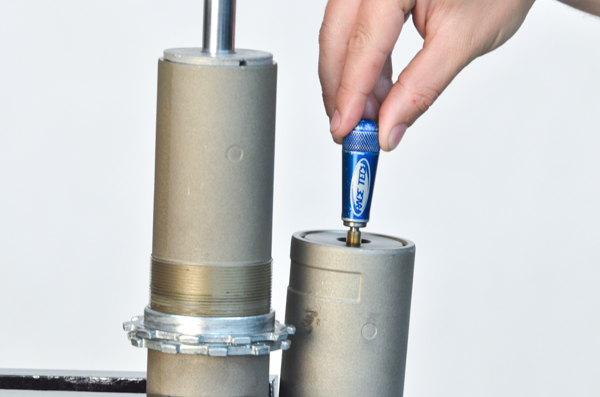
D9 - Remove the valve with a valve core tool.
|
|
|
D10 - Depress the reservoir cap using a hammer and a socket to protect the valve stem.
Some shocks have threaded caps (common on WP). Unscrew this type.
|
|
|
|
|
|
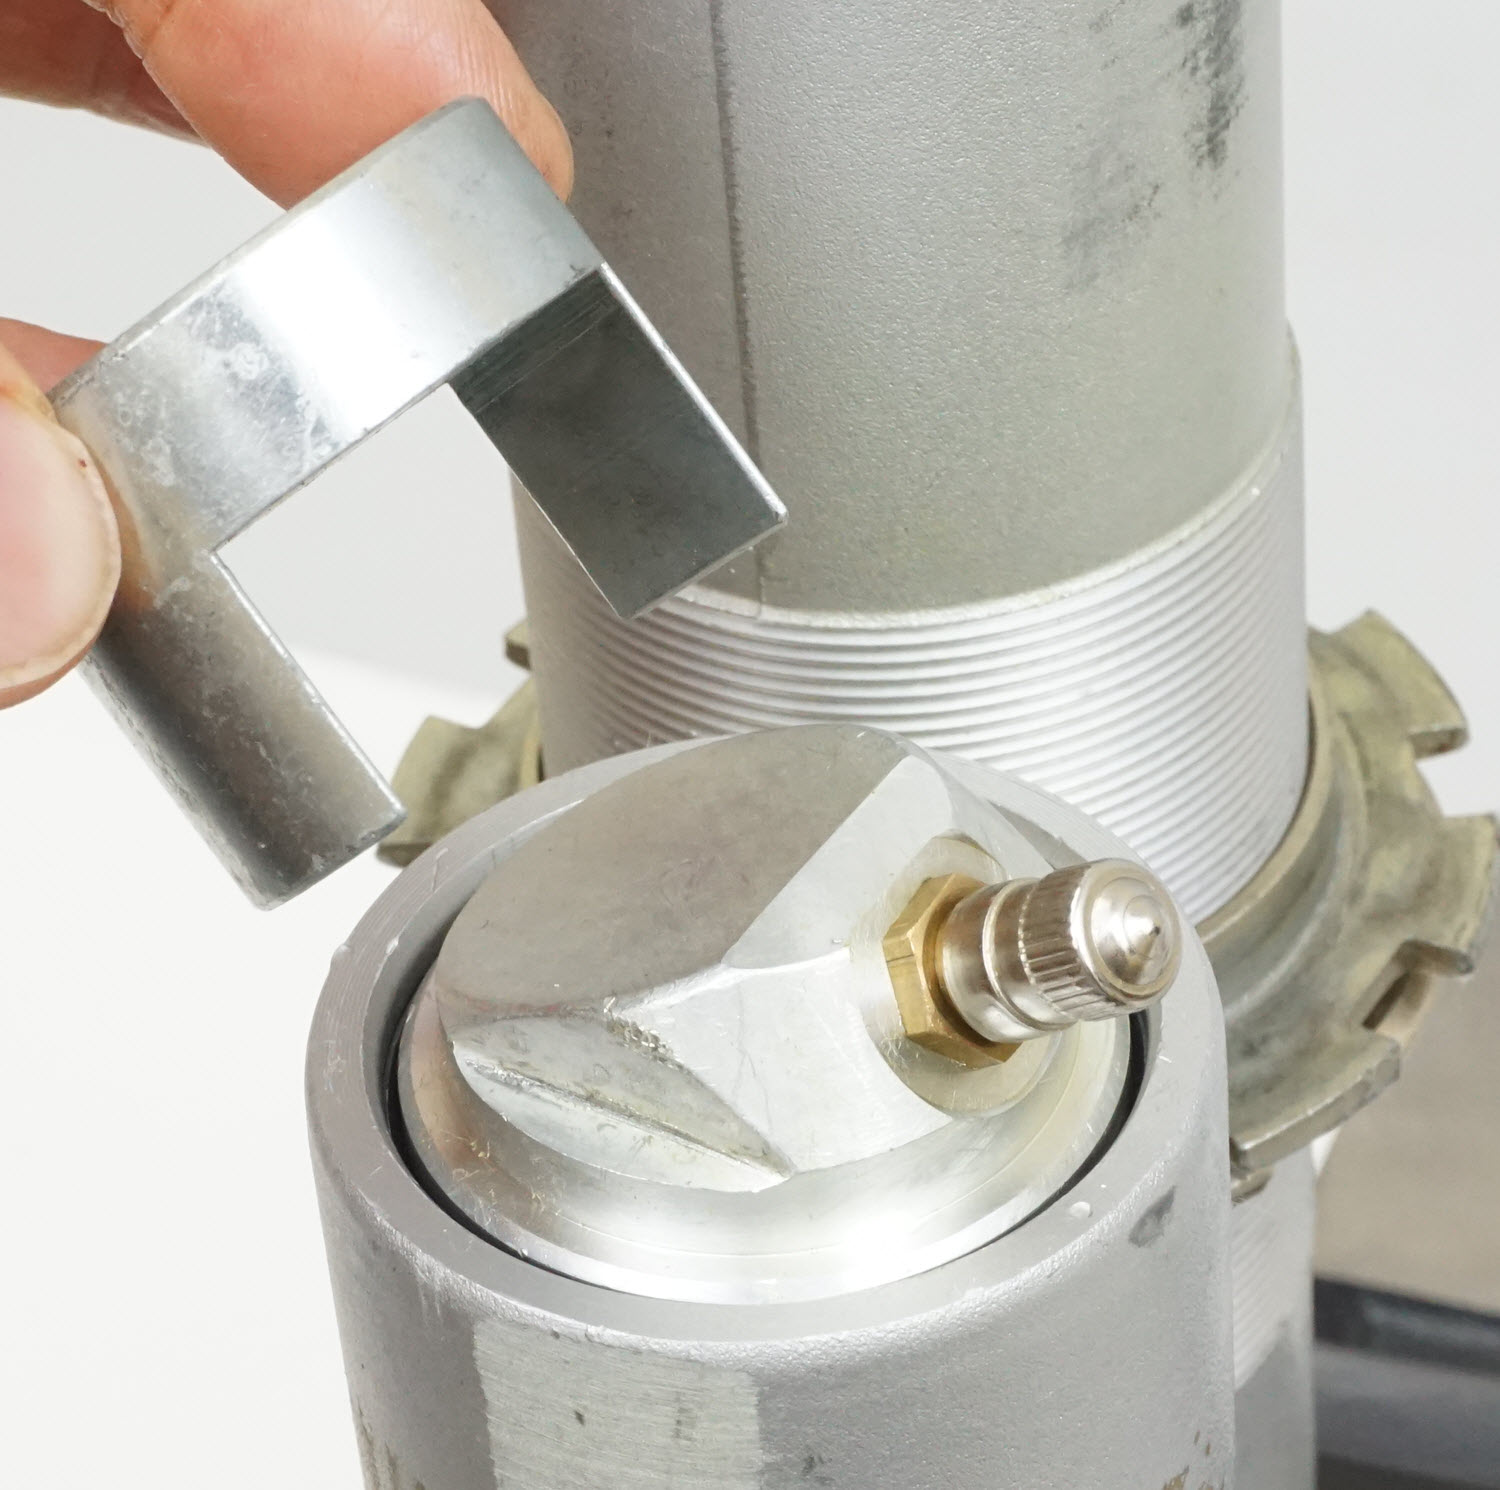
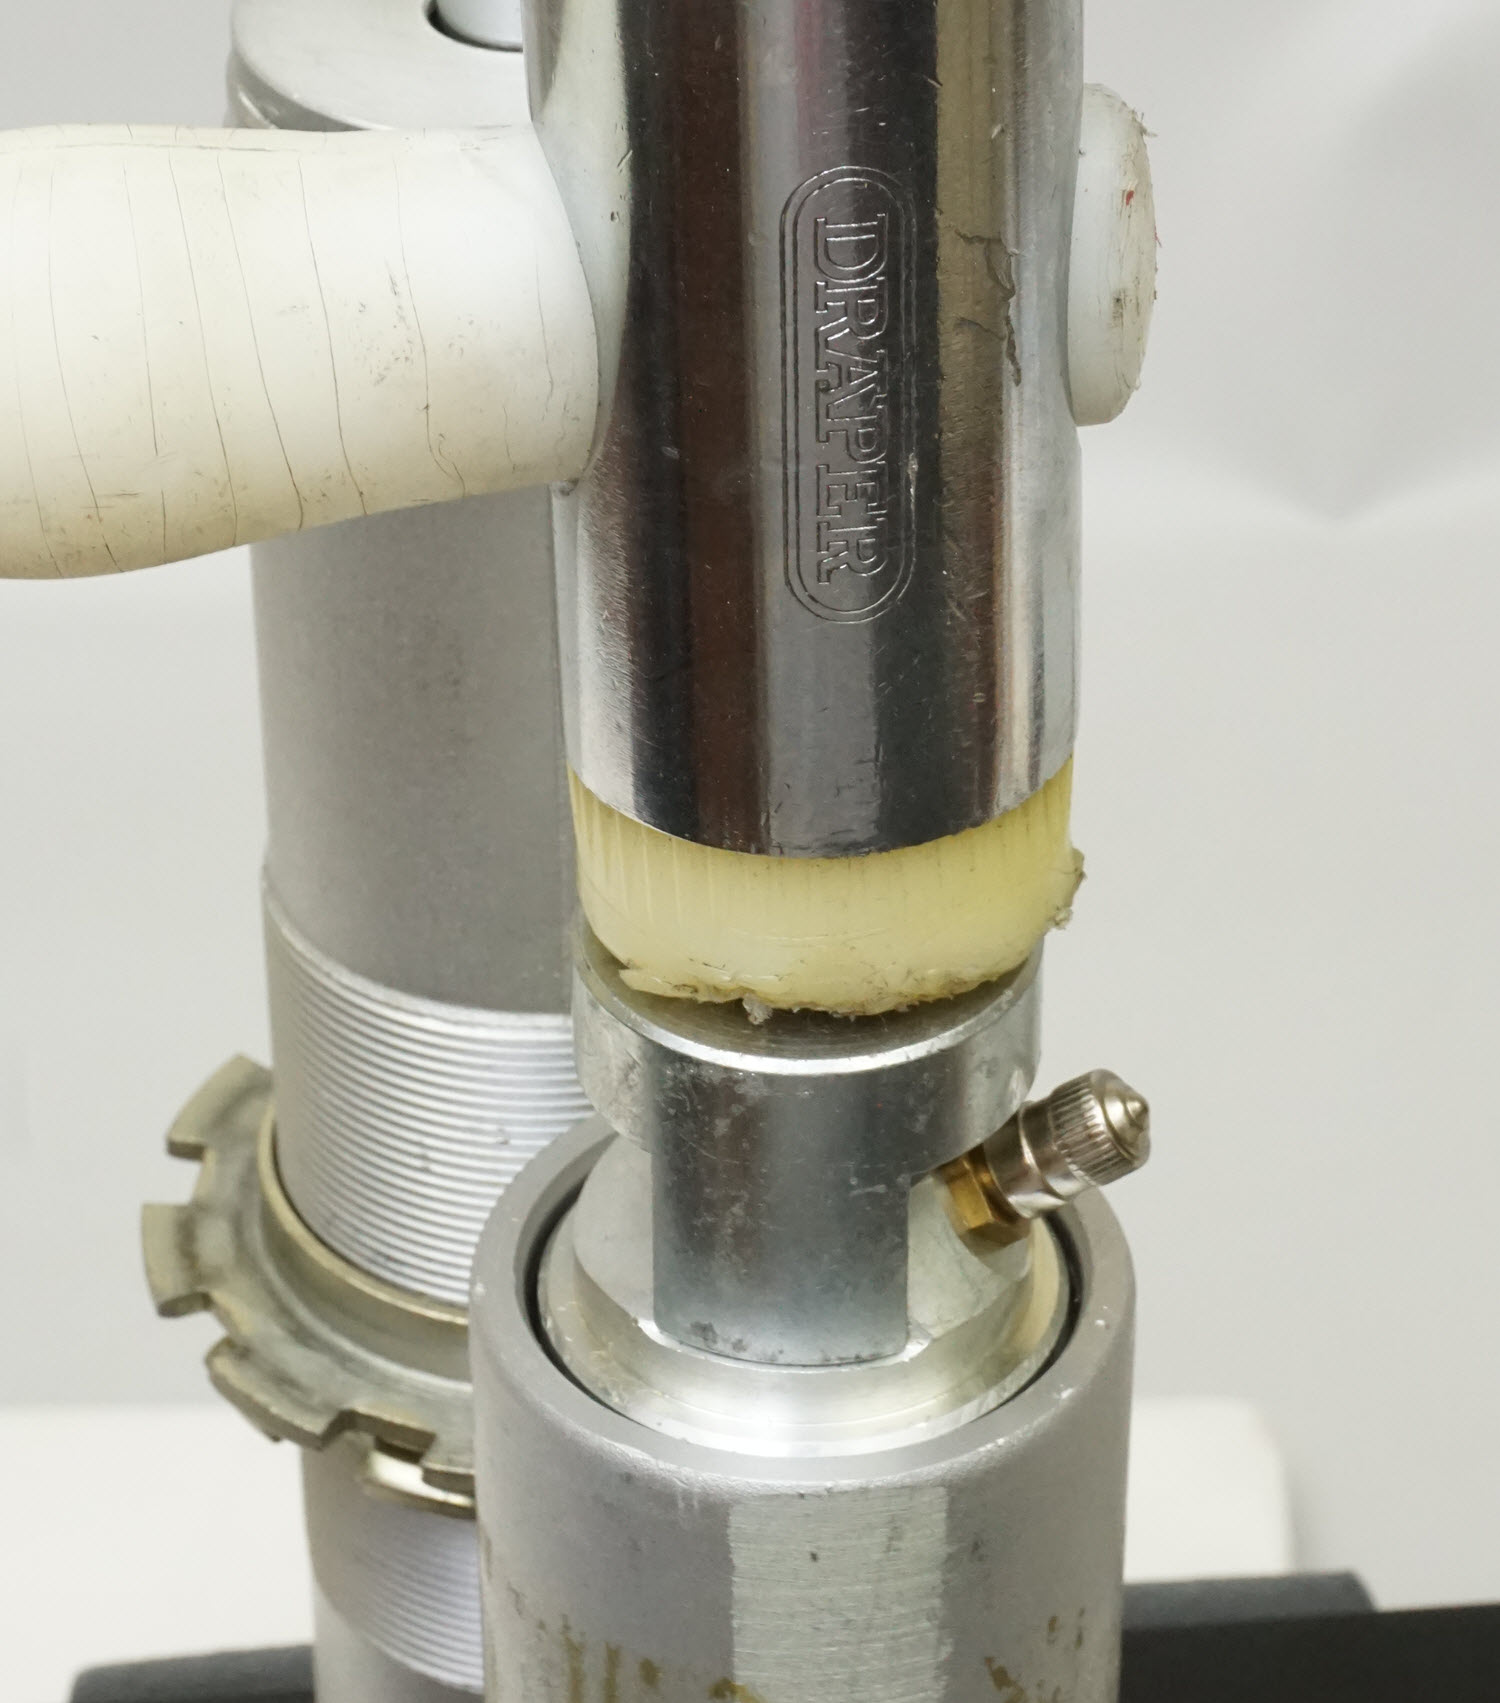
D12 - Remove the reservoir cap. Method 1 - use a Reservoir Cap Removal Tool (TSCT 01). Make sure any dirt is cleaned out of the cap area.
If you choose this method make sure the tool is screwed on all the way. This is so you don't break off the valve stem.
Pull upwards with only the slightest side to side movement. This is also so you don't break off the valve stem.
If it is really sticky you can lube the reservoir body bore.
It will come out even easier if you depress the shock shaft at the same time you pull up.
|
|
|
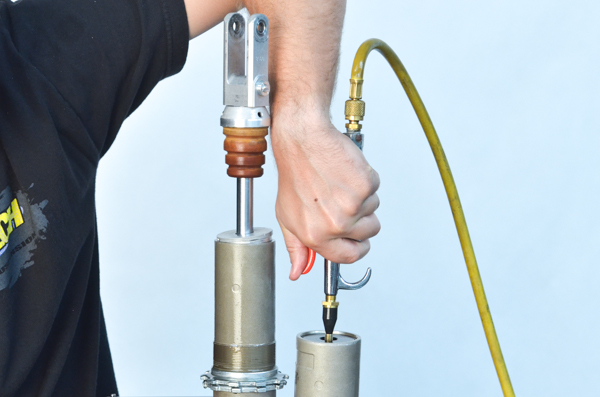
D13 - Remove the reservoir cap. Method 2. Use a rubber tipped air gun to blow the cap off.
The bladder cap will pop off with a bang.
Make sure any dirt is cleaned out of the cap area.
This seems dangerous but as soon as the bladder pops off all the trapped air is released quickly and the cap doesn't go anywhere. I like to use my free hand and hold a rag over the end of the bladder cap to contain it and the oil.
|
|
|
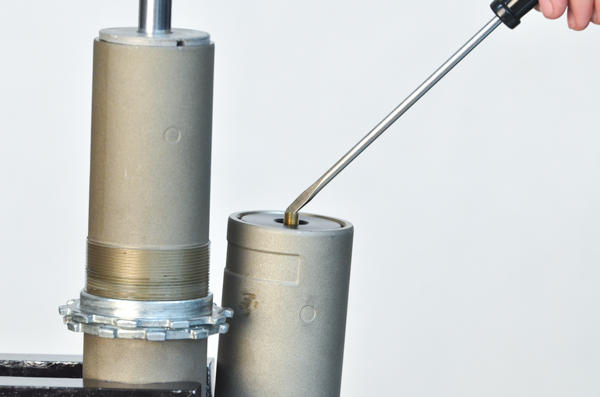
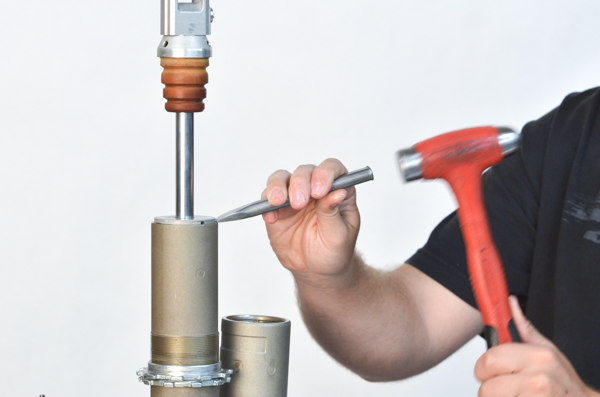
D14 - Remove the shock body cap with a sharp wood chisel at the junction of the cap and the body.
On some models the cap screws on. Make sure which type it is before hitting it with a chisel. Most of these can be removed with a Pin Spanner (TMPS Series).
Elka
KYB 1981-85 dirt (remove the set screw if present)
Ohlins - early thru about 1995
Penske
Works Performance
WP - early thru about 1995
WP 36mm - some
|
|
|
D15 - Compress the seal head into the body with a Seal Head Setting Tool (TSSS Series) to expose the circlip.
On some models, notably early Yamaha, the seal head is sandwiched between two circlips. This makes clip removal much more difficult, but that's another story.
|
|
|
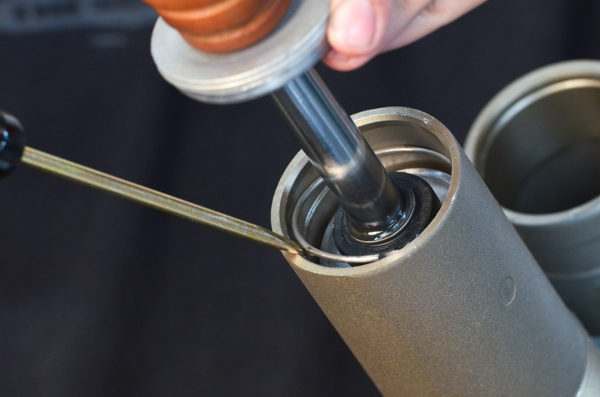
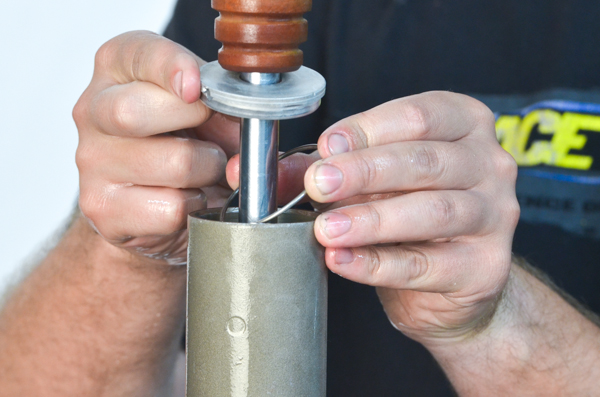
D16 - Remove the seal head circlip with the clip tool. Most circlip grooves have a large chamfer on the bottom side so all that is needed is to press the clip downward and out of the groove.
On some models, again, notably early Yamaha, there is no chamfer. The groove is simply a half-round. This makes clip removal much more difficult.
For shocks with a threaded seal head cap, use a Pin Spanner (TPPS Series).
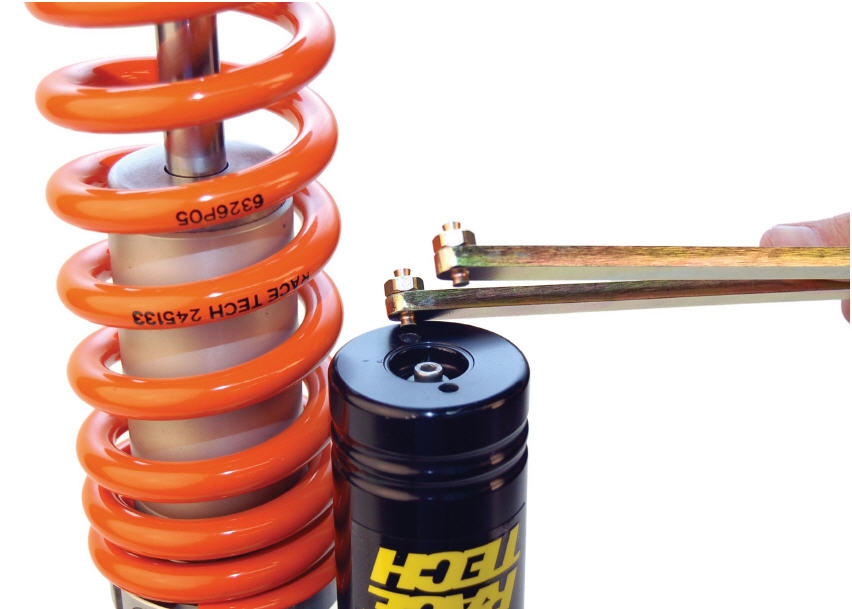 TPPS Series Pin Spanner |
|
|
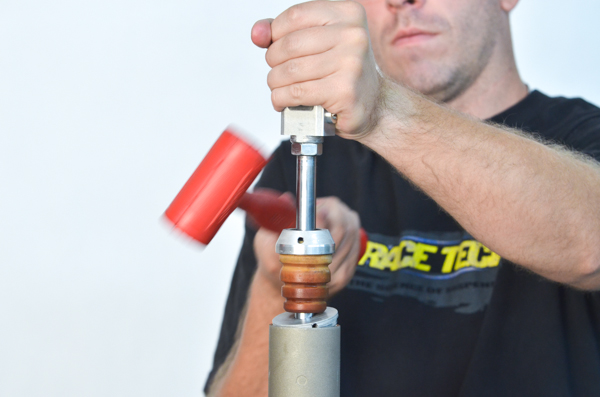
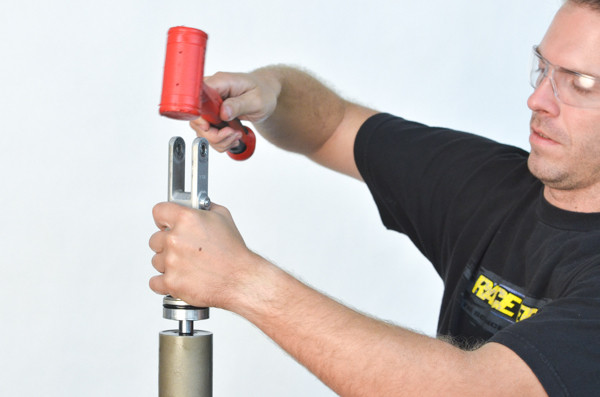
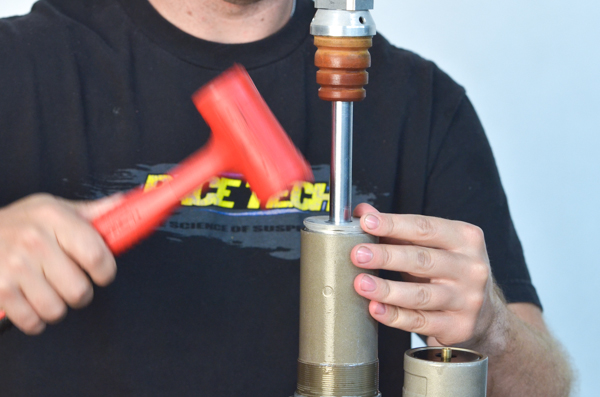
D17 - Remove the shaft assembly from the shock body by tapping upwards with a plastic mallet.
|
|
|
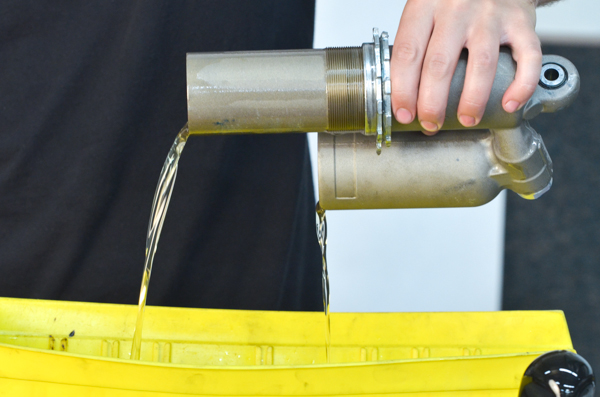
D18 - Empty the oil from the nitrogen reservoir and shock body and dispose of properly.
|
|
|
|
|
|
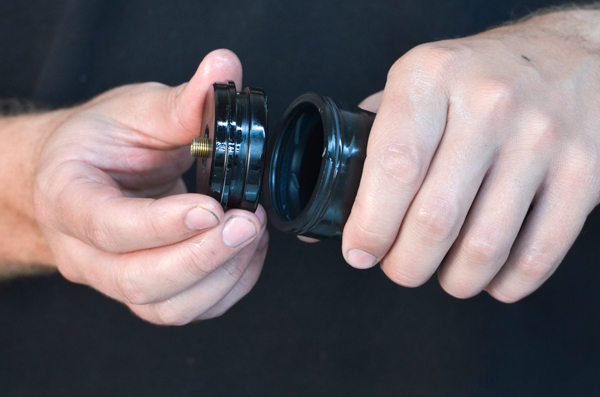
A1 - For bladder shocks reinstall the valve core and bladder onto the reservoir cap. This shows a manual bleed. ClickHere if you have a Vacuum Bleeder (TSVM 01). |
|
|
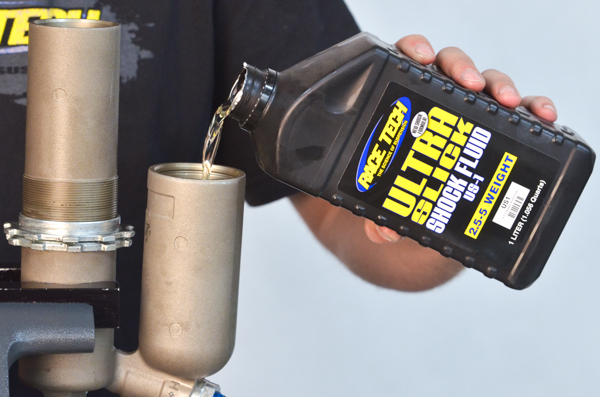
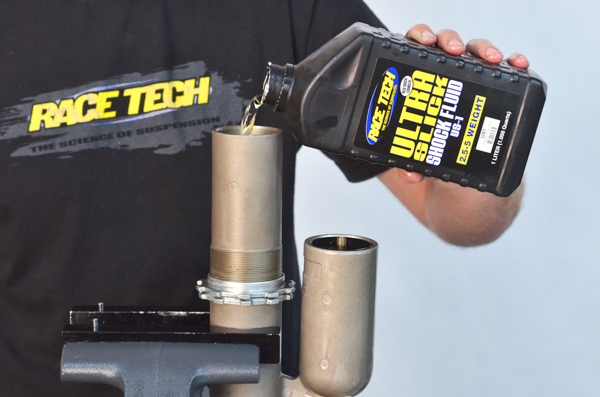
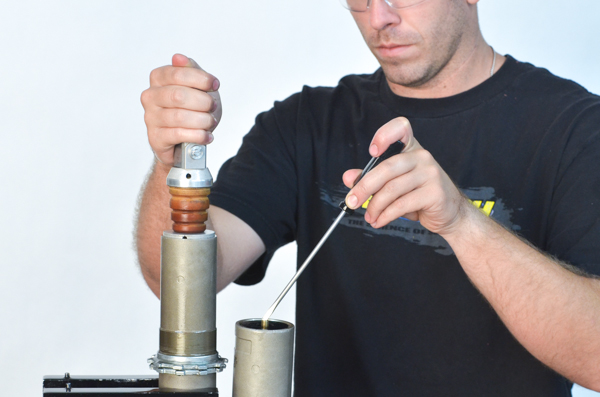
A2 - Pour Ultra Slick Suspension Fluid into the reservoir.
|
|
|
A3 - Make sure there is enough oil so that when the bladder goes into the reservoir, it overflows slightly. This insures there are no air bubbles trapped under the bladder.
|
|
|
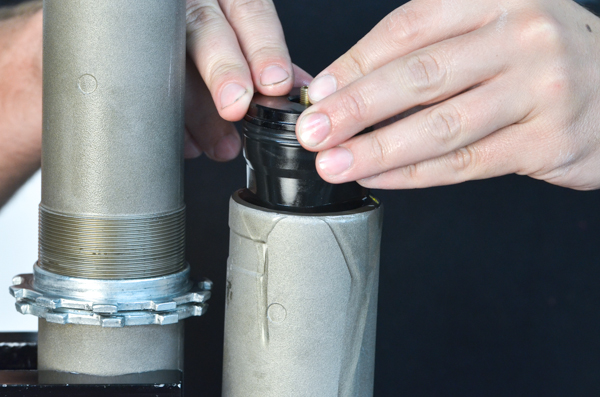
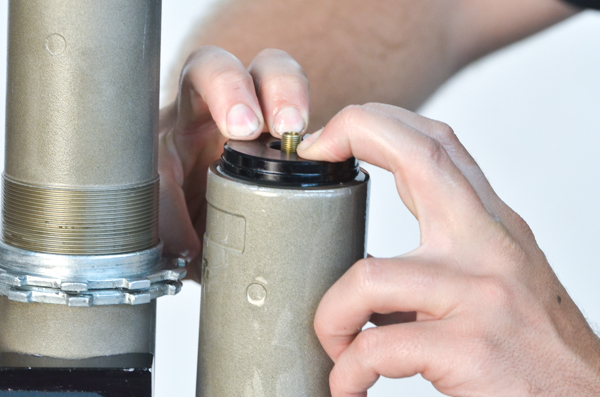
A4 - Push down on the bladder cap until the circlip groove is exposed.
|
|
|
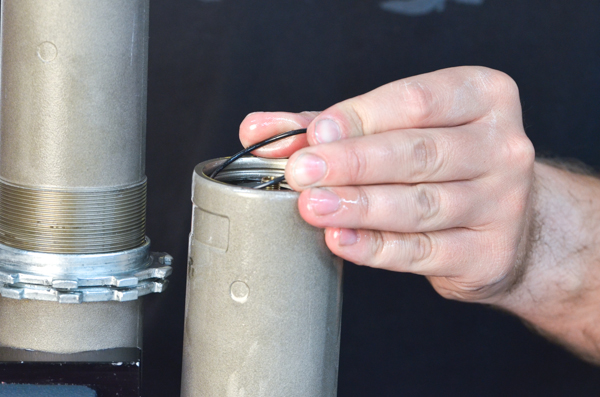
A5 - Reinstall the reservoir clip completely into the groove.
|
|
|
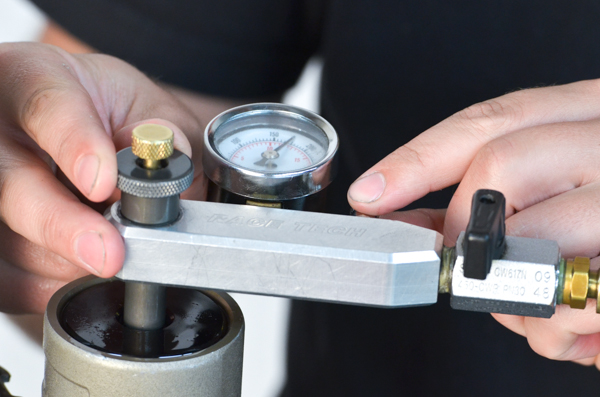
A6 - Pressurize the bladder using compressed air to about 25 to 60 psi. The exact pressure is not critical. A rubber tipped air gun is easiest. This will seat the bladder cap and overexpand the bladder. |
|
|
A7 - Fill the shock body with oil up to about 50mm (2") from the top.
|
|
|
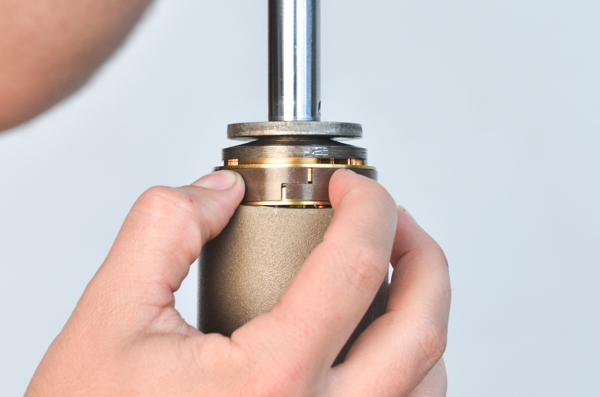
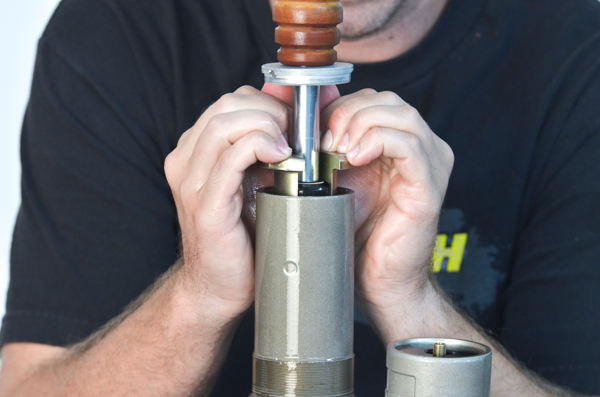
A8 - Install the shaft assembly into the shock body. Make sure the piston band stays in the groove and is not pinched.
|
|
|
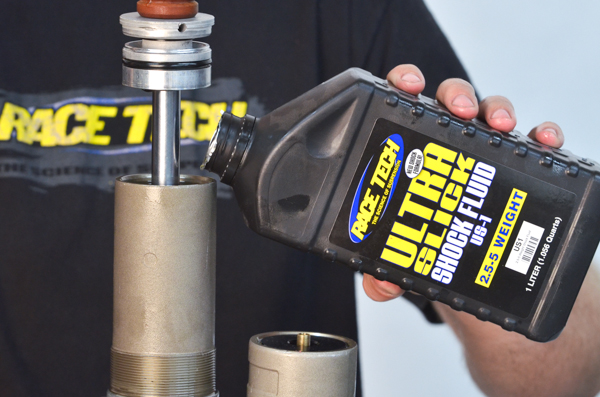
A9 - Top off the fluid to within 10mm of the top of the shock body.
|
|
|
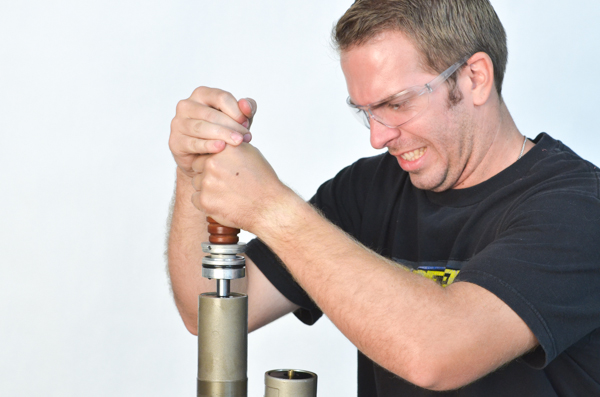
A10 - To bleed the shock, push down firmly and pull up slowly until no more bubbles show up on the compression stroke.
If you pull up too quickly, the fluid will cavitate and you will not remove the bubbles. If you pull up too far the rebound feed holes will be exposed and it will suck in air.
Either AJ is really angry or his puny "wanna be a fireman" muscles have been grossly overtaxed.
|
|
|
A11 - For shocks with a lot of compression damping use a plastic mallet and firmly tap on the end of the shaft to open the valving stack. This forces the valving to open and allows any trapped air to go past the piston.
|
|
|
A12 - Once it is bled, extend the shock and top it off with fluid.
Do not allow the low-speed rebound inlet hole to be exposed as it will suck in air and you will need to start the bleeding process again.
|
|
|
A13 - Push in the seal head using a Seal Head Setting Tool (TSSS Series) until the O-ring seals. Maintain pressure on the top of the seal head.
|
|
|
A14 - Once the O-ring seals on the body you will not be able to insert the seal head in any further. This is because you are pushing against the reservoir pressure.
Depressurize the reservoir bladder while keeping downward force on the seal head. This will allow the seal head to go into the shock body.
|
|
|
A15 - Continue to push down on the seal head until the circlip groove is exposed.
|
|
|
A16 - Install the circlip into the groove. Make sure it is completely seated in the groove.
|
|
|
A17 - Gently pressurize the reservoir and make sure the seal head and circlip are properly seated.
The shaft should extend all the way. If it does not check to see what is wrong (not enough oil, bent shaft, etc.)
|
|
|
A18 - For pressed-in body caps tap it evenly into the shock body.
Align the vent holes in the body cap with the eyelet. When you ride in wet conditions this allows water that has worked its way past the cap to drain out when mounted on the bike.
|
|
|
A19 - Compress the shock while depressurizing the bladder.
|
|
|
|
|
|
A21 - Set the shock to the proper pressure according to the DVS Setup Sheet.
This picture shows A.J. bleeding off excessive pressure. The Schrader Cap is modified so it gradually releases pressure.
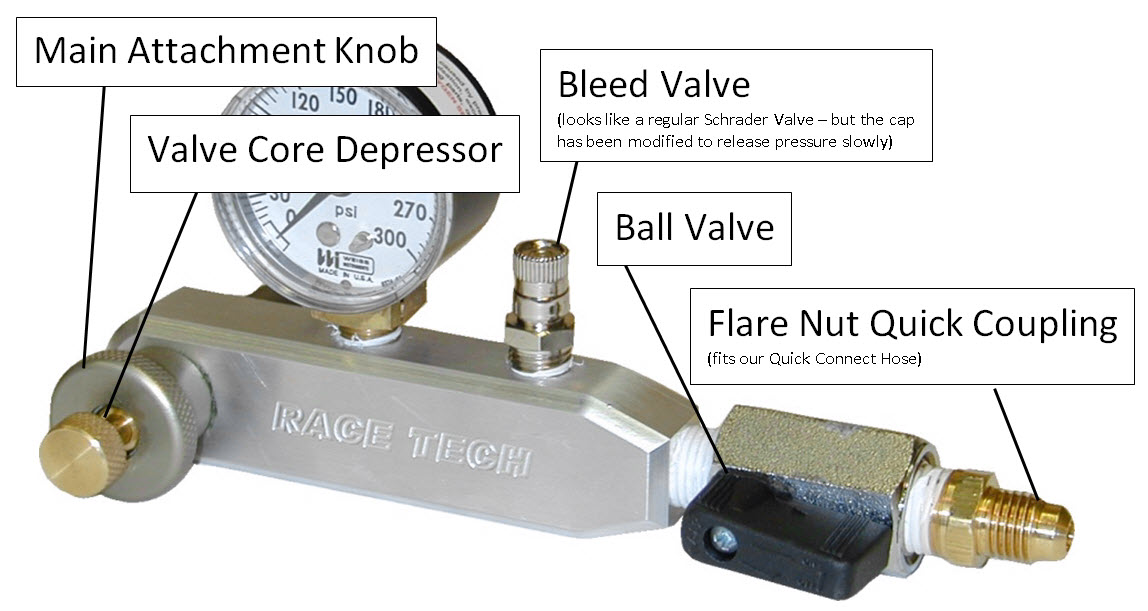 TSNG 02 |
|
|
A22 - Stroke the shock shaft. The shaft should extend all the way. If it doesn't, the shock is probably underfilled (if it is a piston style reservoir the piston may be at the end of the body) or the shaft is bent. Check the body and shaft as well. Stroke the shock to feel for proper function and smoothness.
Grease the preload collar thread before installing the spring.
|
|
|
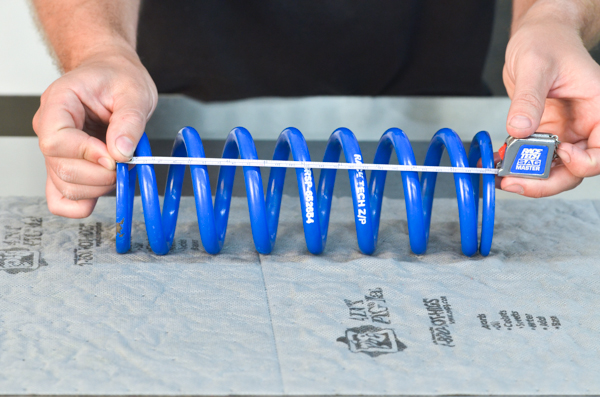
A23 - Measure the free length of the spring.
|
|
|
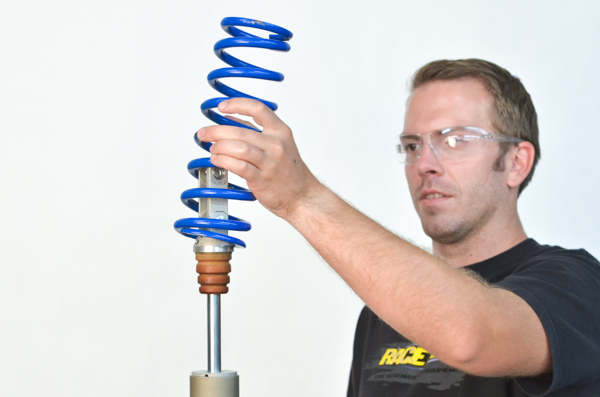
A24 - Install the spring.
|
|
|
A25 - Install the spring collar seat.
|
|
|
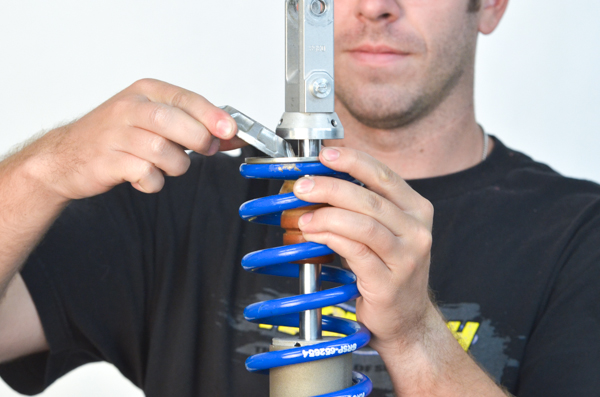
A26 - Install the spring collar and/or clip.
|
|
|
A27 - Set the preload according to the DVS by adjusting the preload collars.
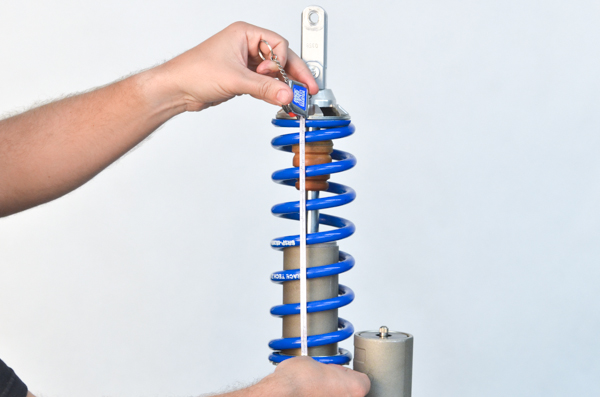
Preload is the amount the spring is compressed from fully extended to get to its installed length.
|
|
|
A28 - Tighten the lock ring with the Shock Preload Adjuster Tool.
|
|
|
A29 - Push the bumper into the bumper cup.
|
|
|
A30 - Set the high-speed compression adjuster to the setting in the DVS.
Note - Unless otherwise instructed, all adjusters are counted as clicks or turns OUT from all the way in (clockwise). All the way in is zero.
|
|
|
A31 - Adjust low speed compression...
|
|
|
A32 - and rebound adjuster.
|
|
|
A33 - Make sure Spherical Heim Bearings at the mounting eyelets are greased and in good shape with no slop.
Chicks dig stickers!
Enjoy.
|


